Getting Started
Whether you’re doming printed graphics, vinyl lettering, or custom-cut shapes, the steps below will guide you through the Liquid Lens process for preparing and applying resin to achieve a professional finish.
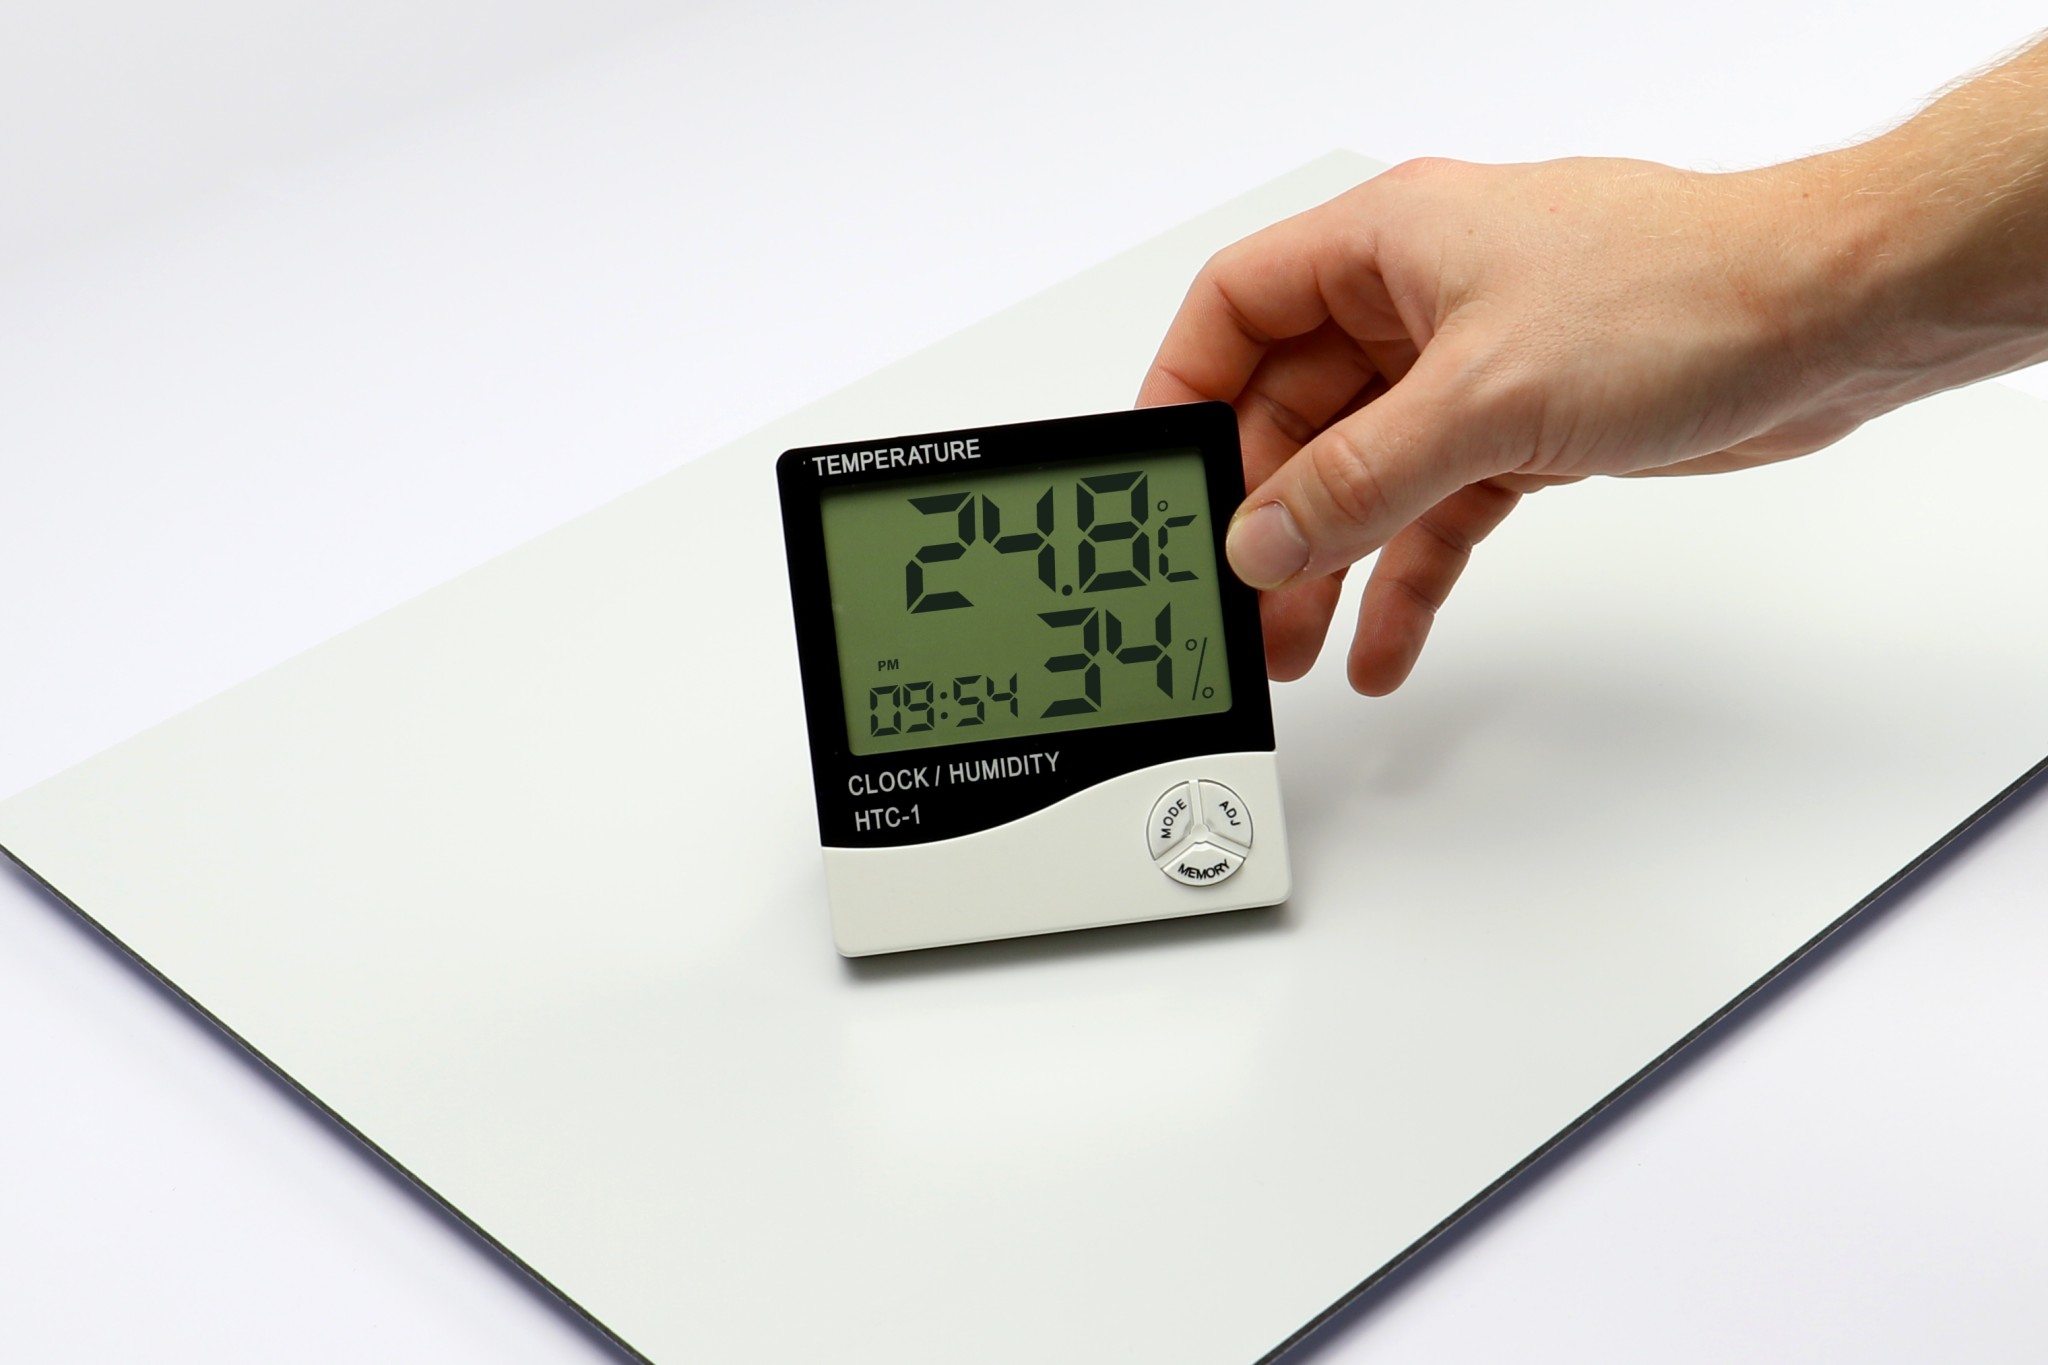
Environment
Create an optimal environment for resin application:
- Ensure the room is clean, warm, and dry.
- Maintain a dust and fibre free environment to prevent defects during curing.
- Set the temperature between 22-25°C for proper resin flow and dome formation.
- Keep humidity below 35% relative humidity to avoid CO2 bubbles. Use a dehumidifier if necessary.
- Where the correct PPE and dust and fibre free clothing.
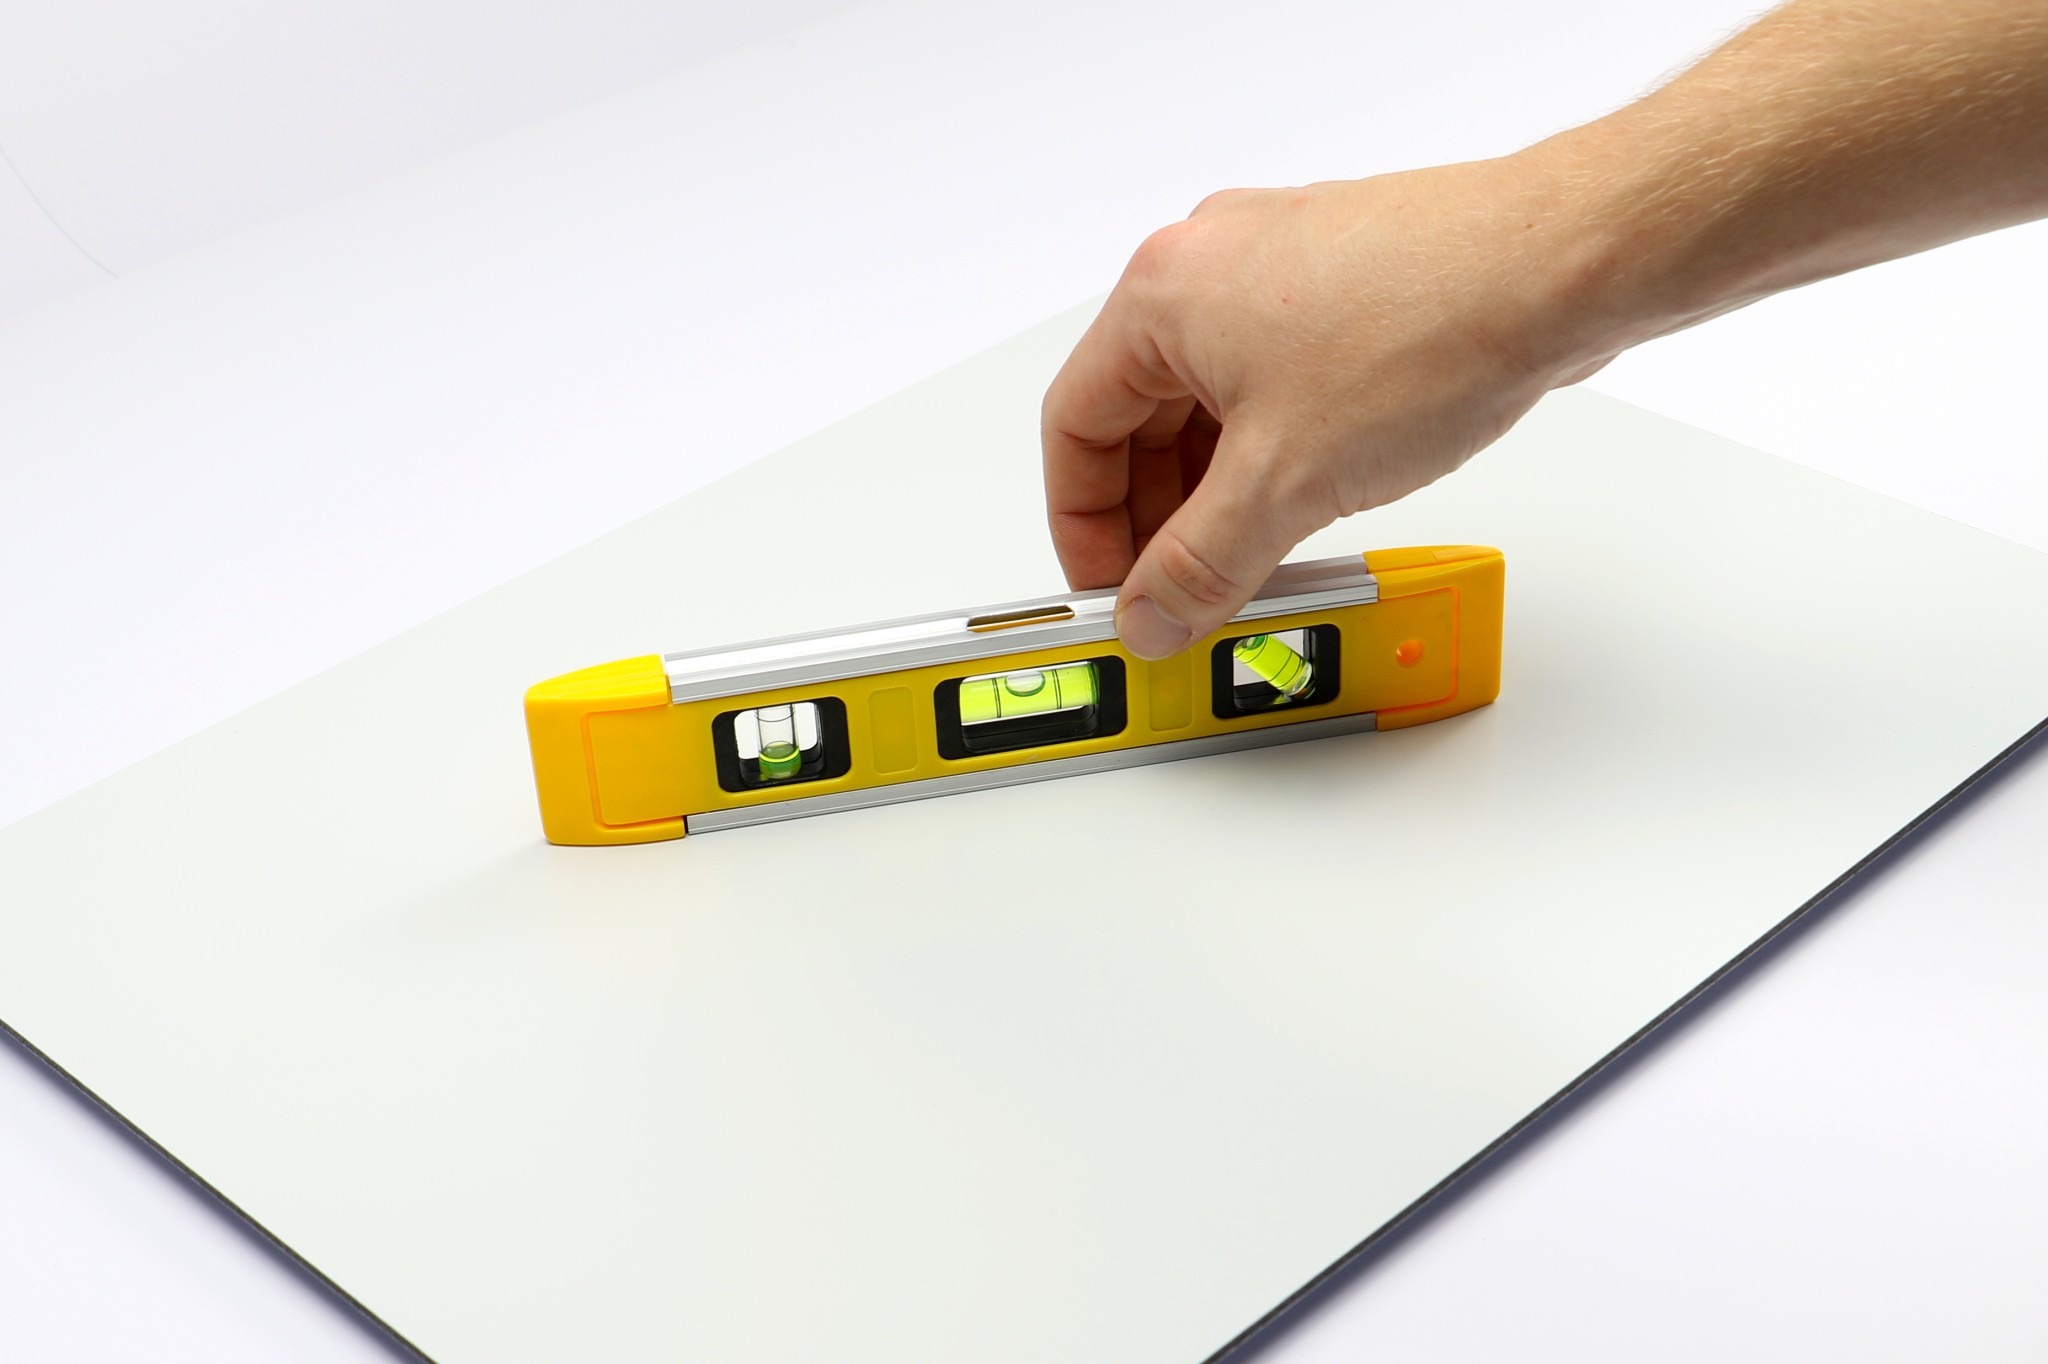
Level Surface
Ensure the work surface is flat and level:
- Place an alloy work tray on a level surface to keep your items stable during resin application — whether you’re doming printed graphics, vinyl lettering, cut shapes, or decorative inlays.
- Resin flow is gravity-assisted, and surface tension at the edges of your design helps prevent overflow.
- The viscosity of the resin helps contain it within the design’s borders, as long as it’s not applied too thickly.
- An uneven surface can cause resin to pool, overflow, or cure unevenly — all of which can affect the quality of the finish.
Application Setup
Prepare your materials properly to ensure a smooth doming process:
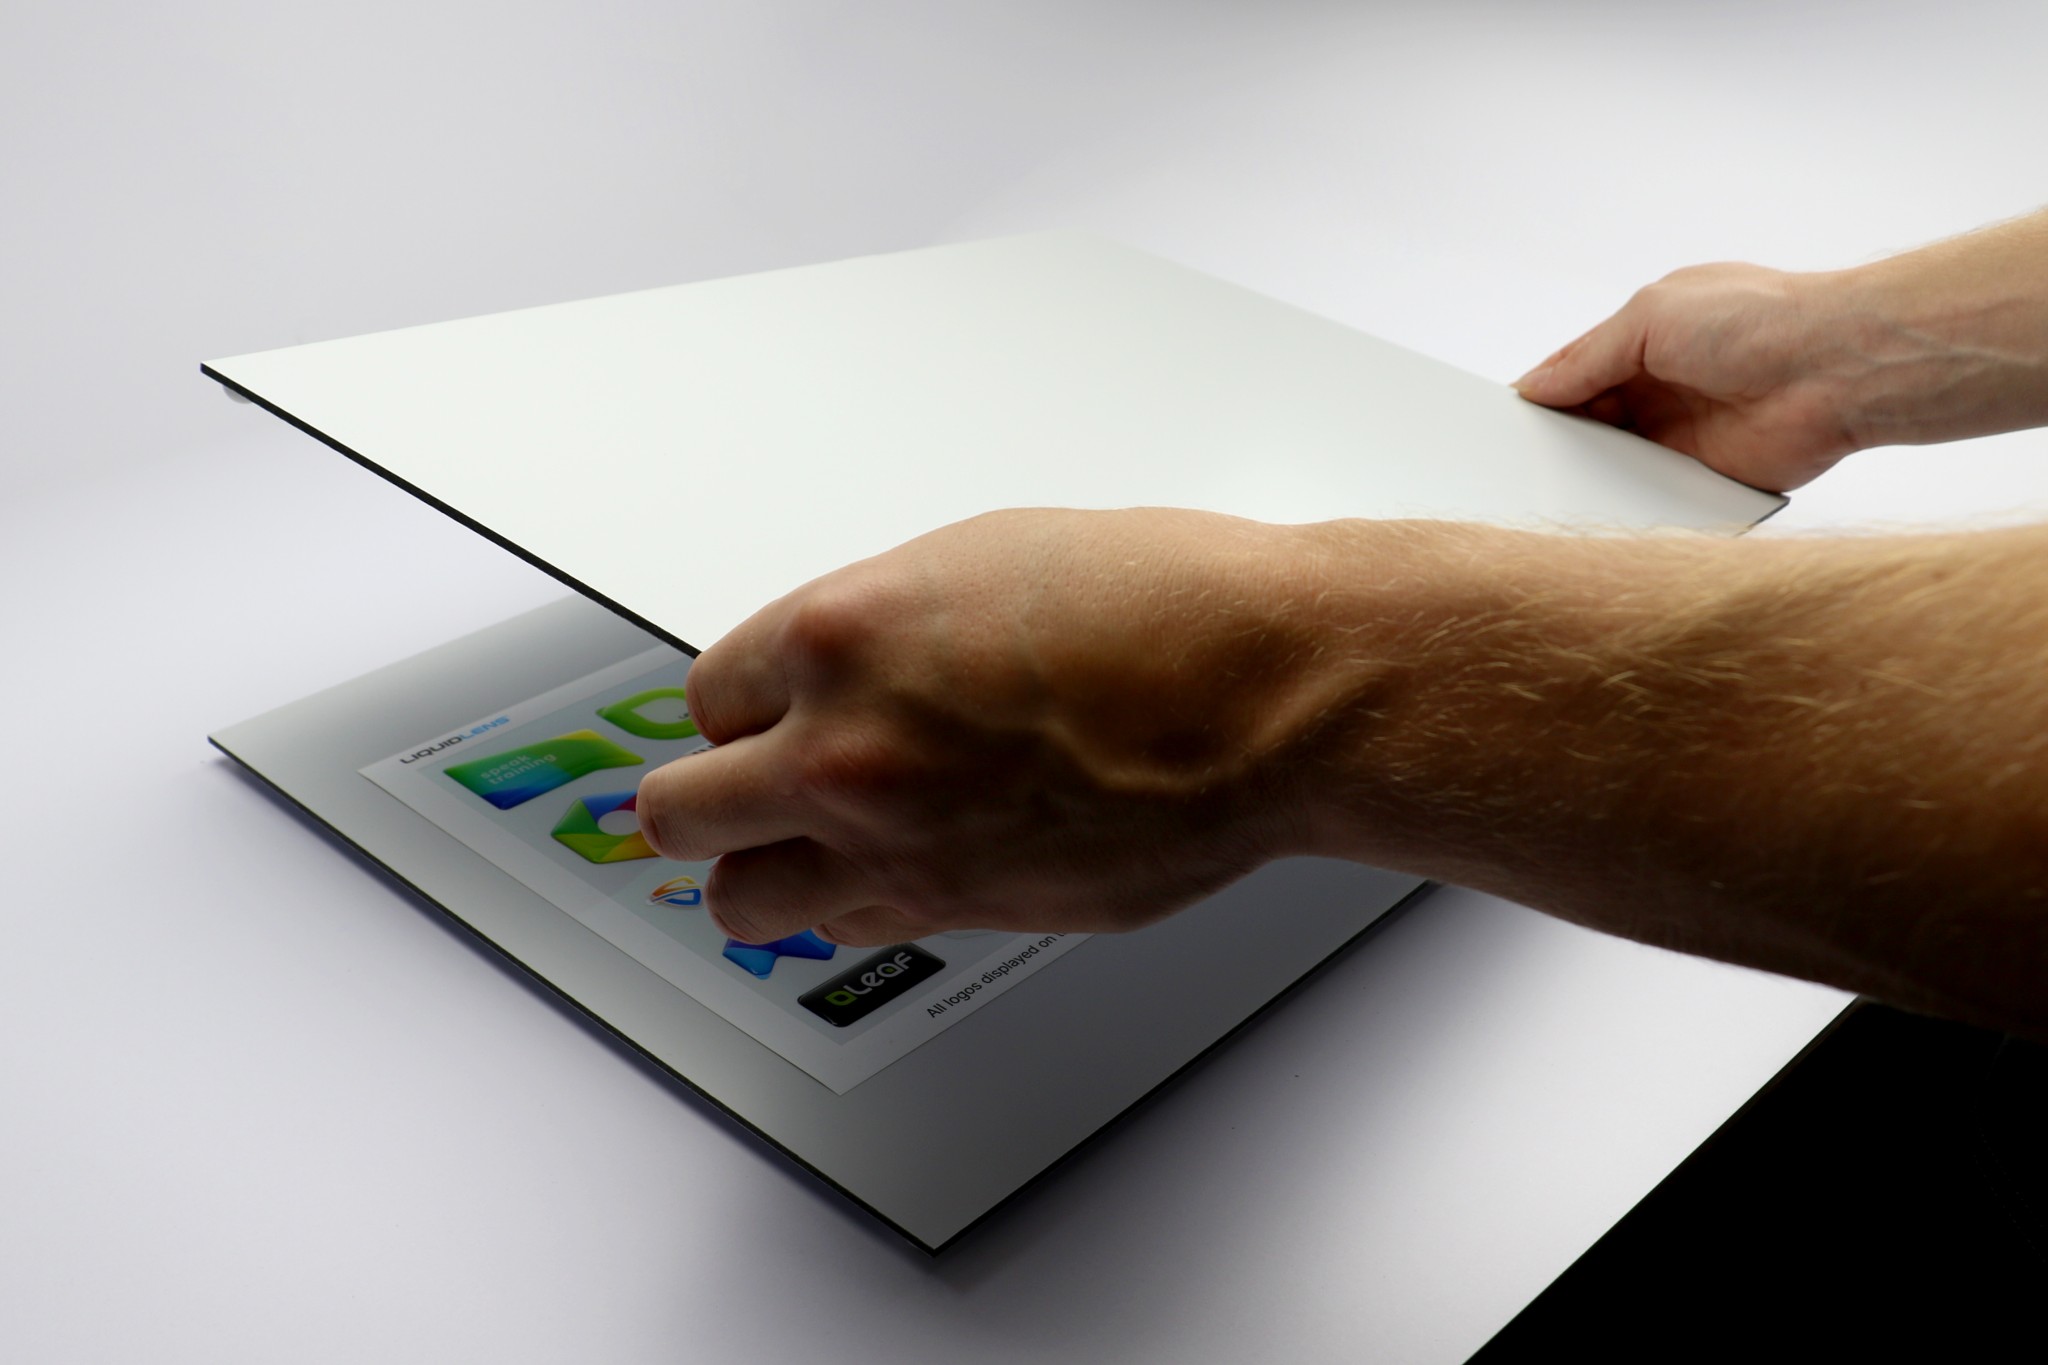
- Remove any excess material around your shapes or designs, leaving only the areas intended for doming.
- Place the sheet or object on a clean, stable work surface. Magnetic or non-slip surfaces can help keep materials in place.
- Ensure all areas to be domed are flat and well-adhered before applying the resin.
- Check the surface for dust, debris, or moisture — these can interfere with the resin flow and curing process.

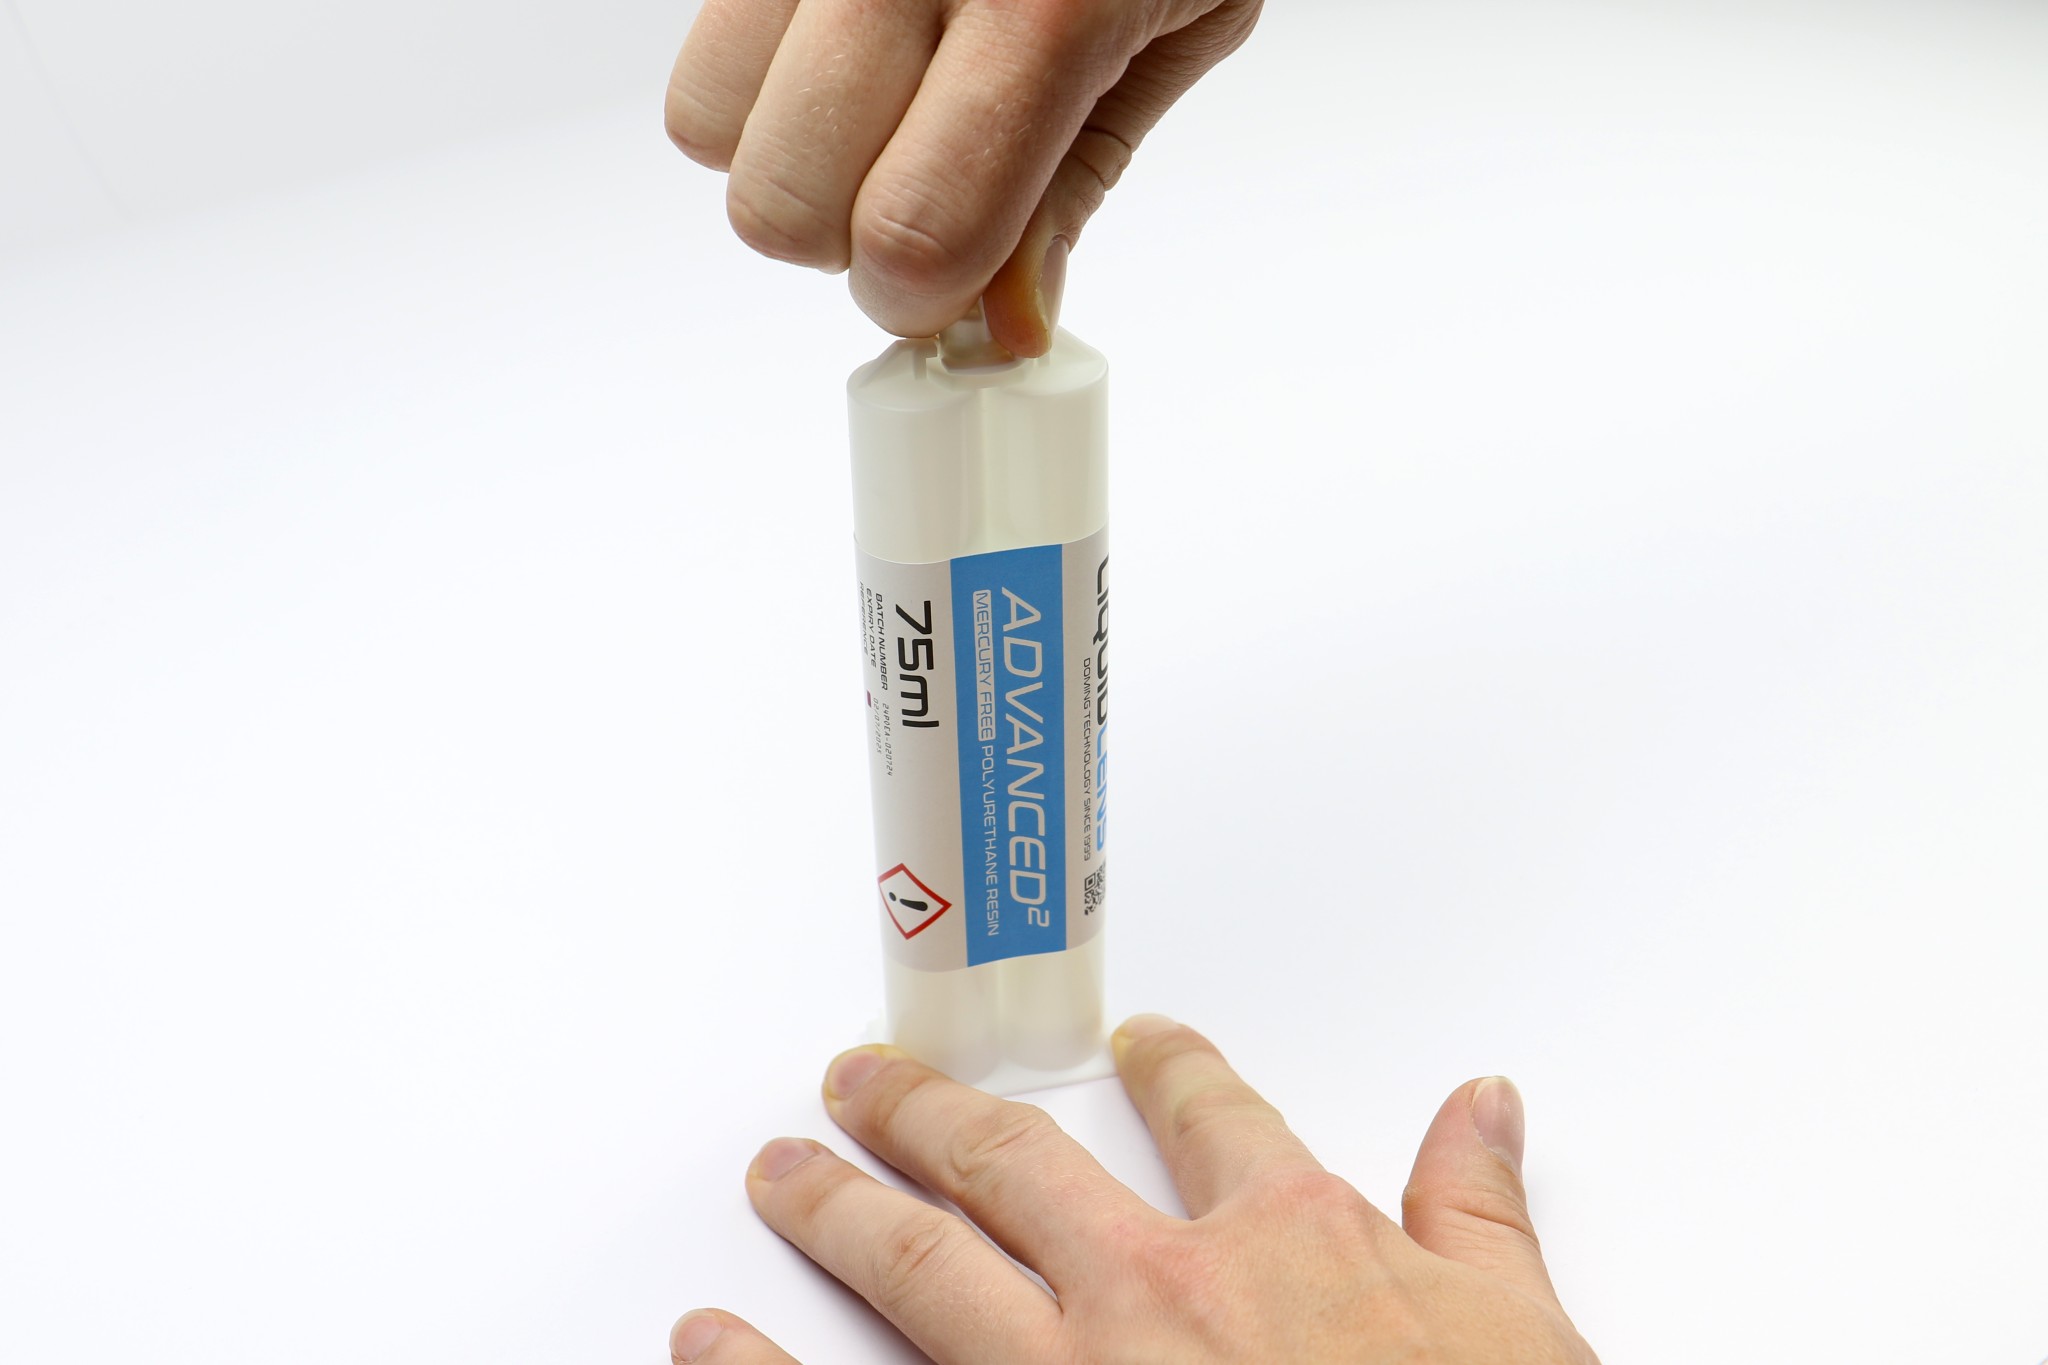
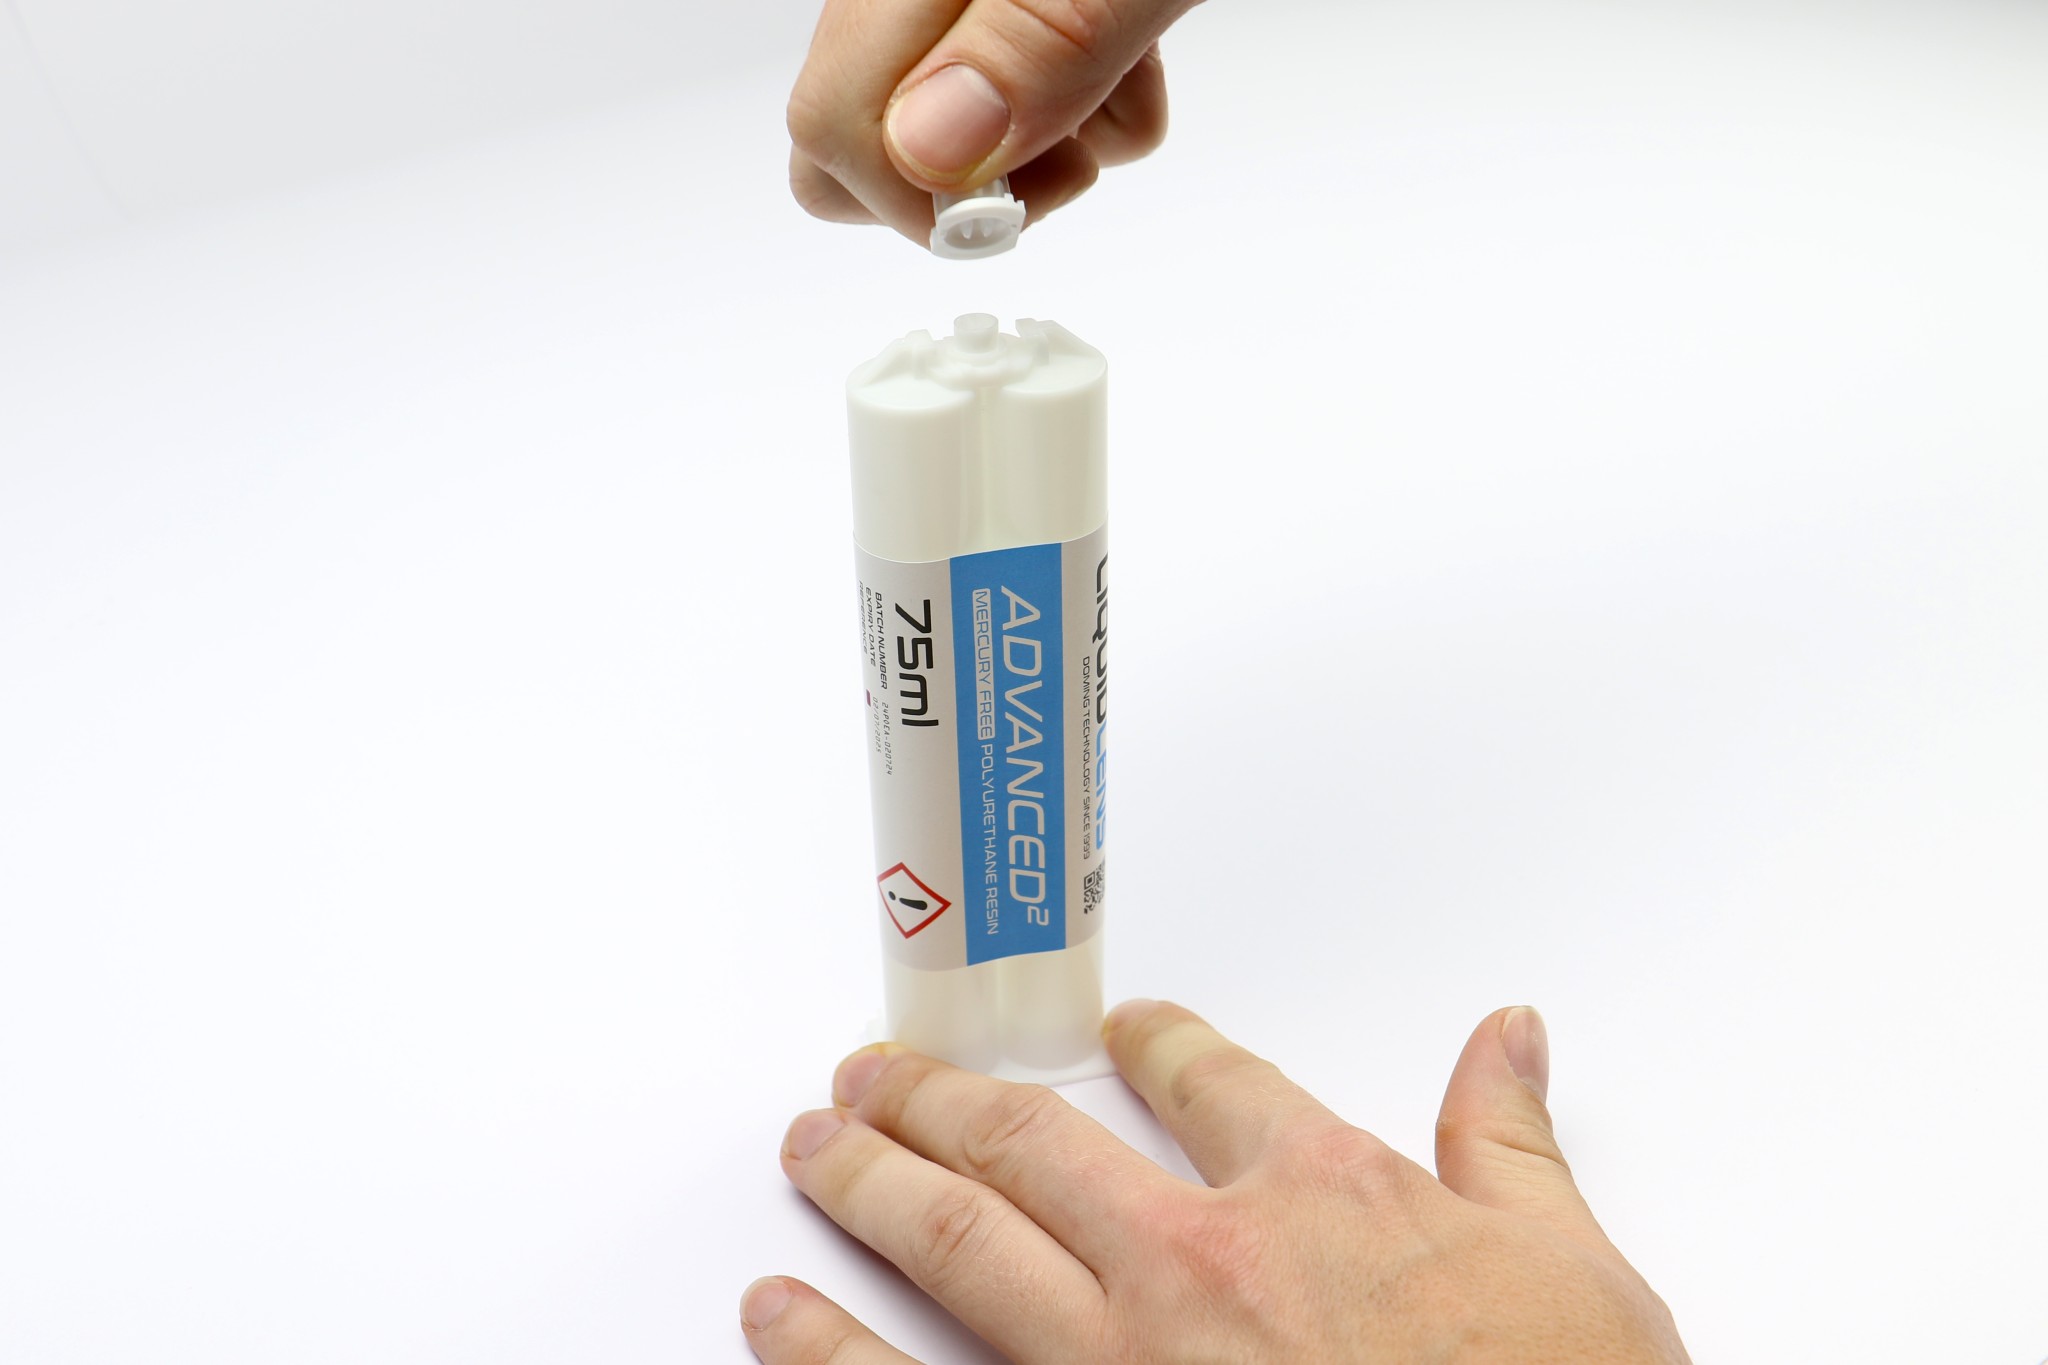
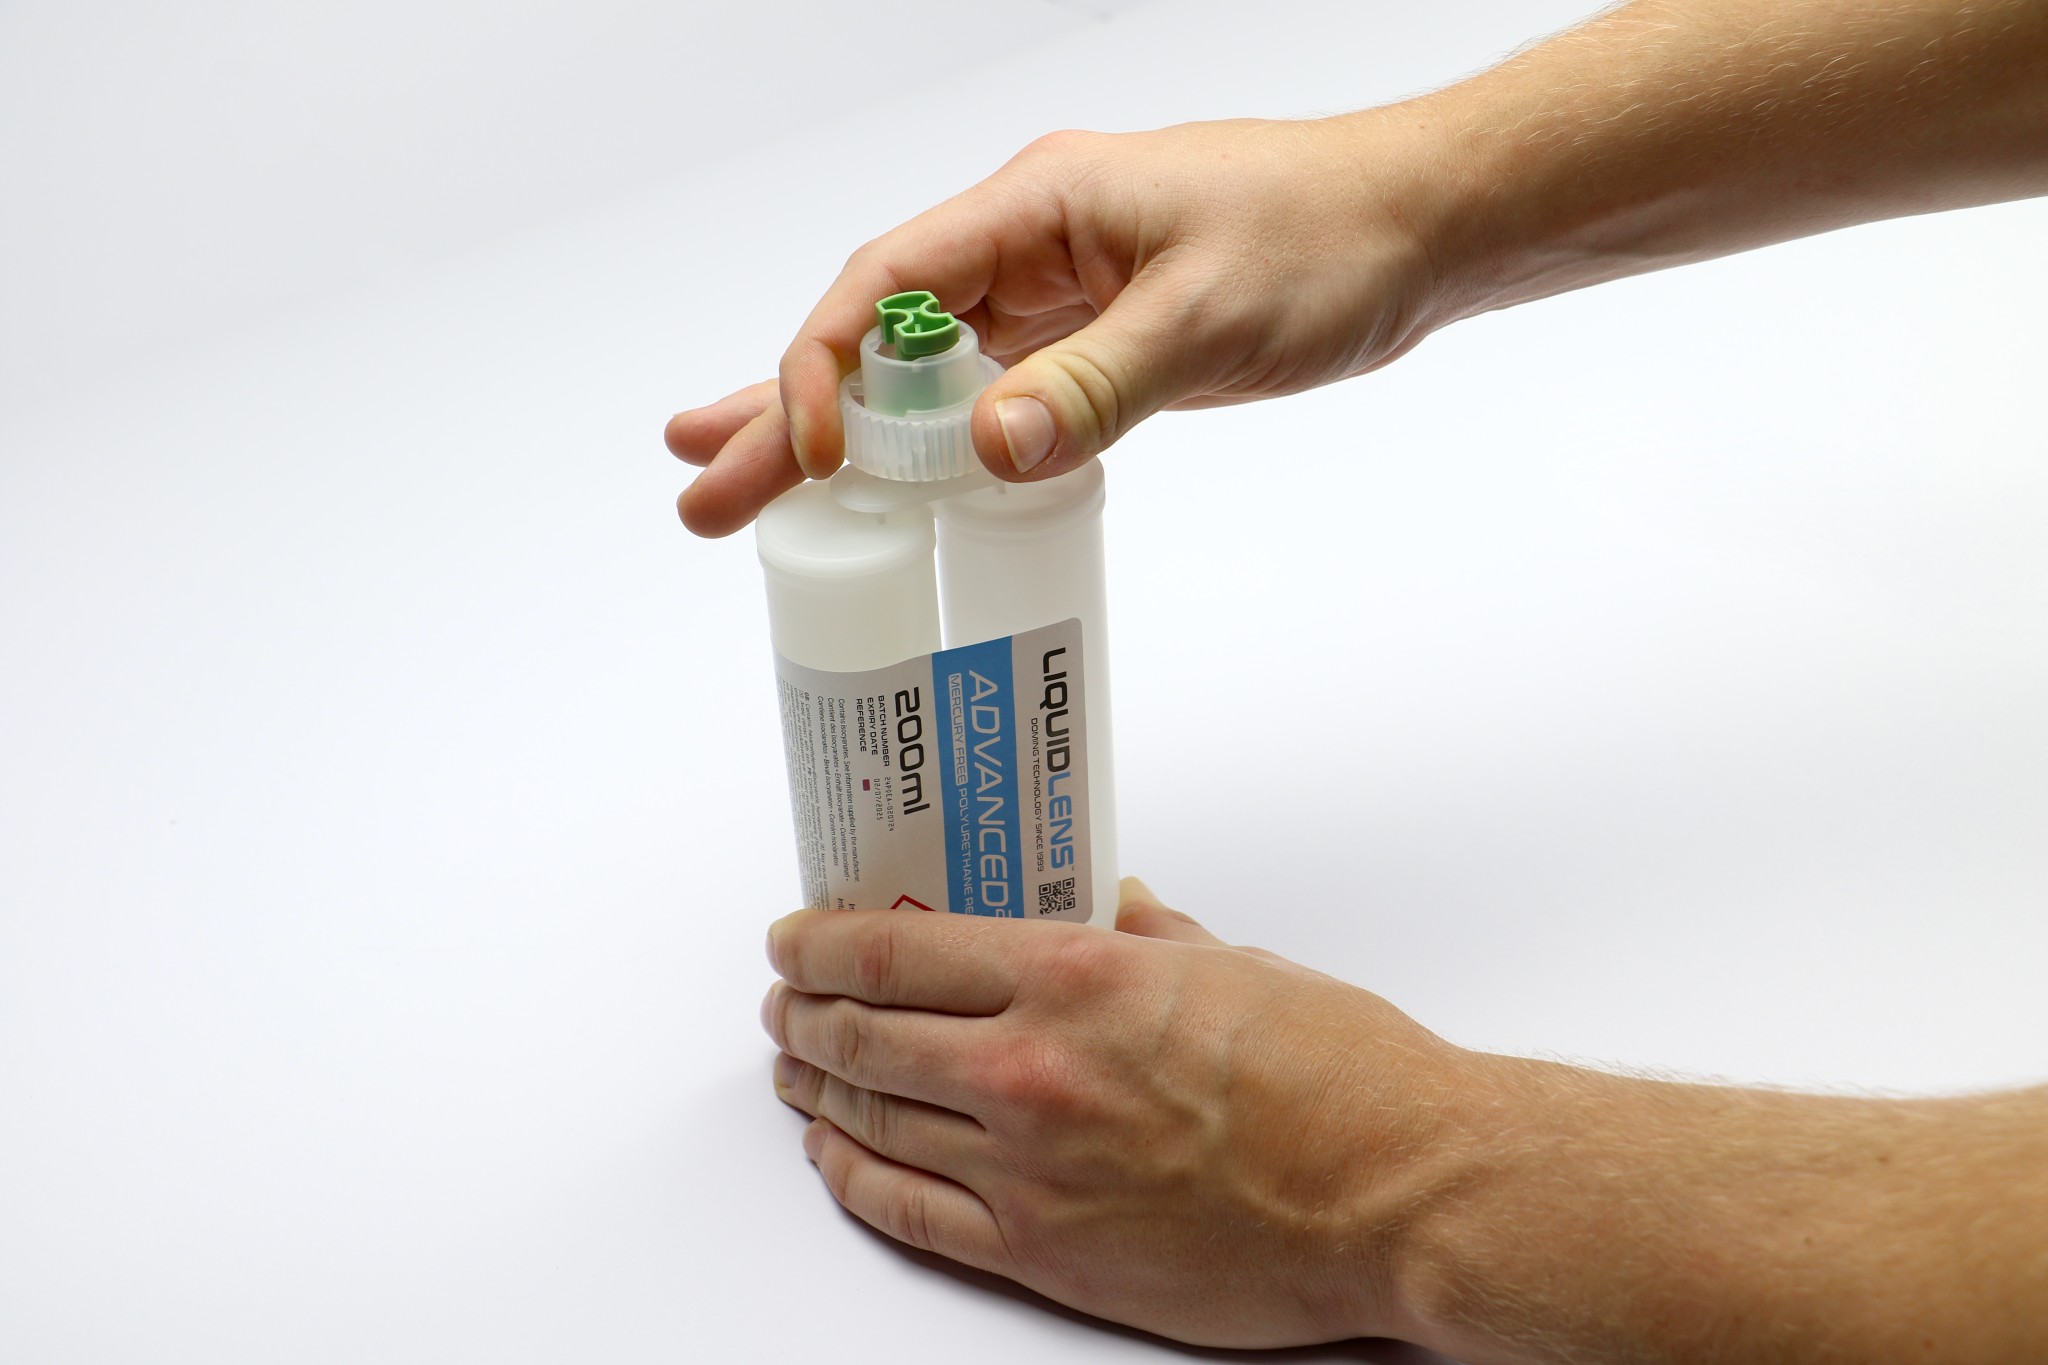
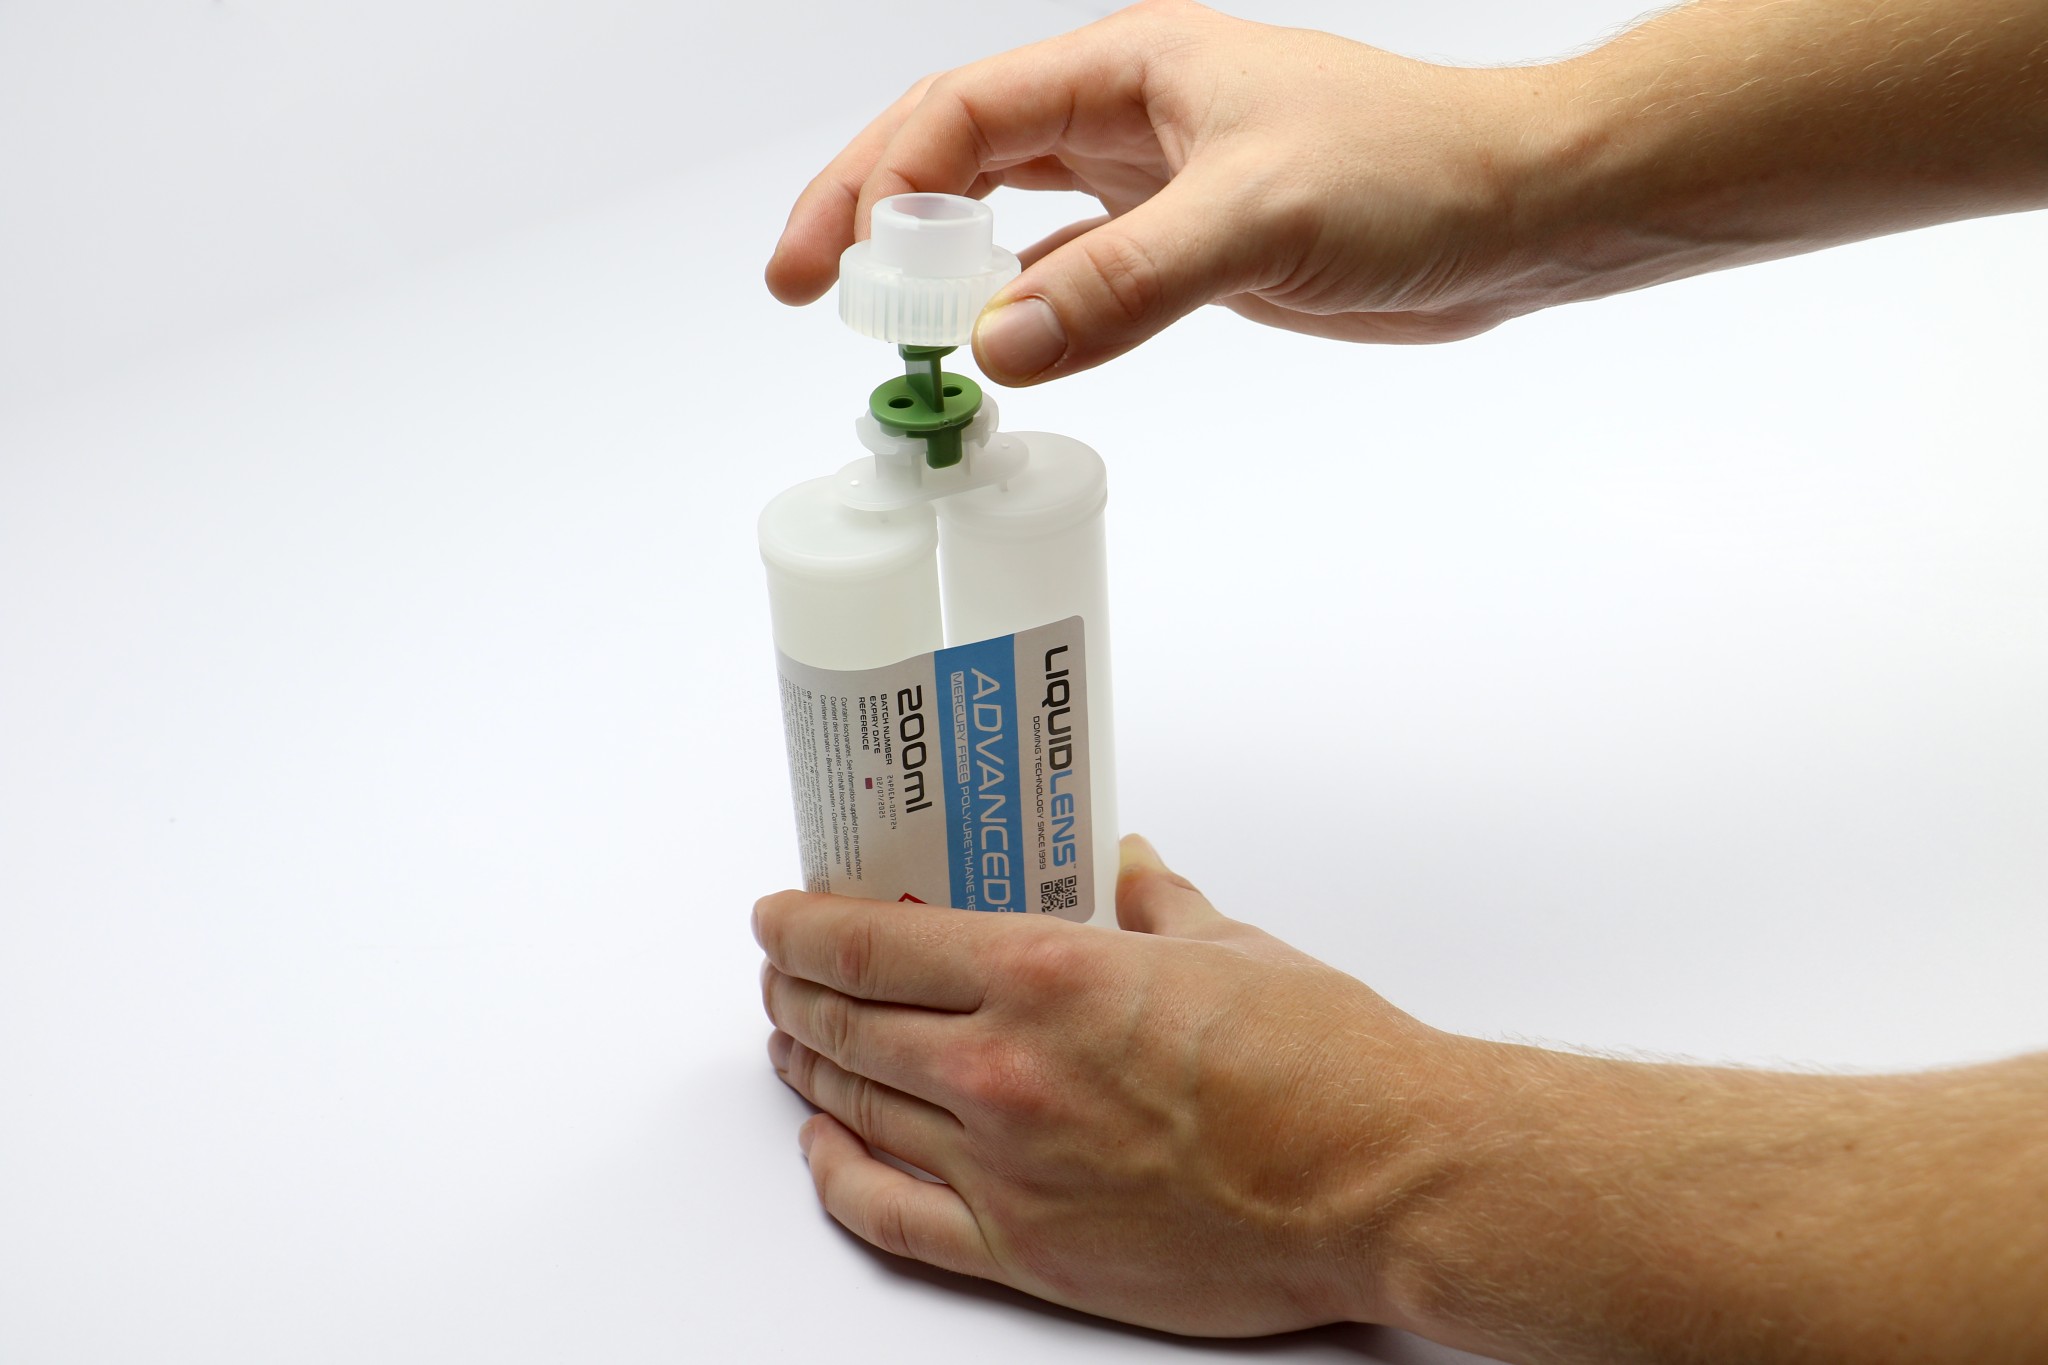
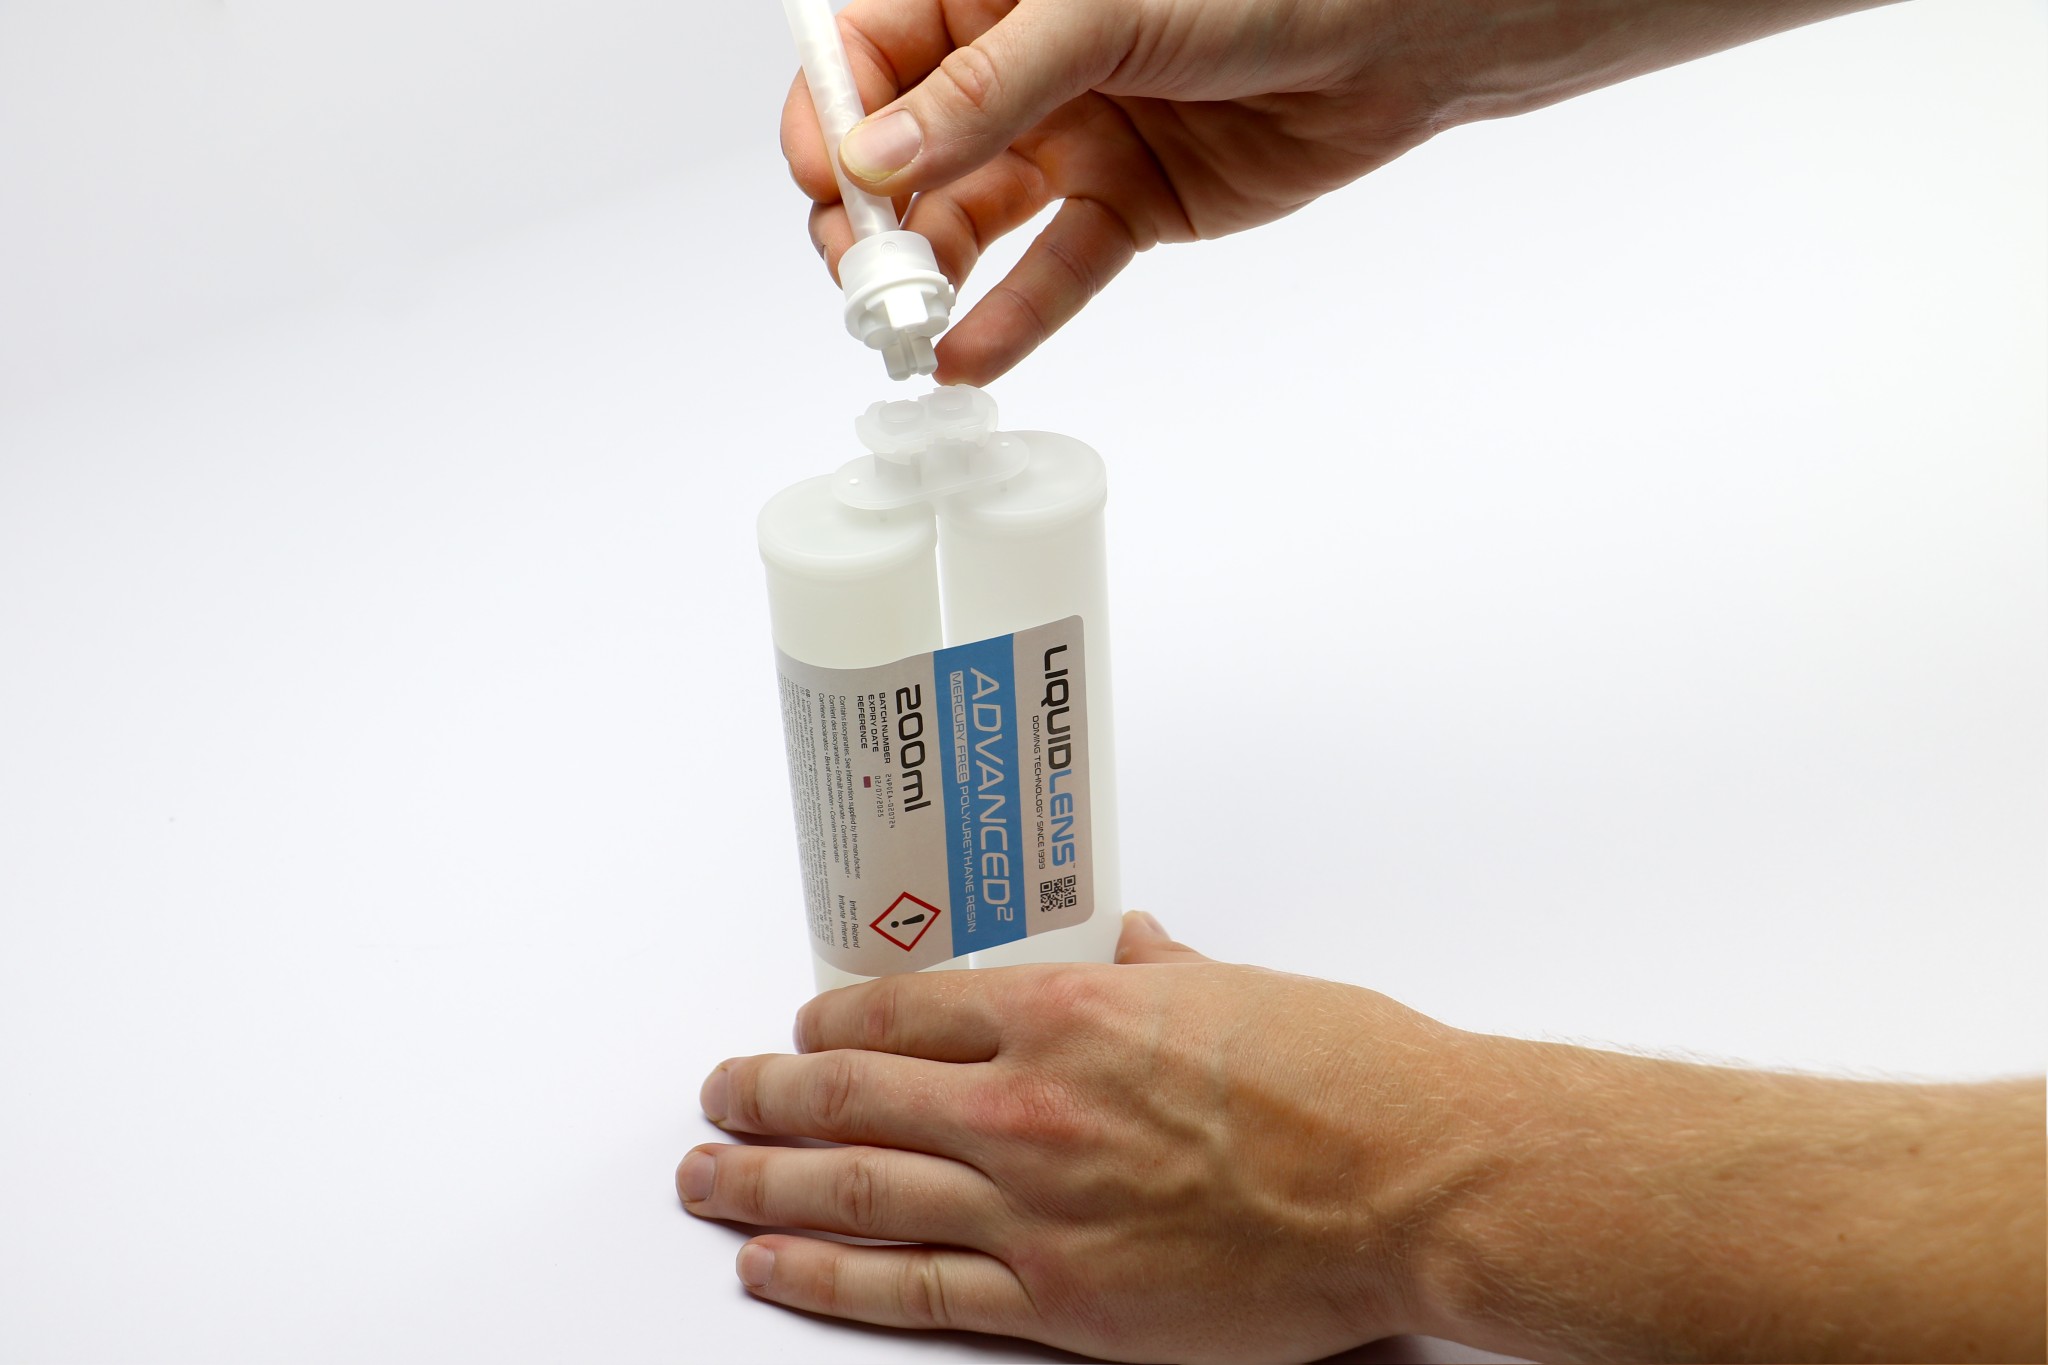
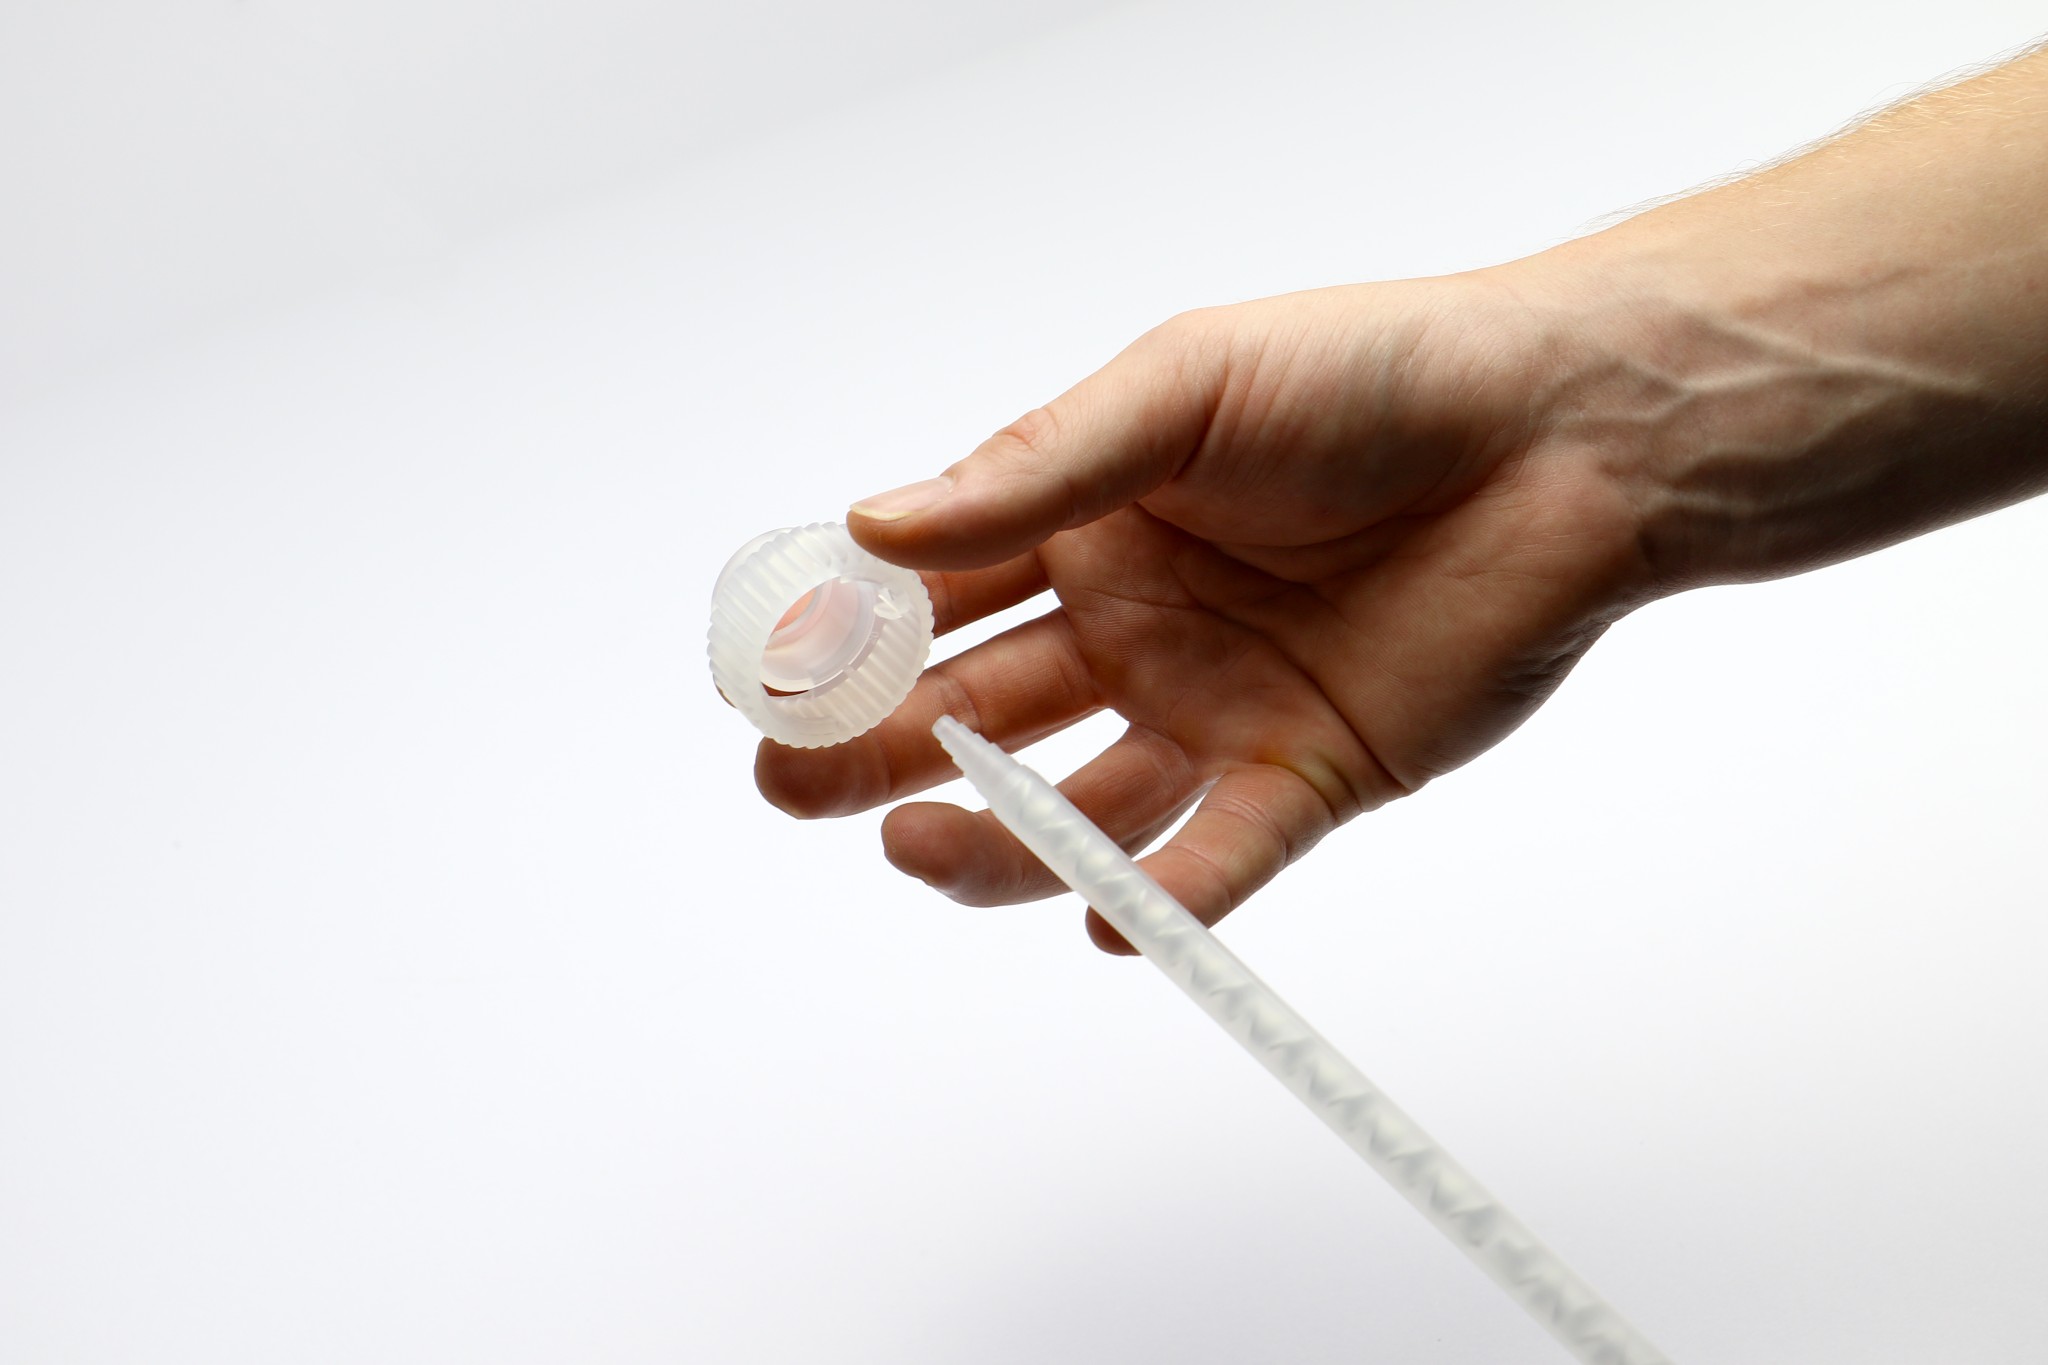
Mixers
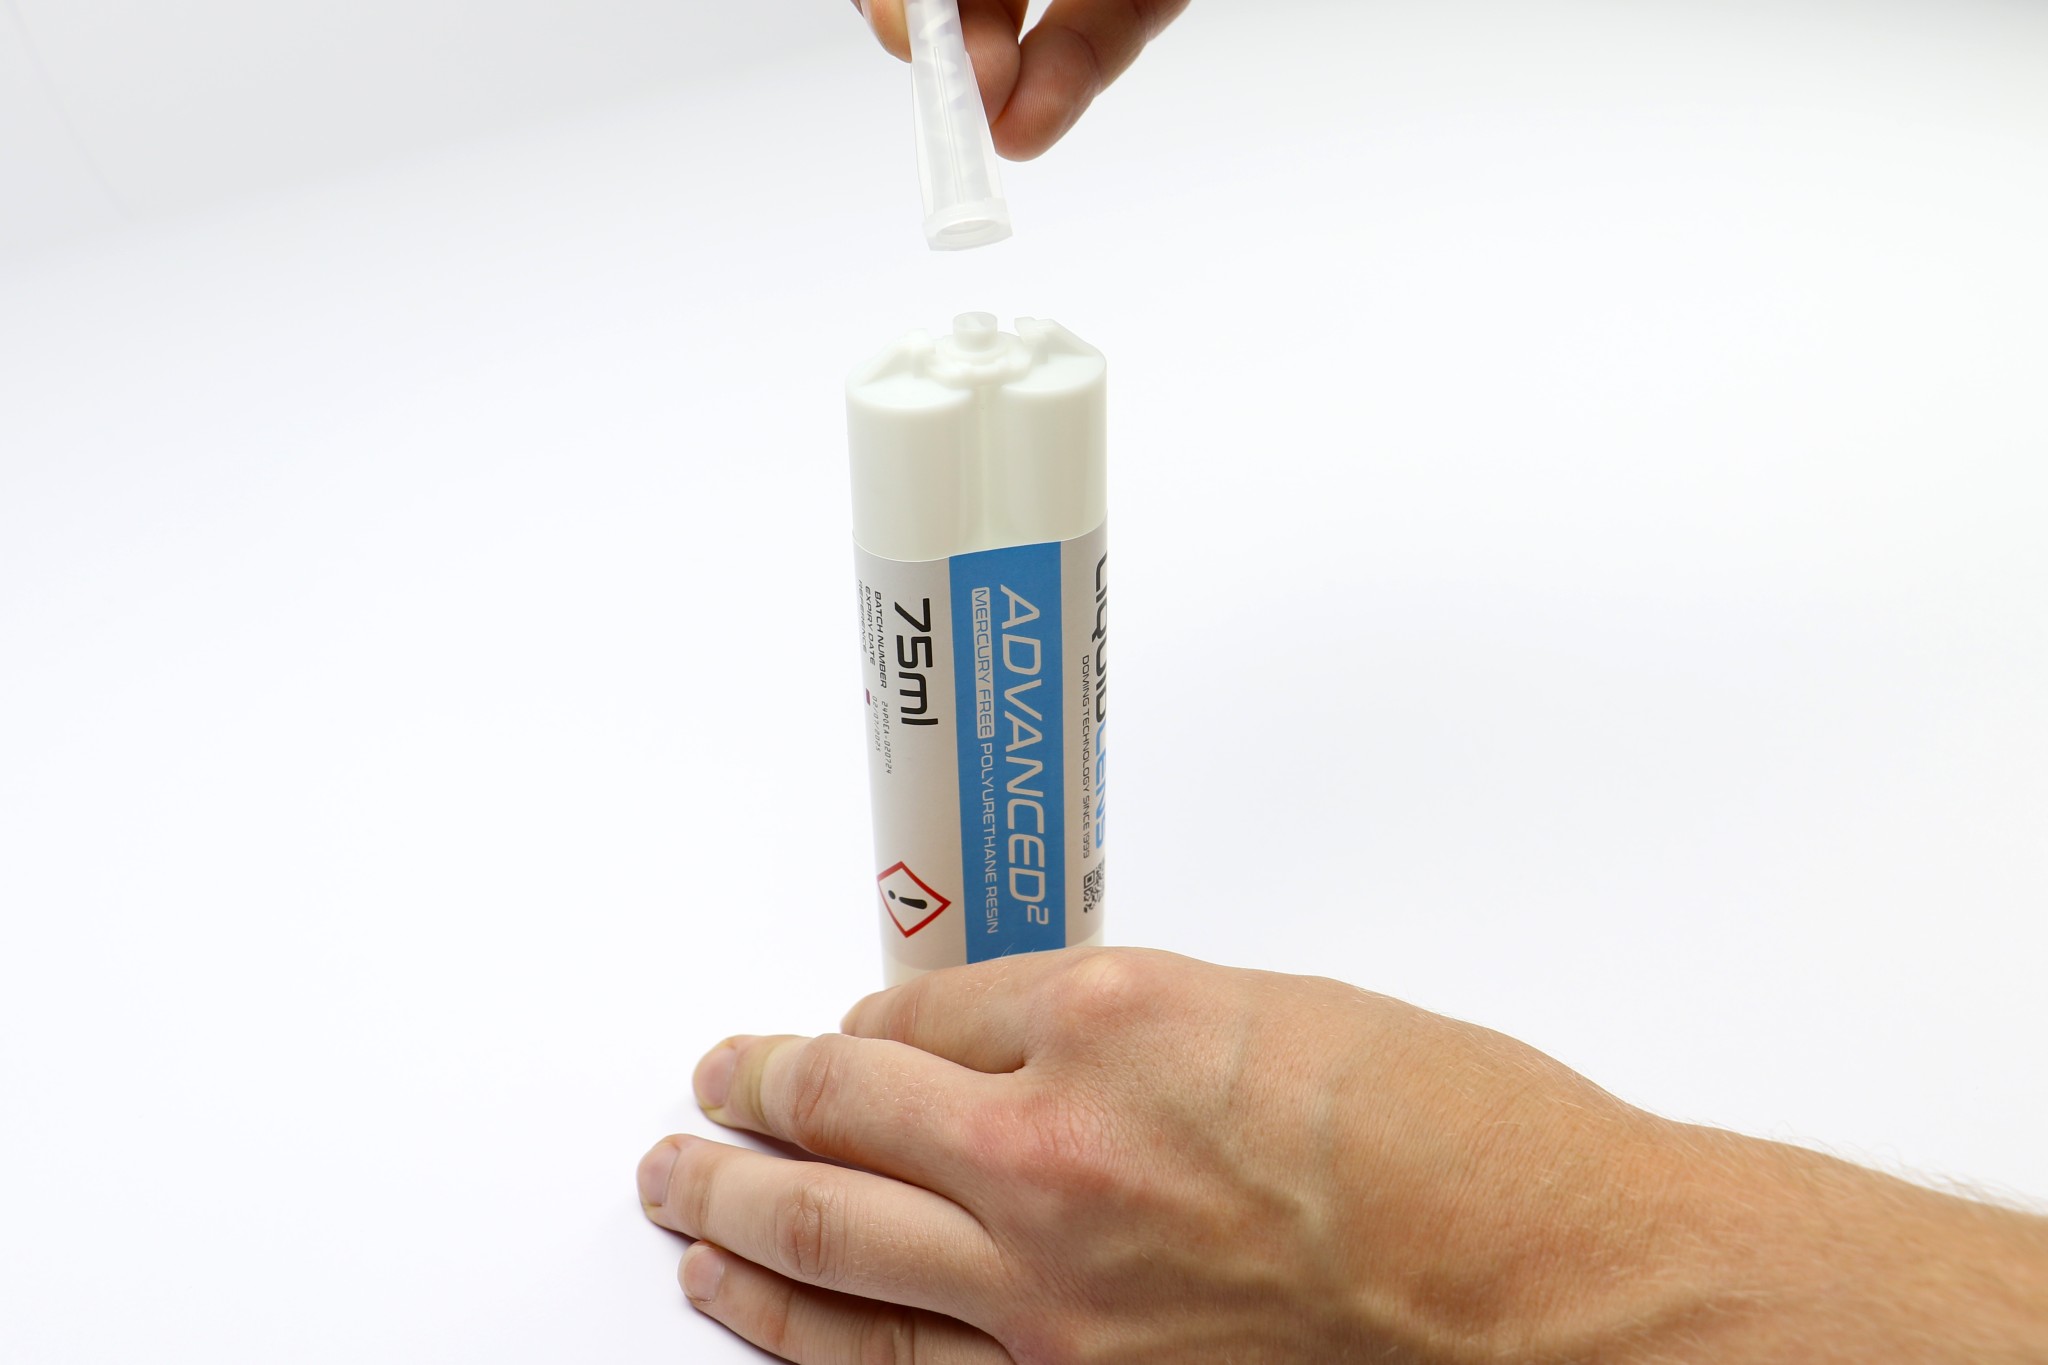
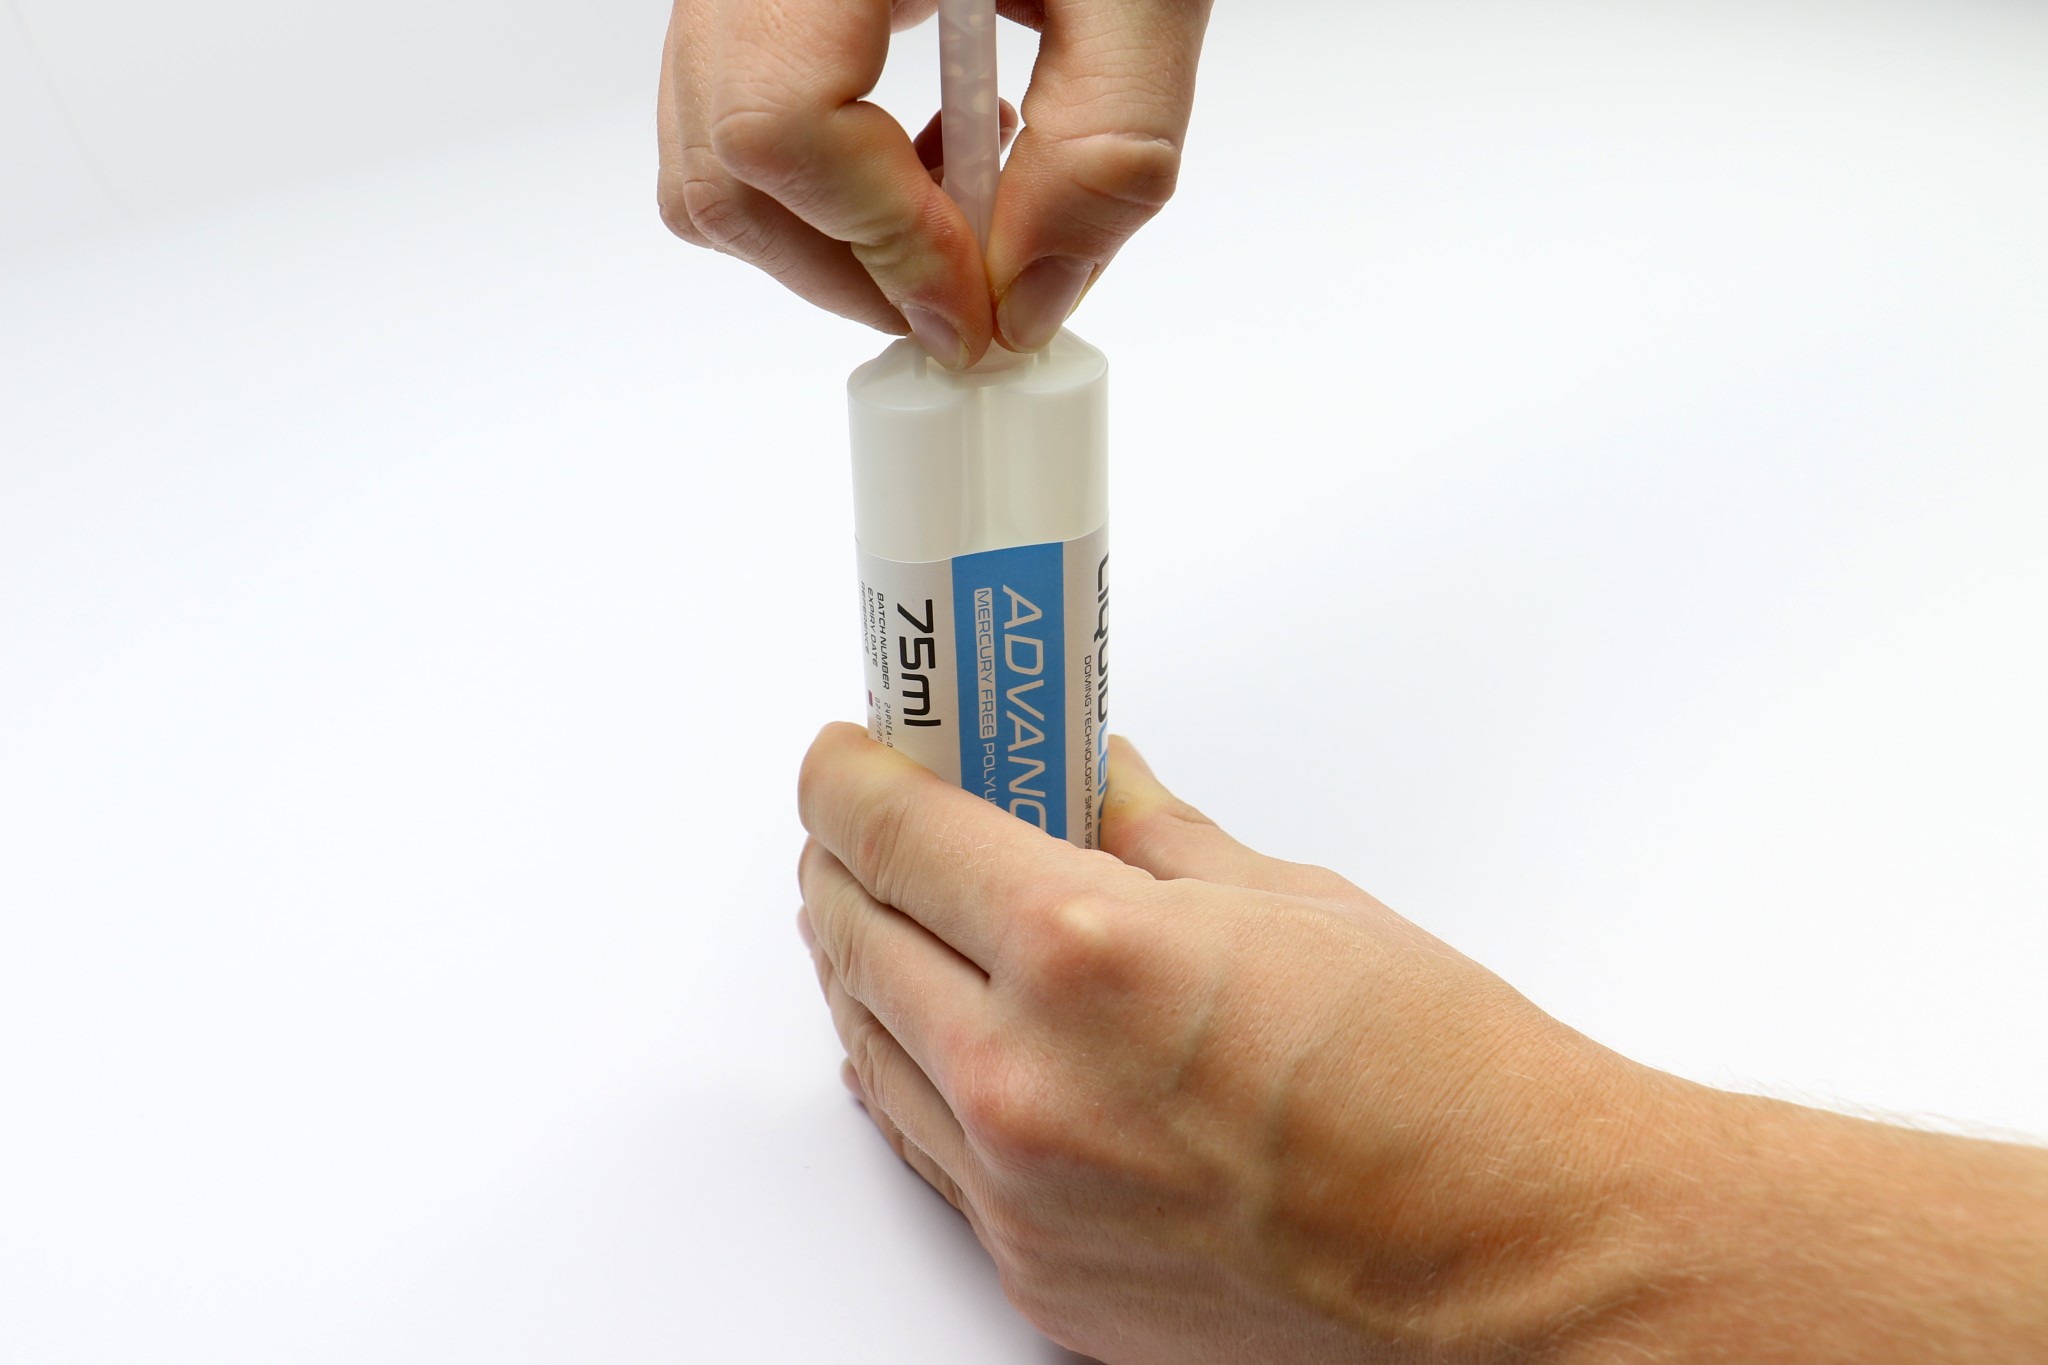
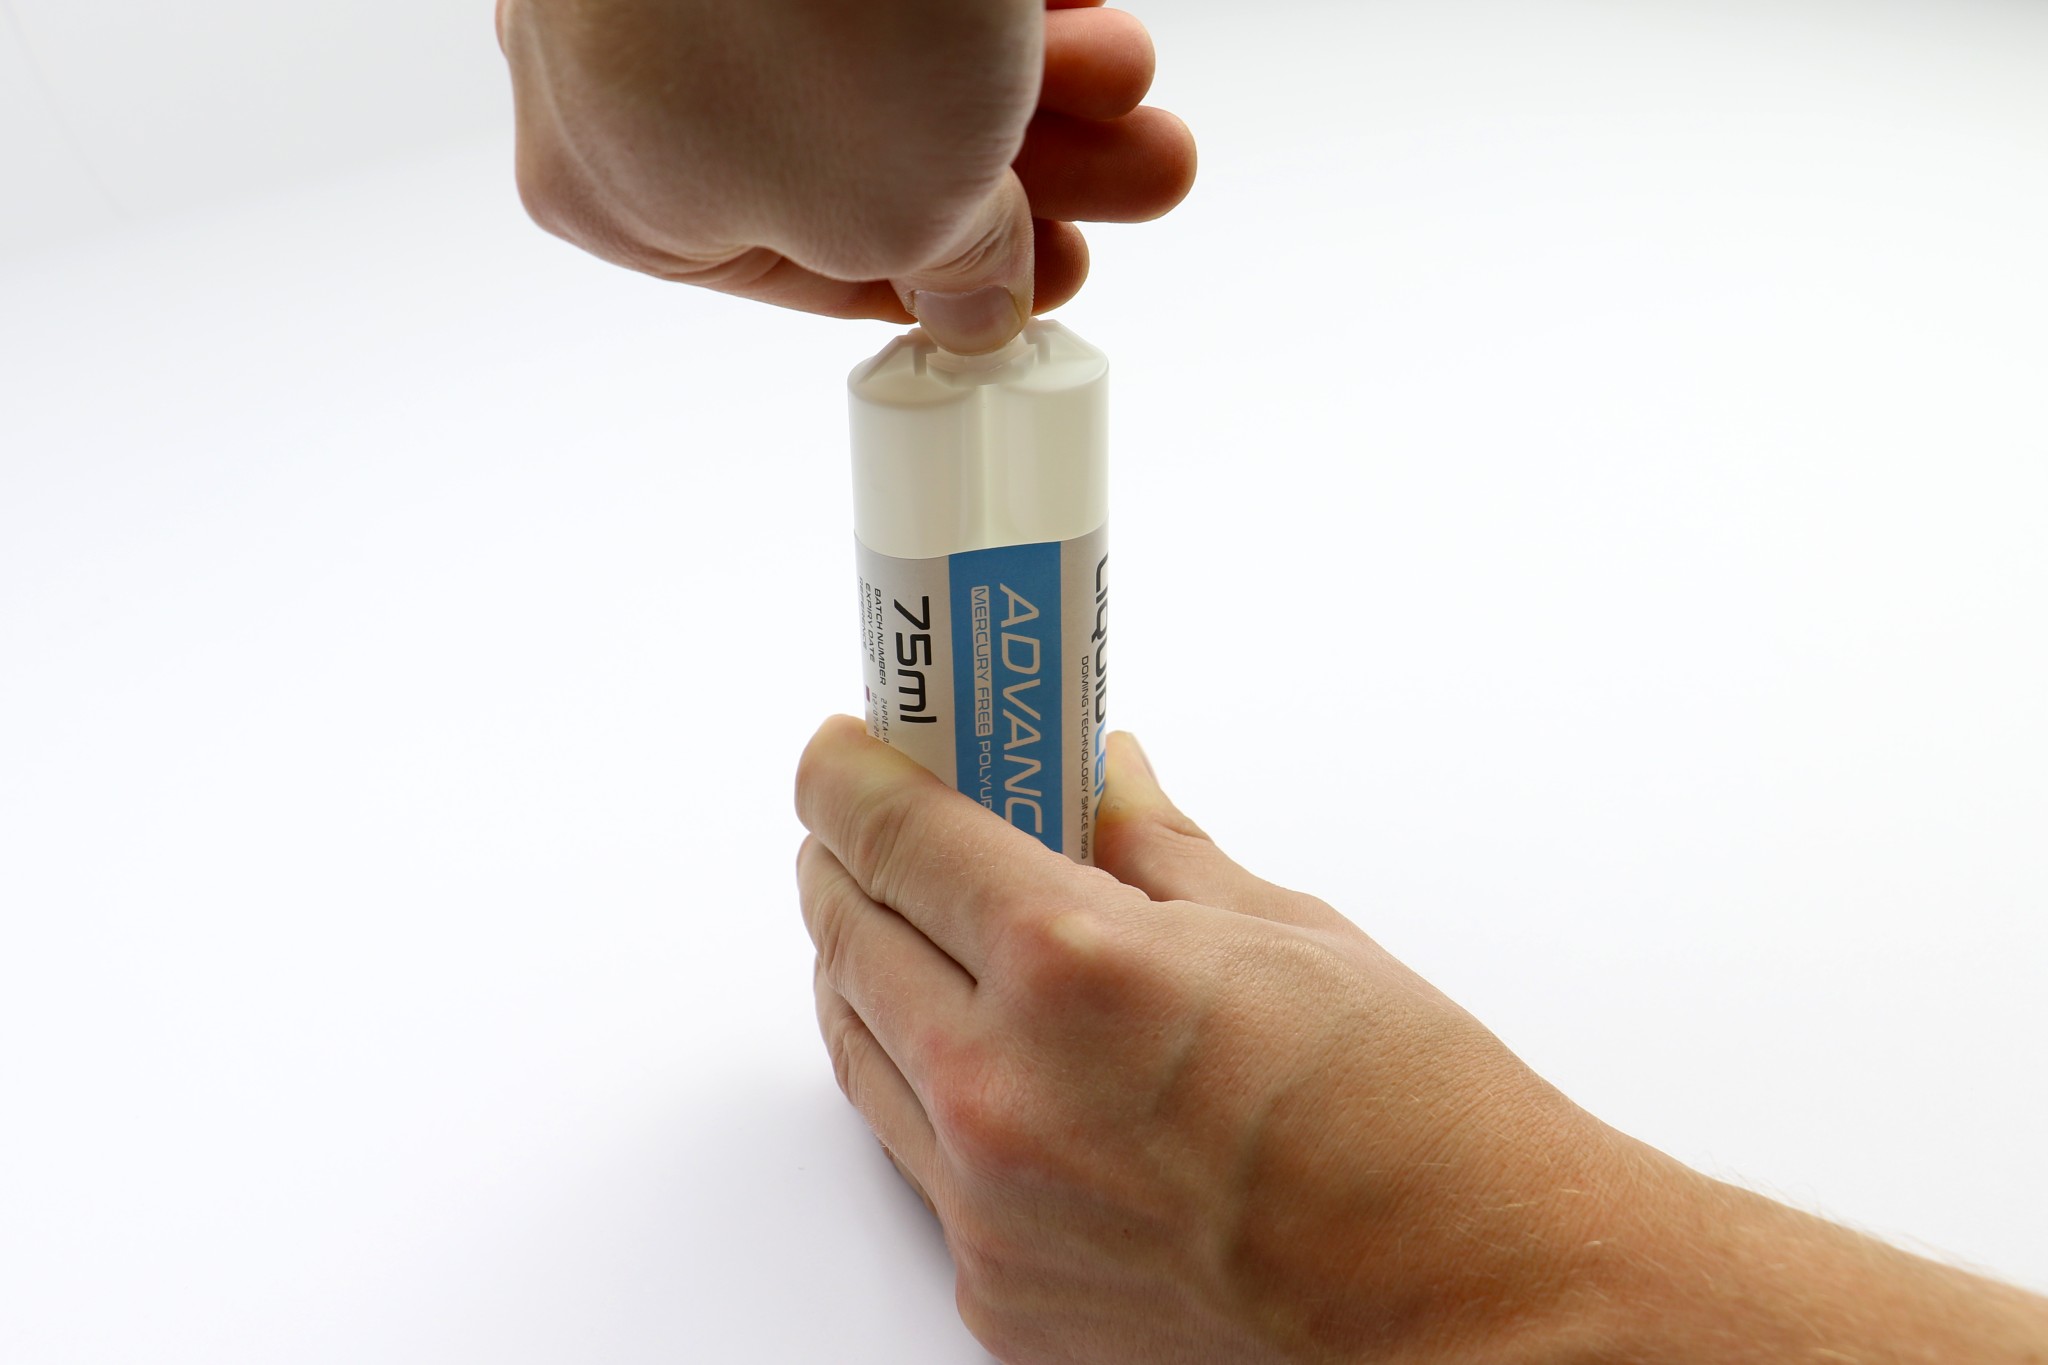
Follow these steps to correctly apply your mixer to the resin cartridge:
- Stand the cartridge upright before removing the cap.
- 50ml and 75ml cartridges:
- Twist the cap 90 degrees and remove it.
- Attach the mixer to the cartridge and twist it 90 degrees to lock it in place.
- 200ml and 400ml cartridges:
- Unscrew the collar cap and remove the inner green nose cap. Keep the collar cap for reattachment.
- Attach the mixer by aligning and interlocking the keyway slots and grooves with the cartridge.
- Reapply the collar cap over the mixer and screw it firmly to secure and seal the mixer to the cartridge.

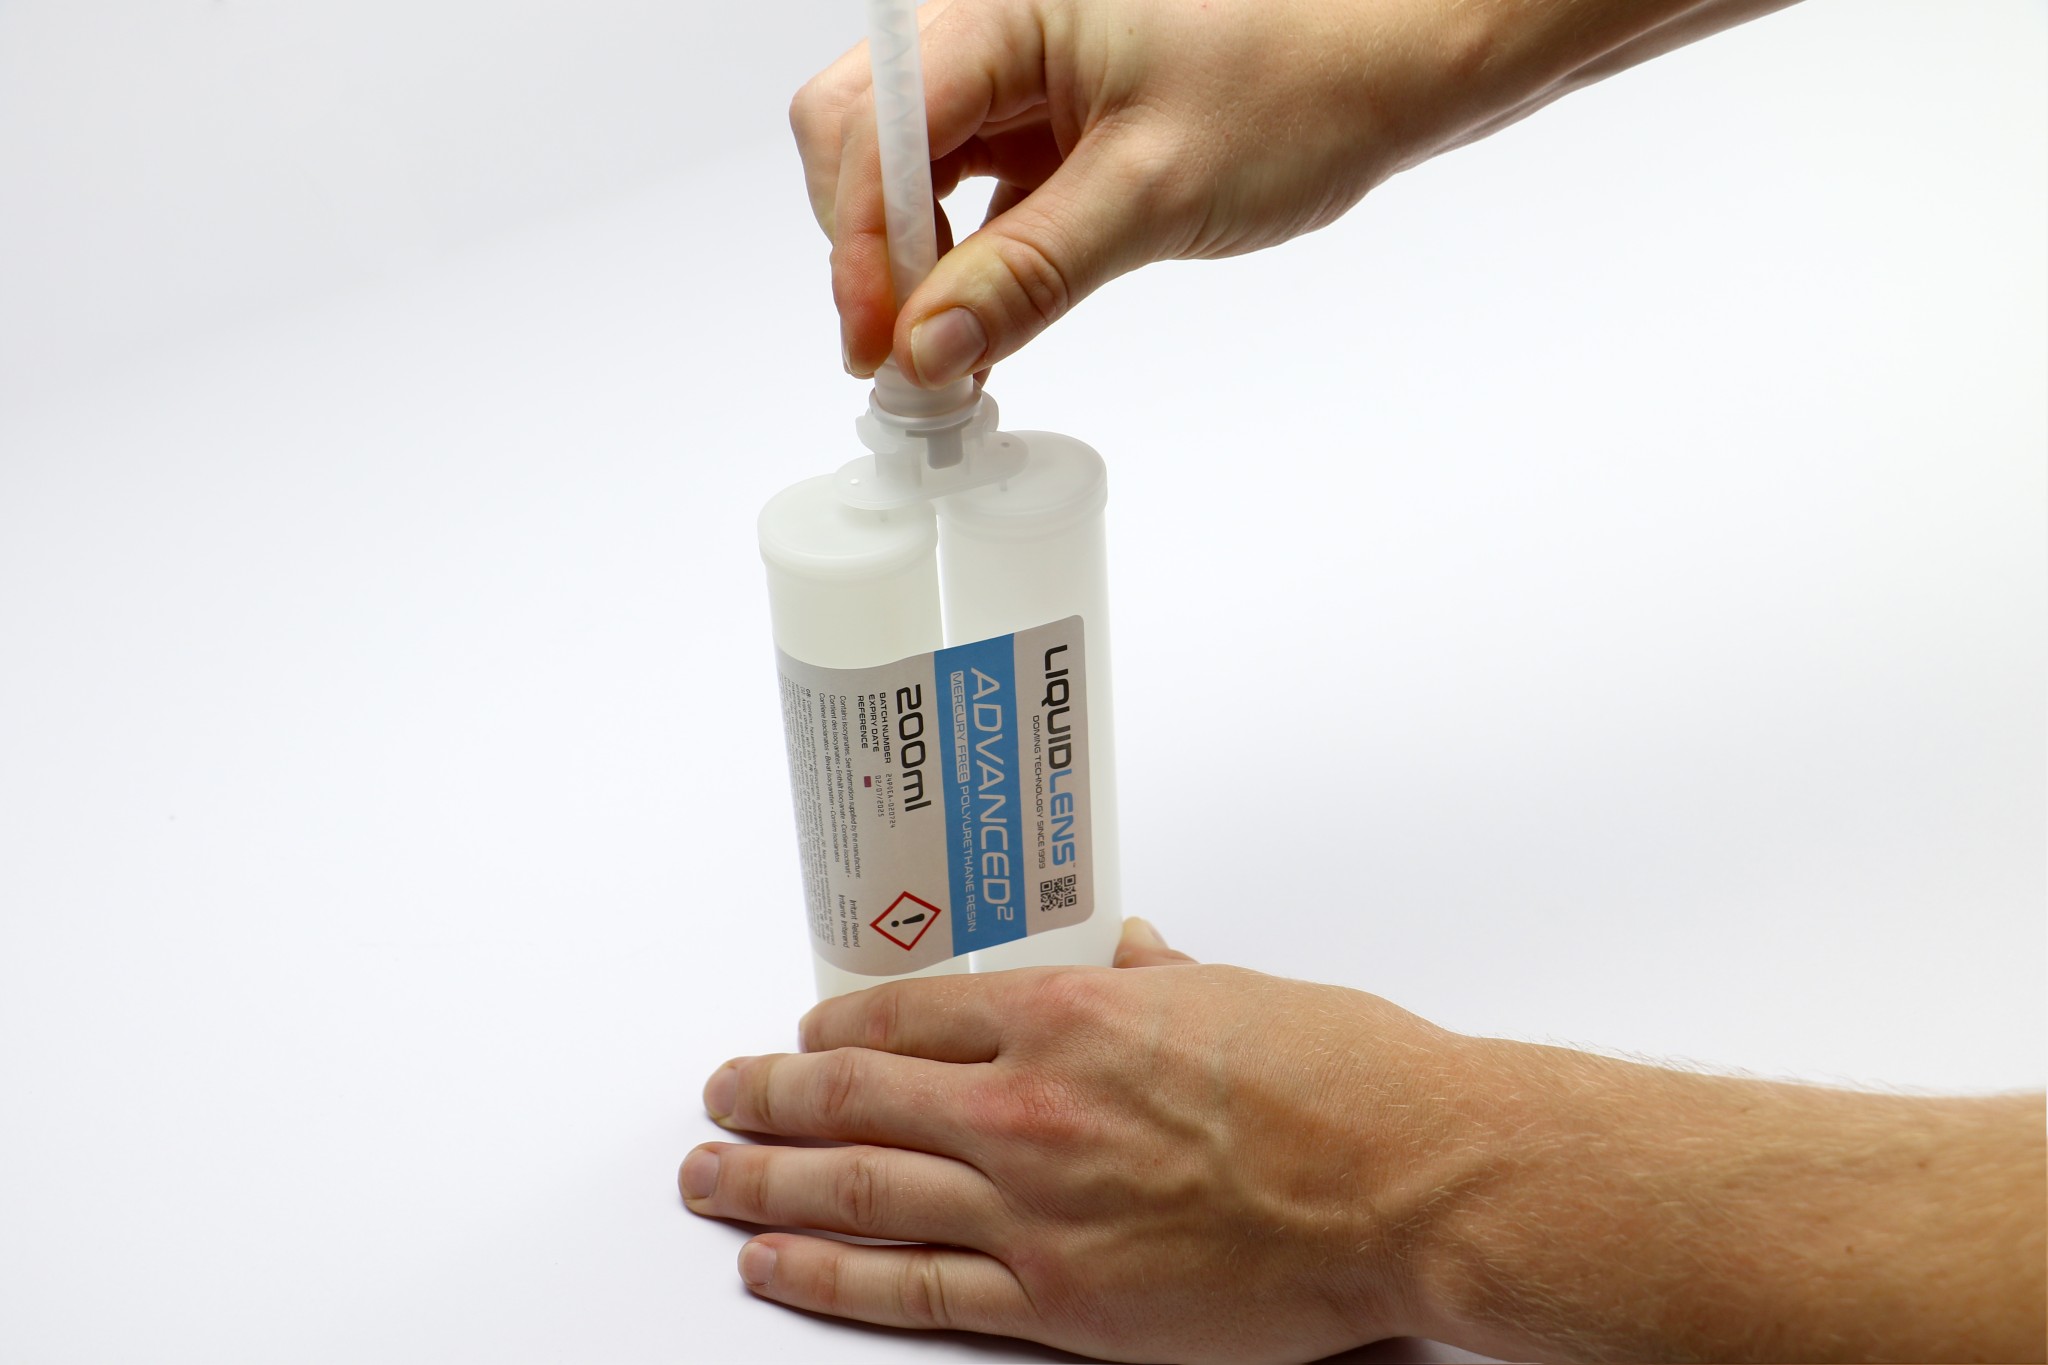
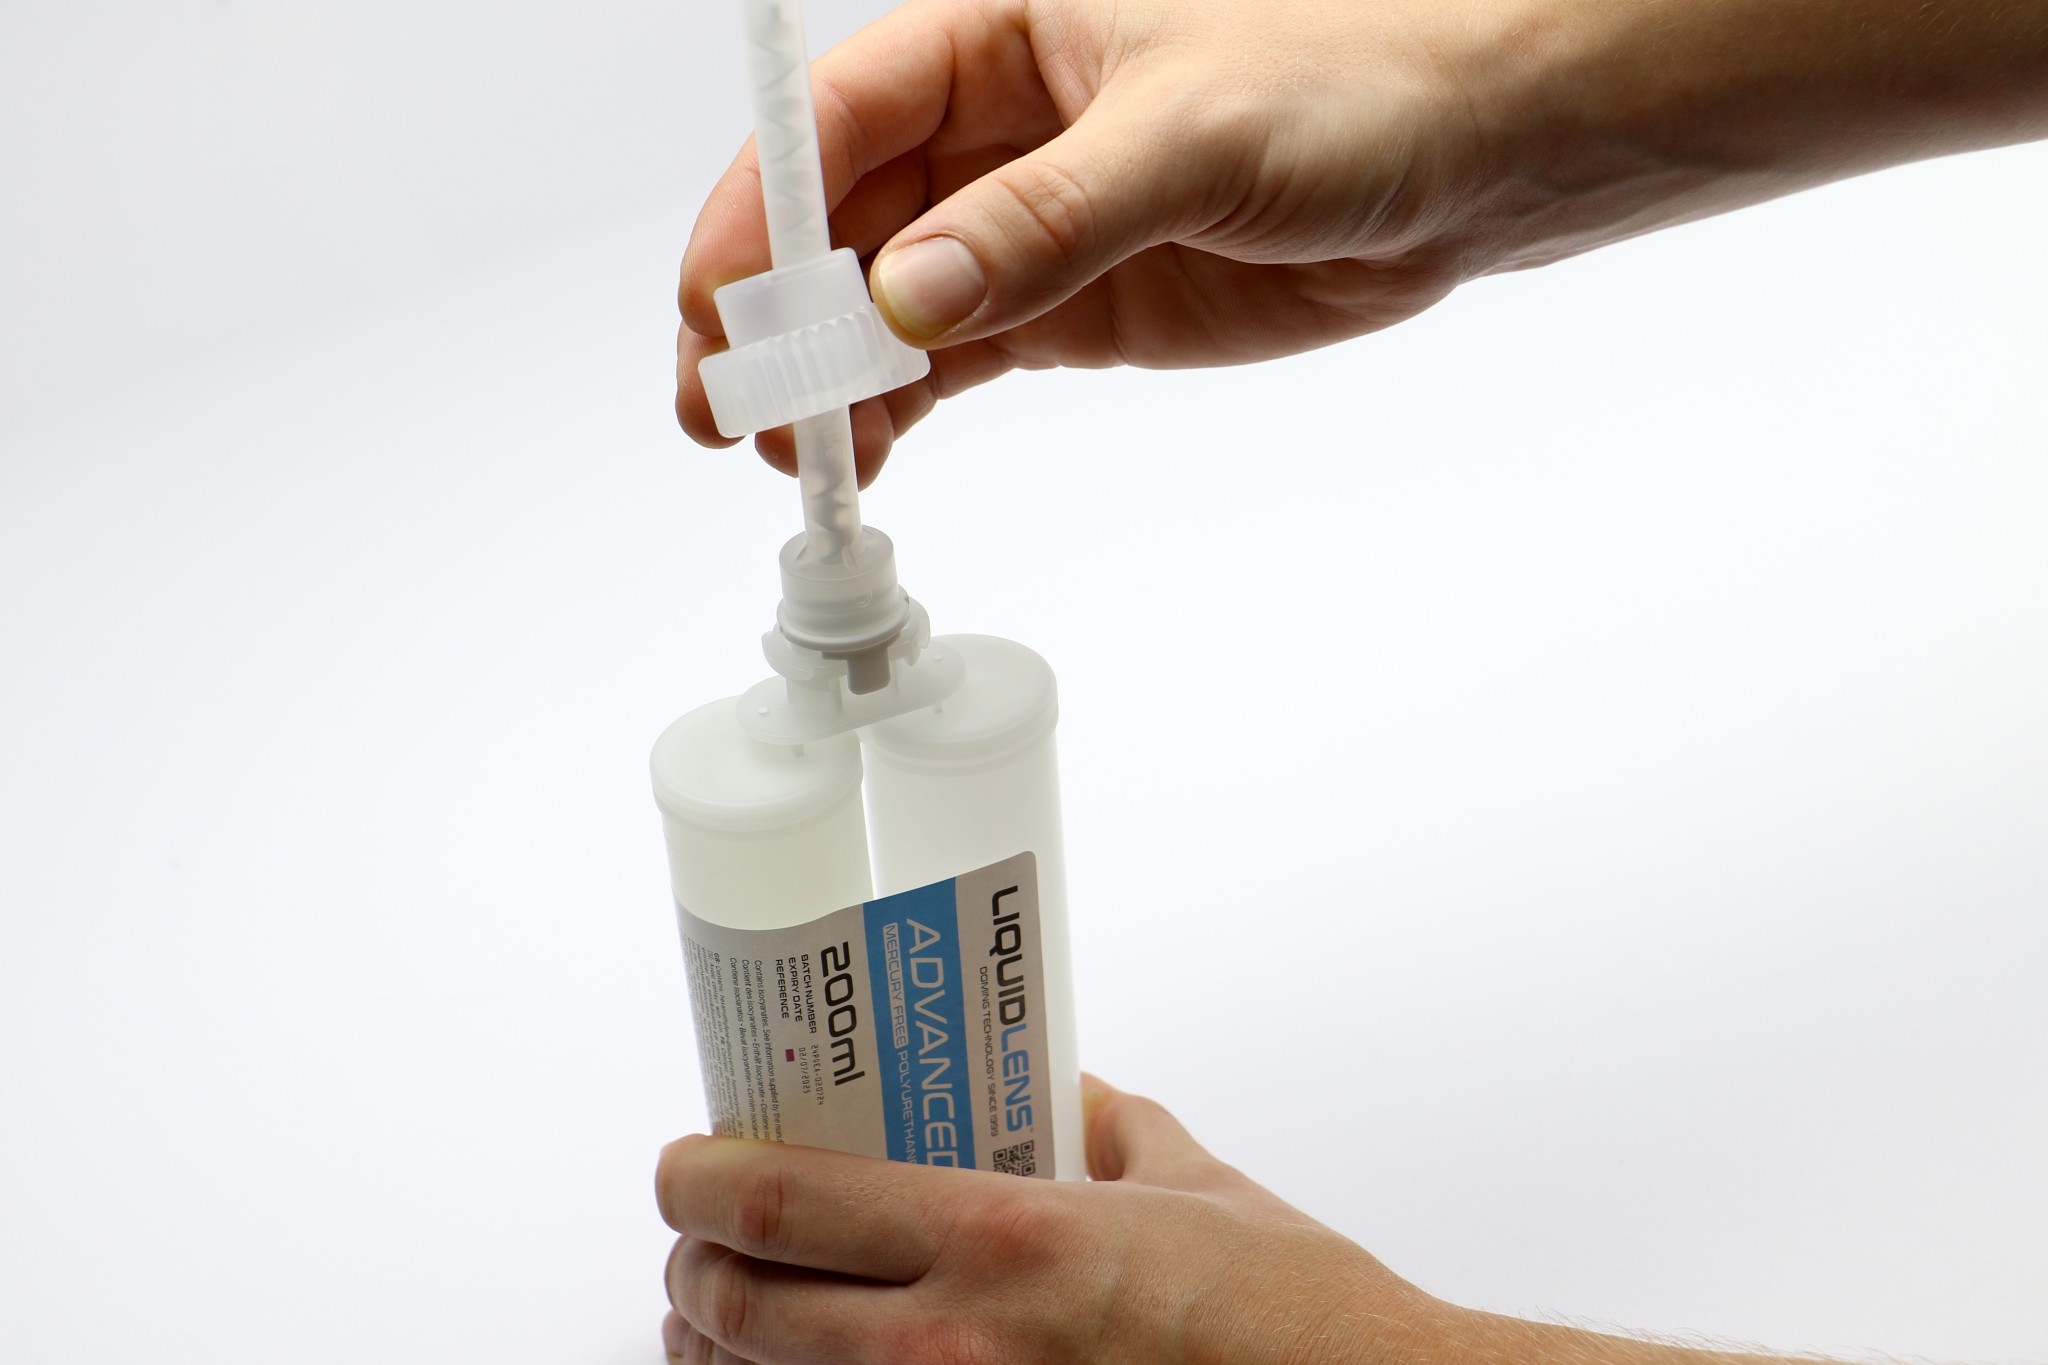

Cartridge caps are re-usable and you can reseal your cartridges after use.
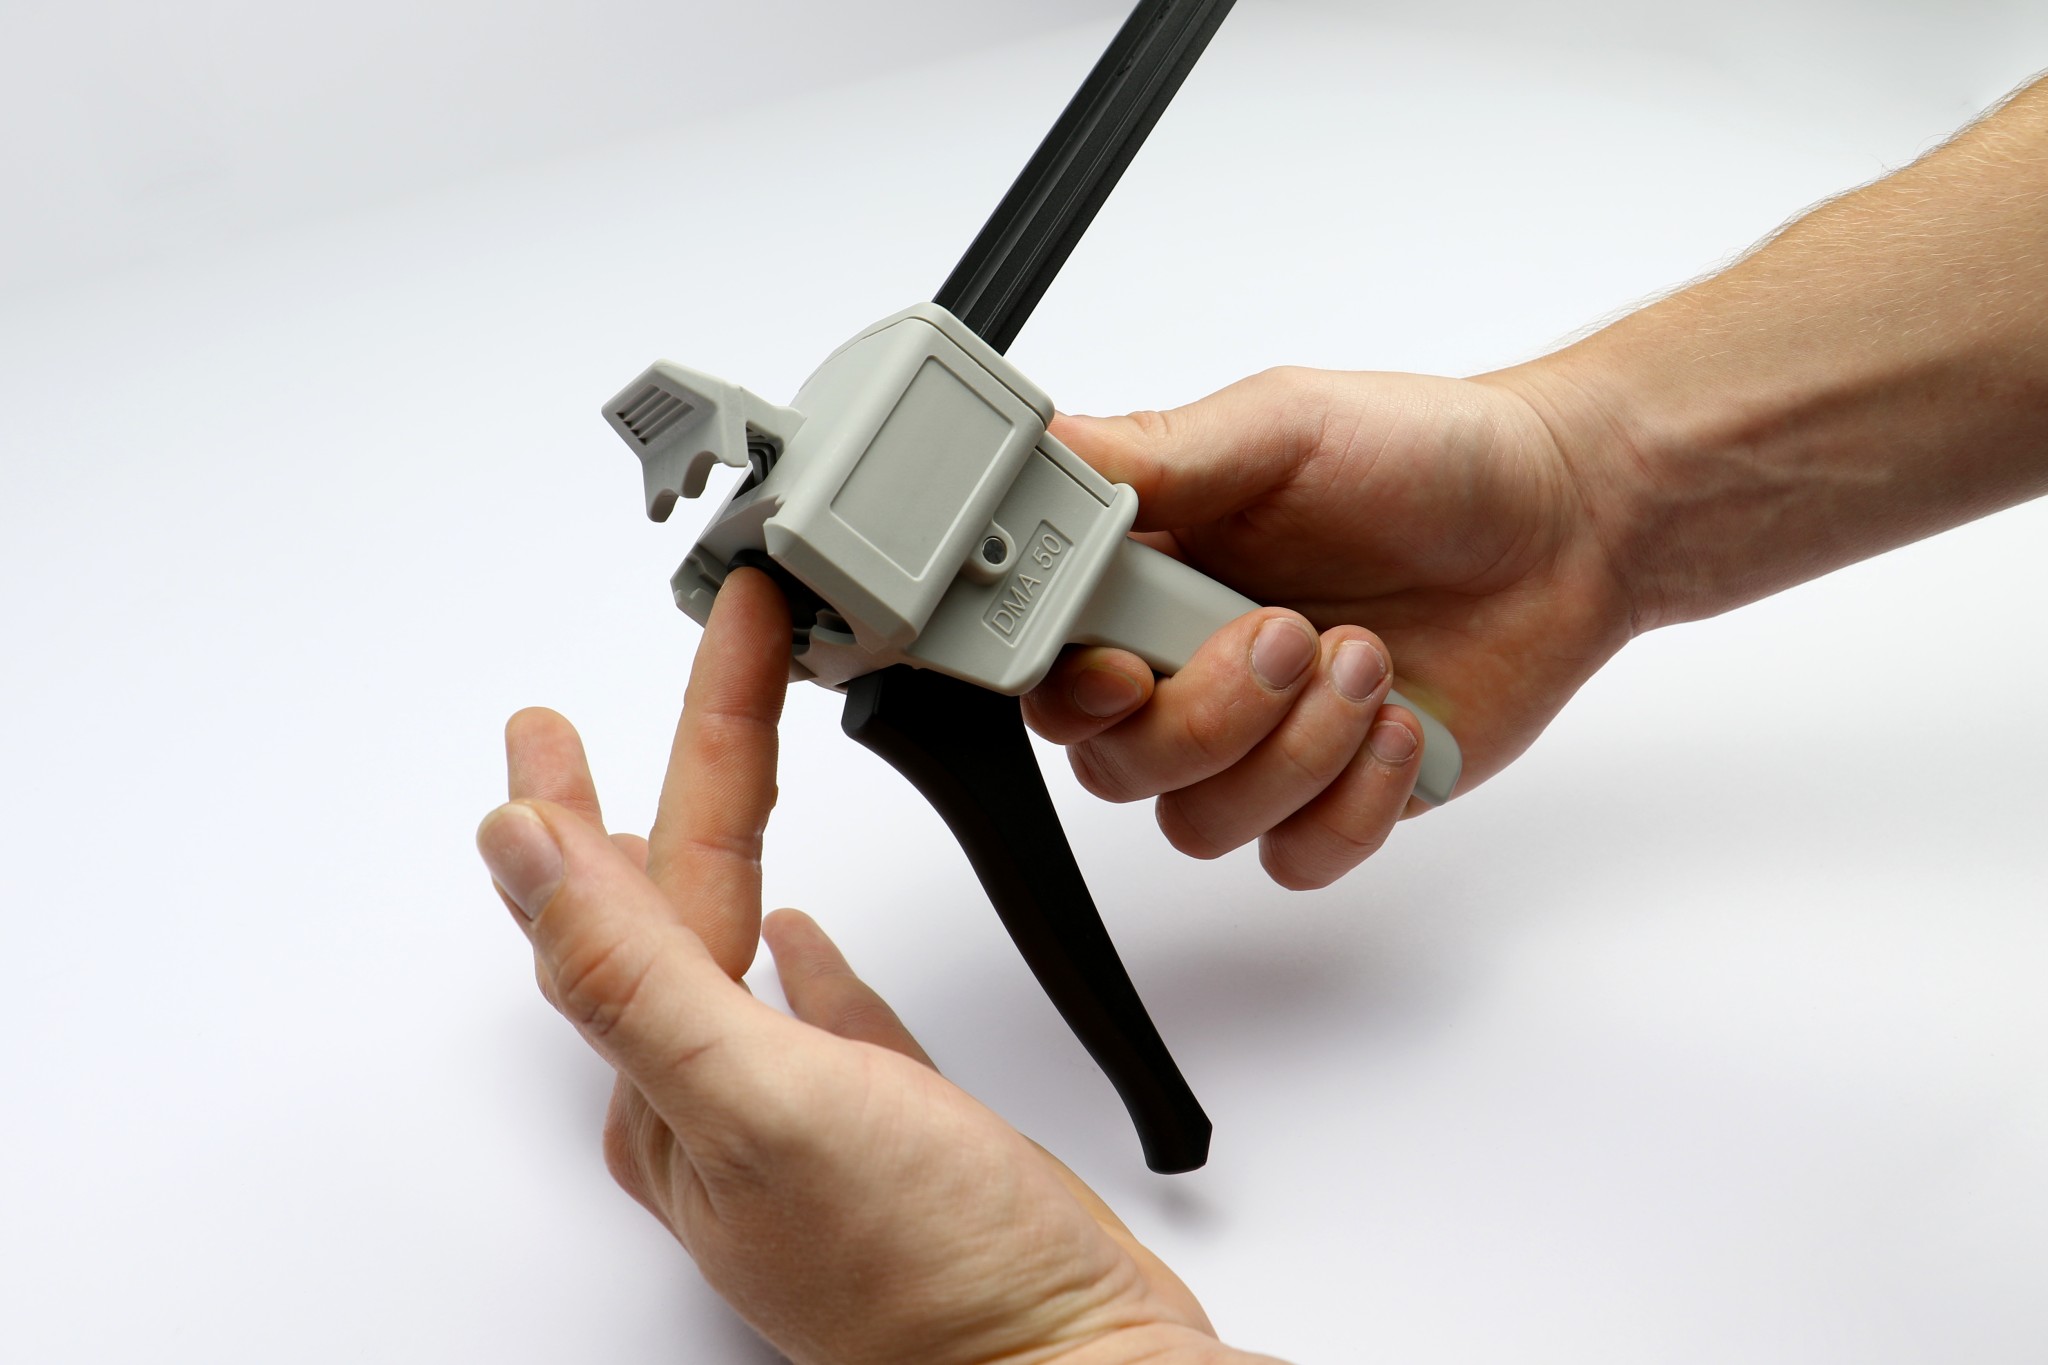
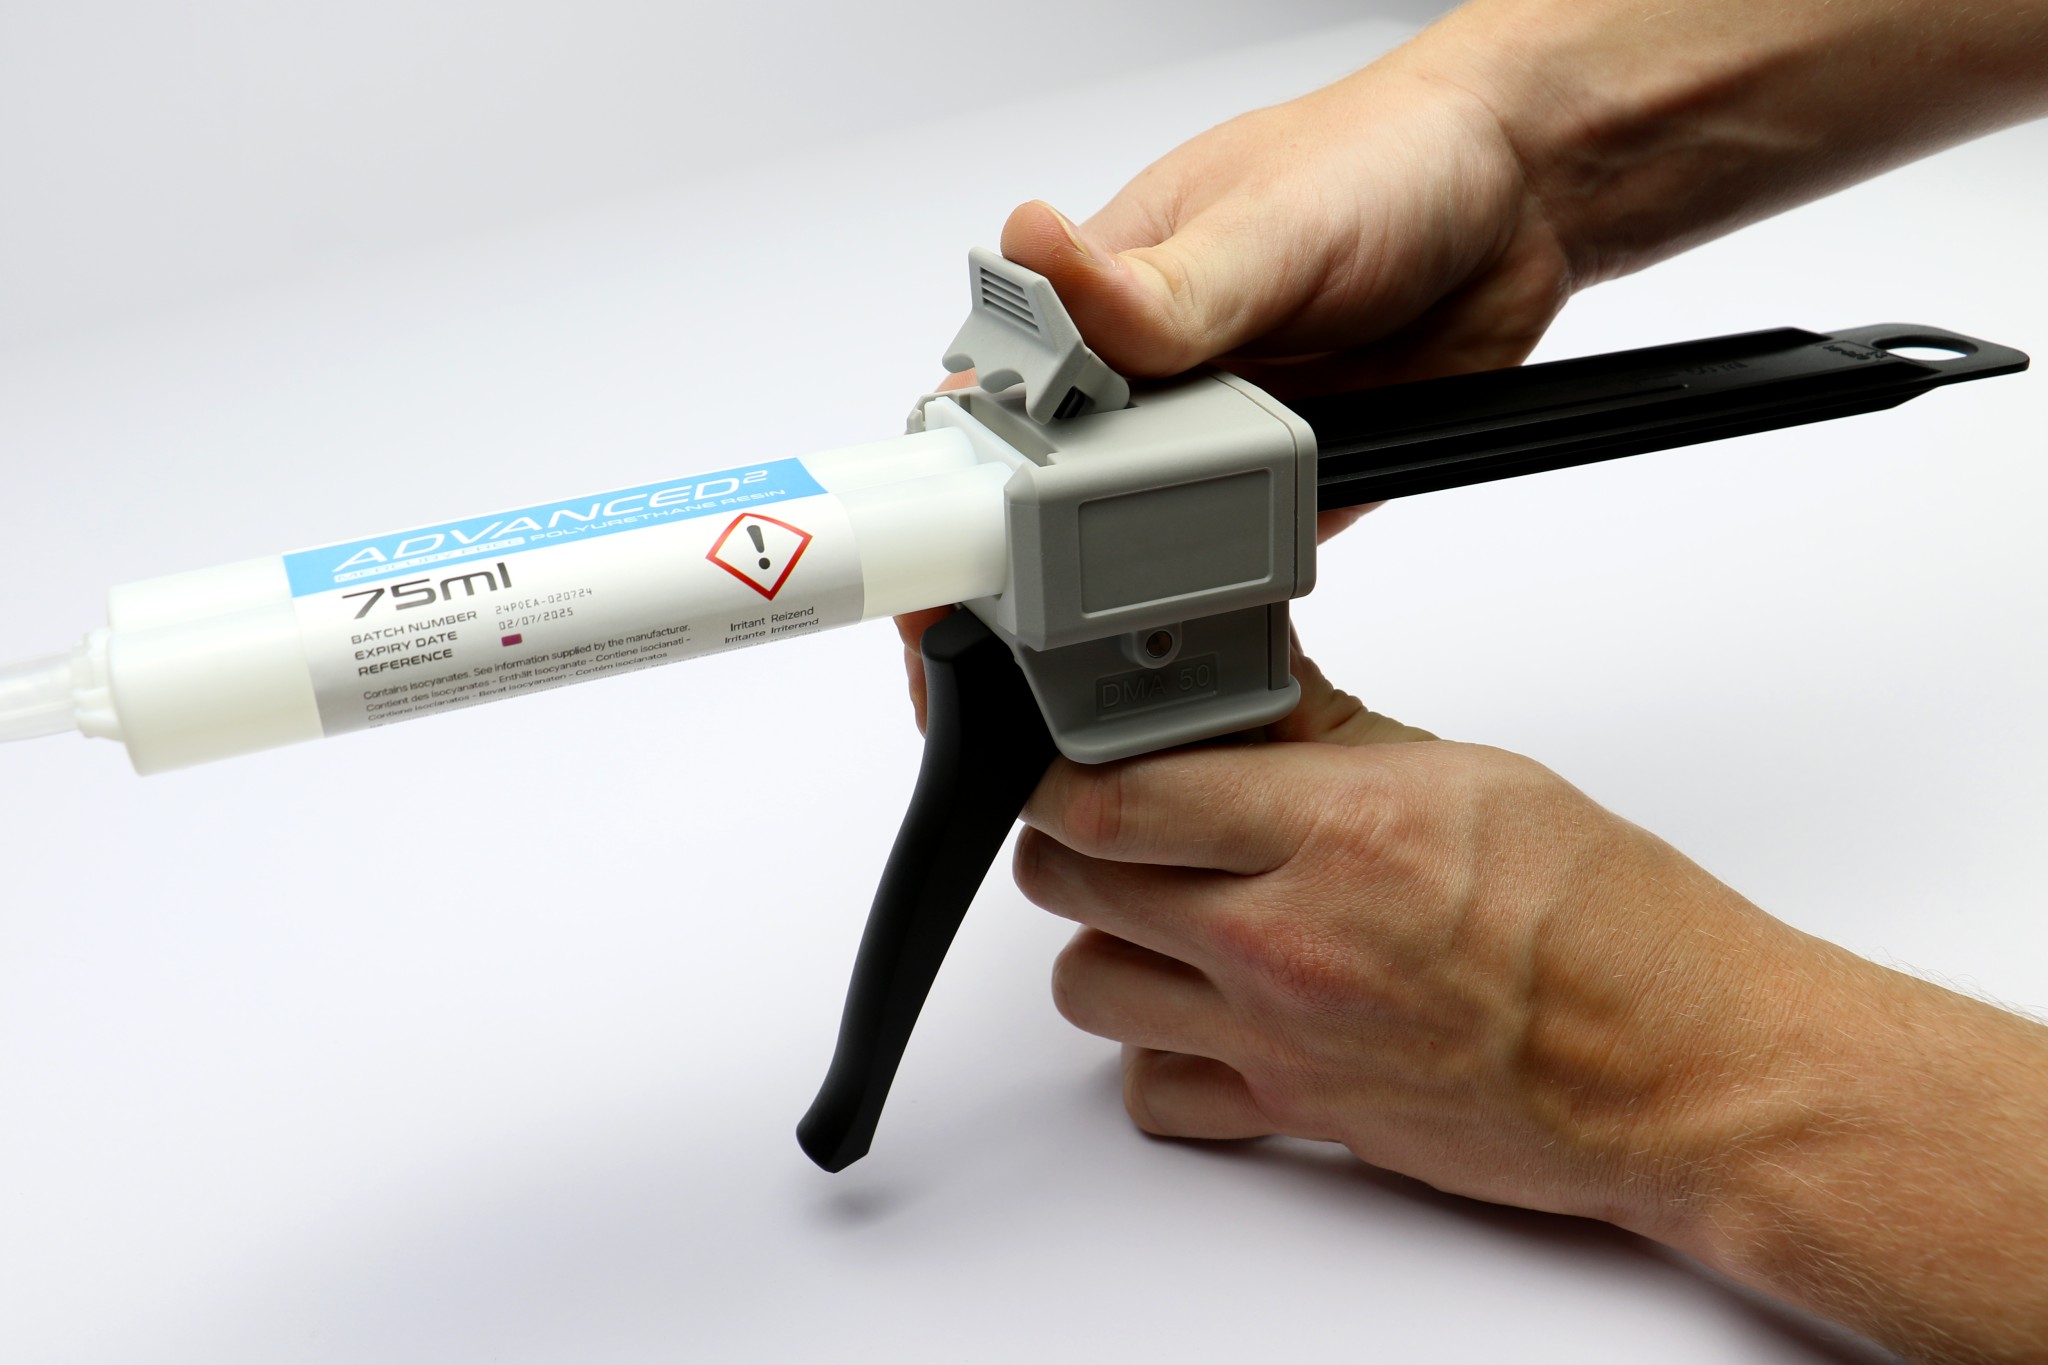
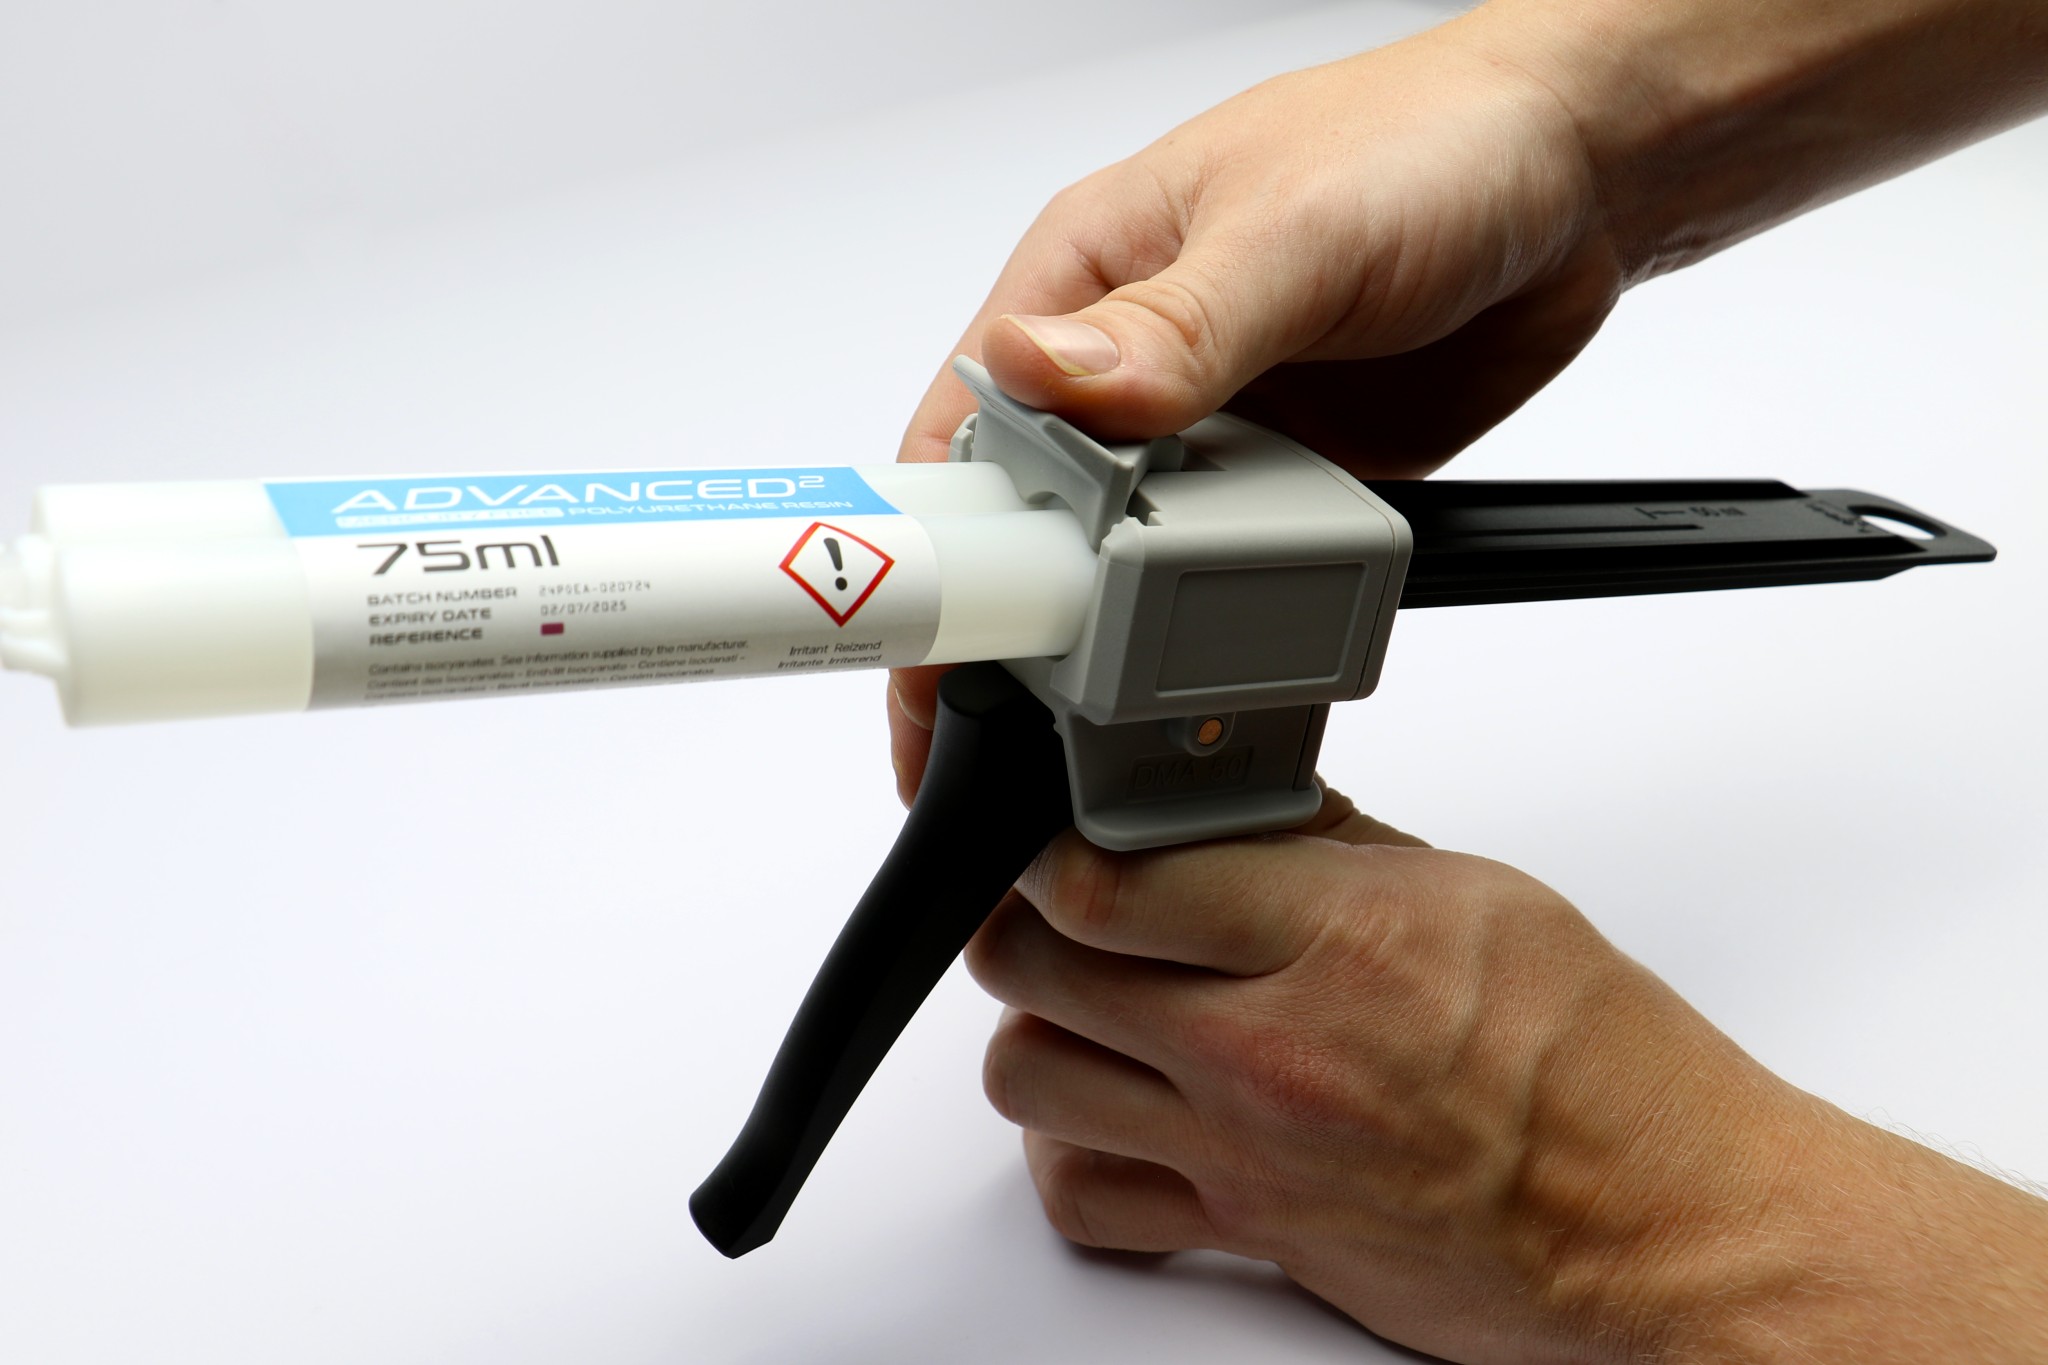
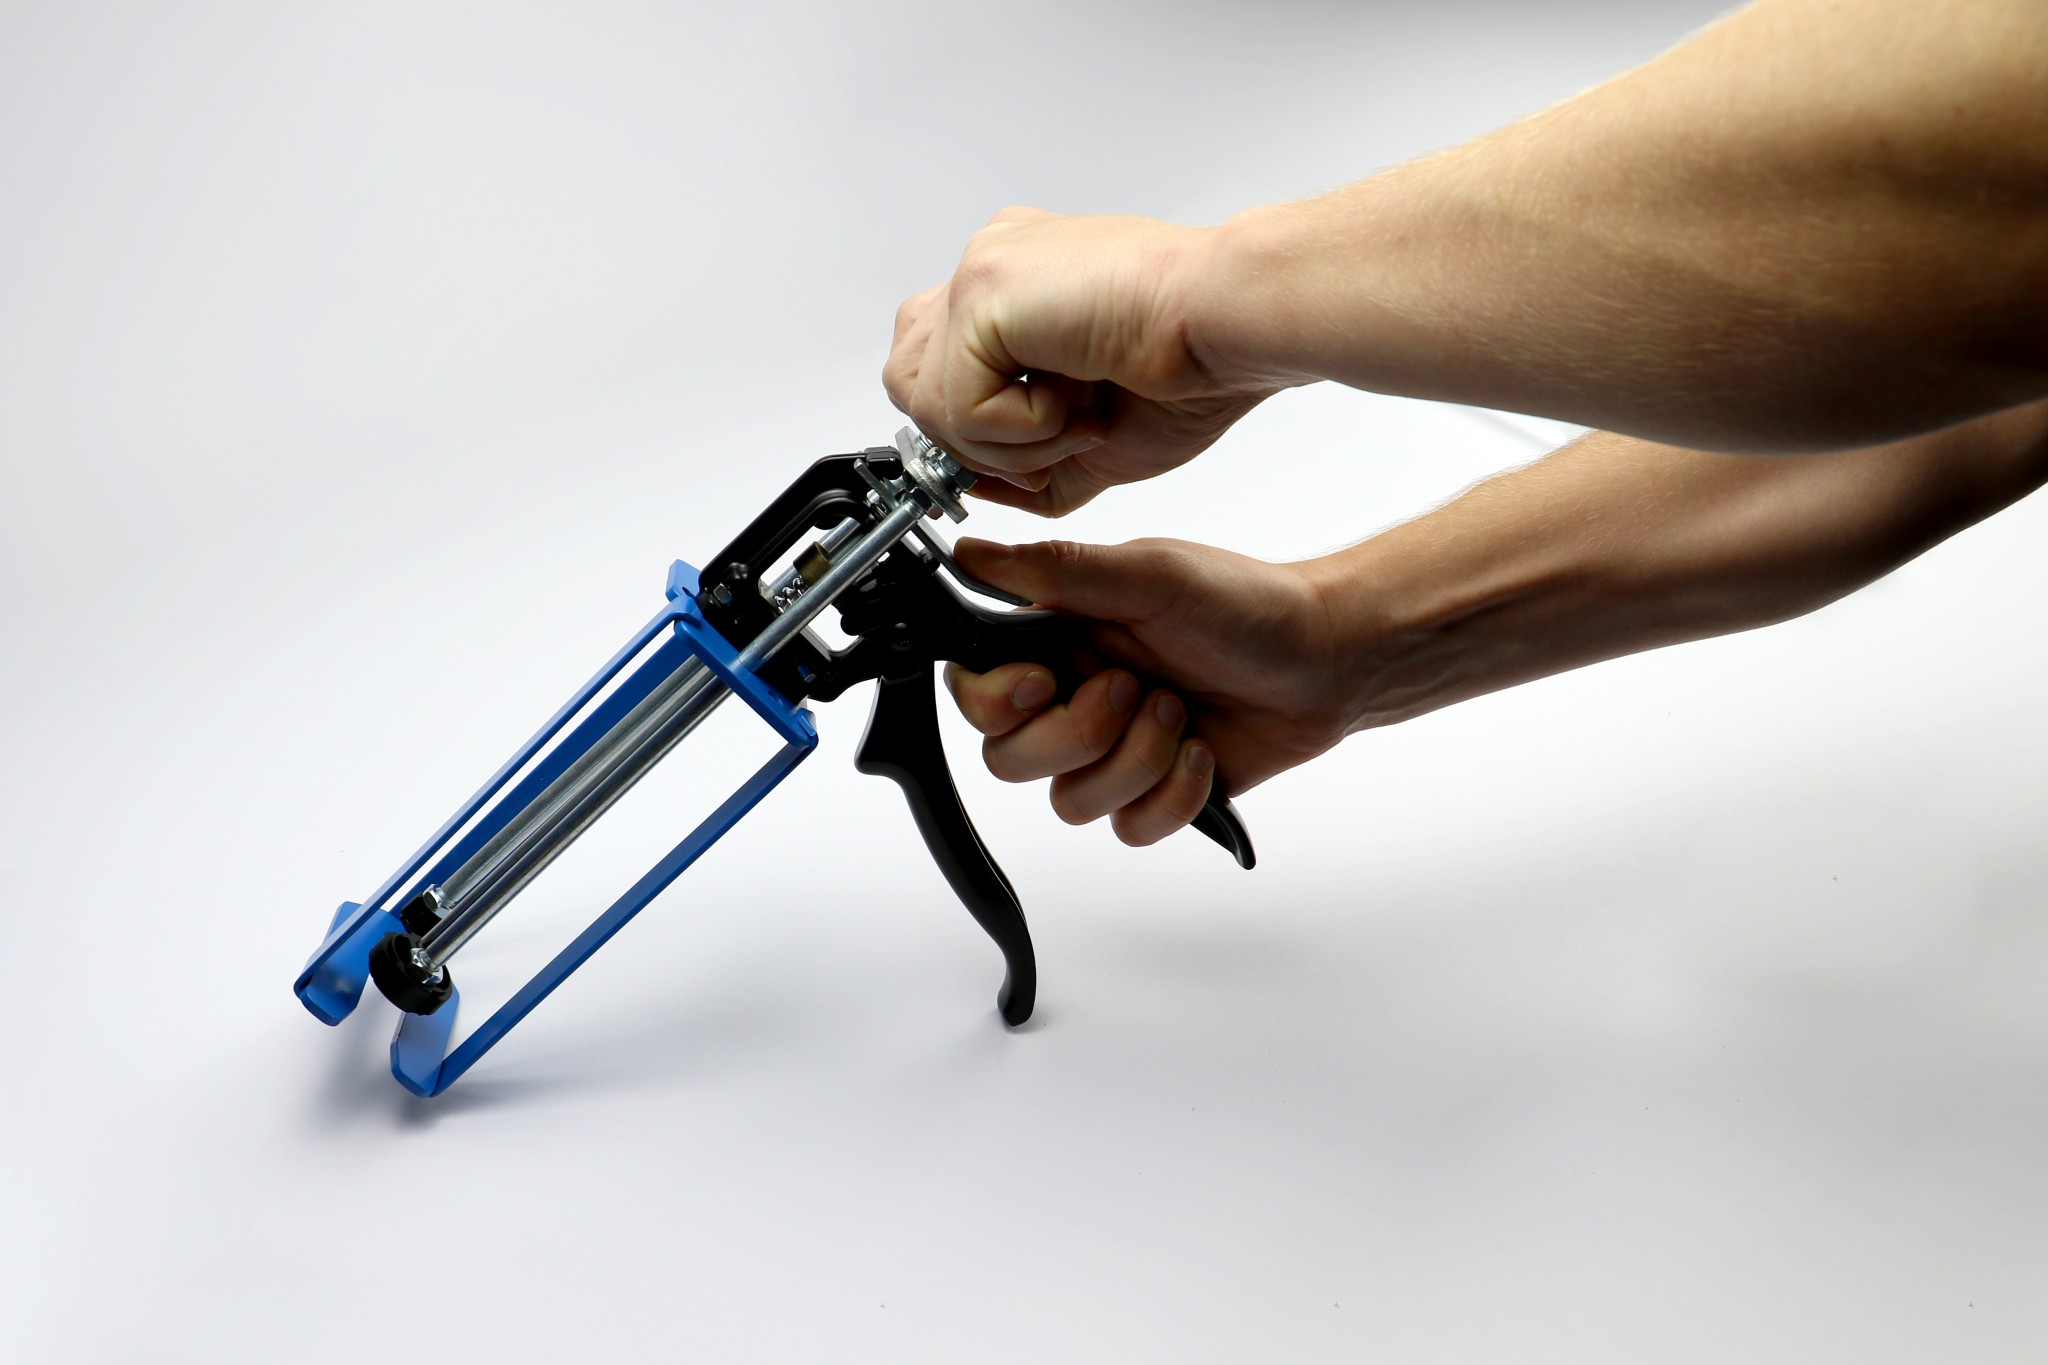
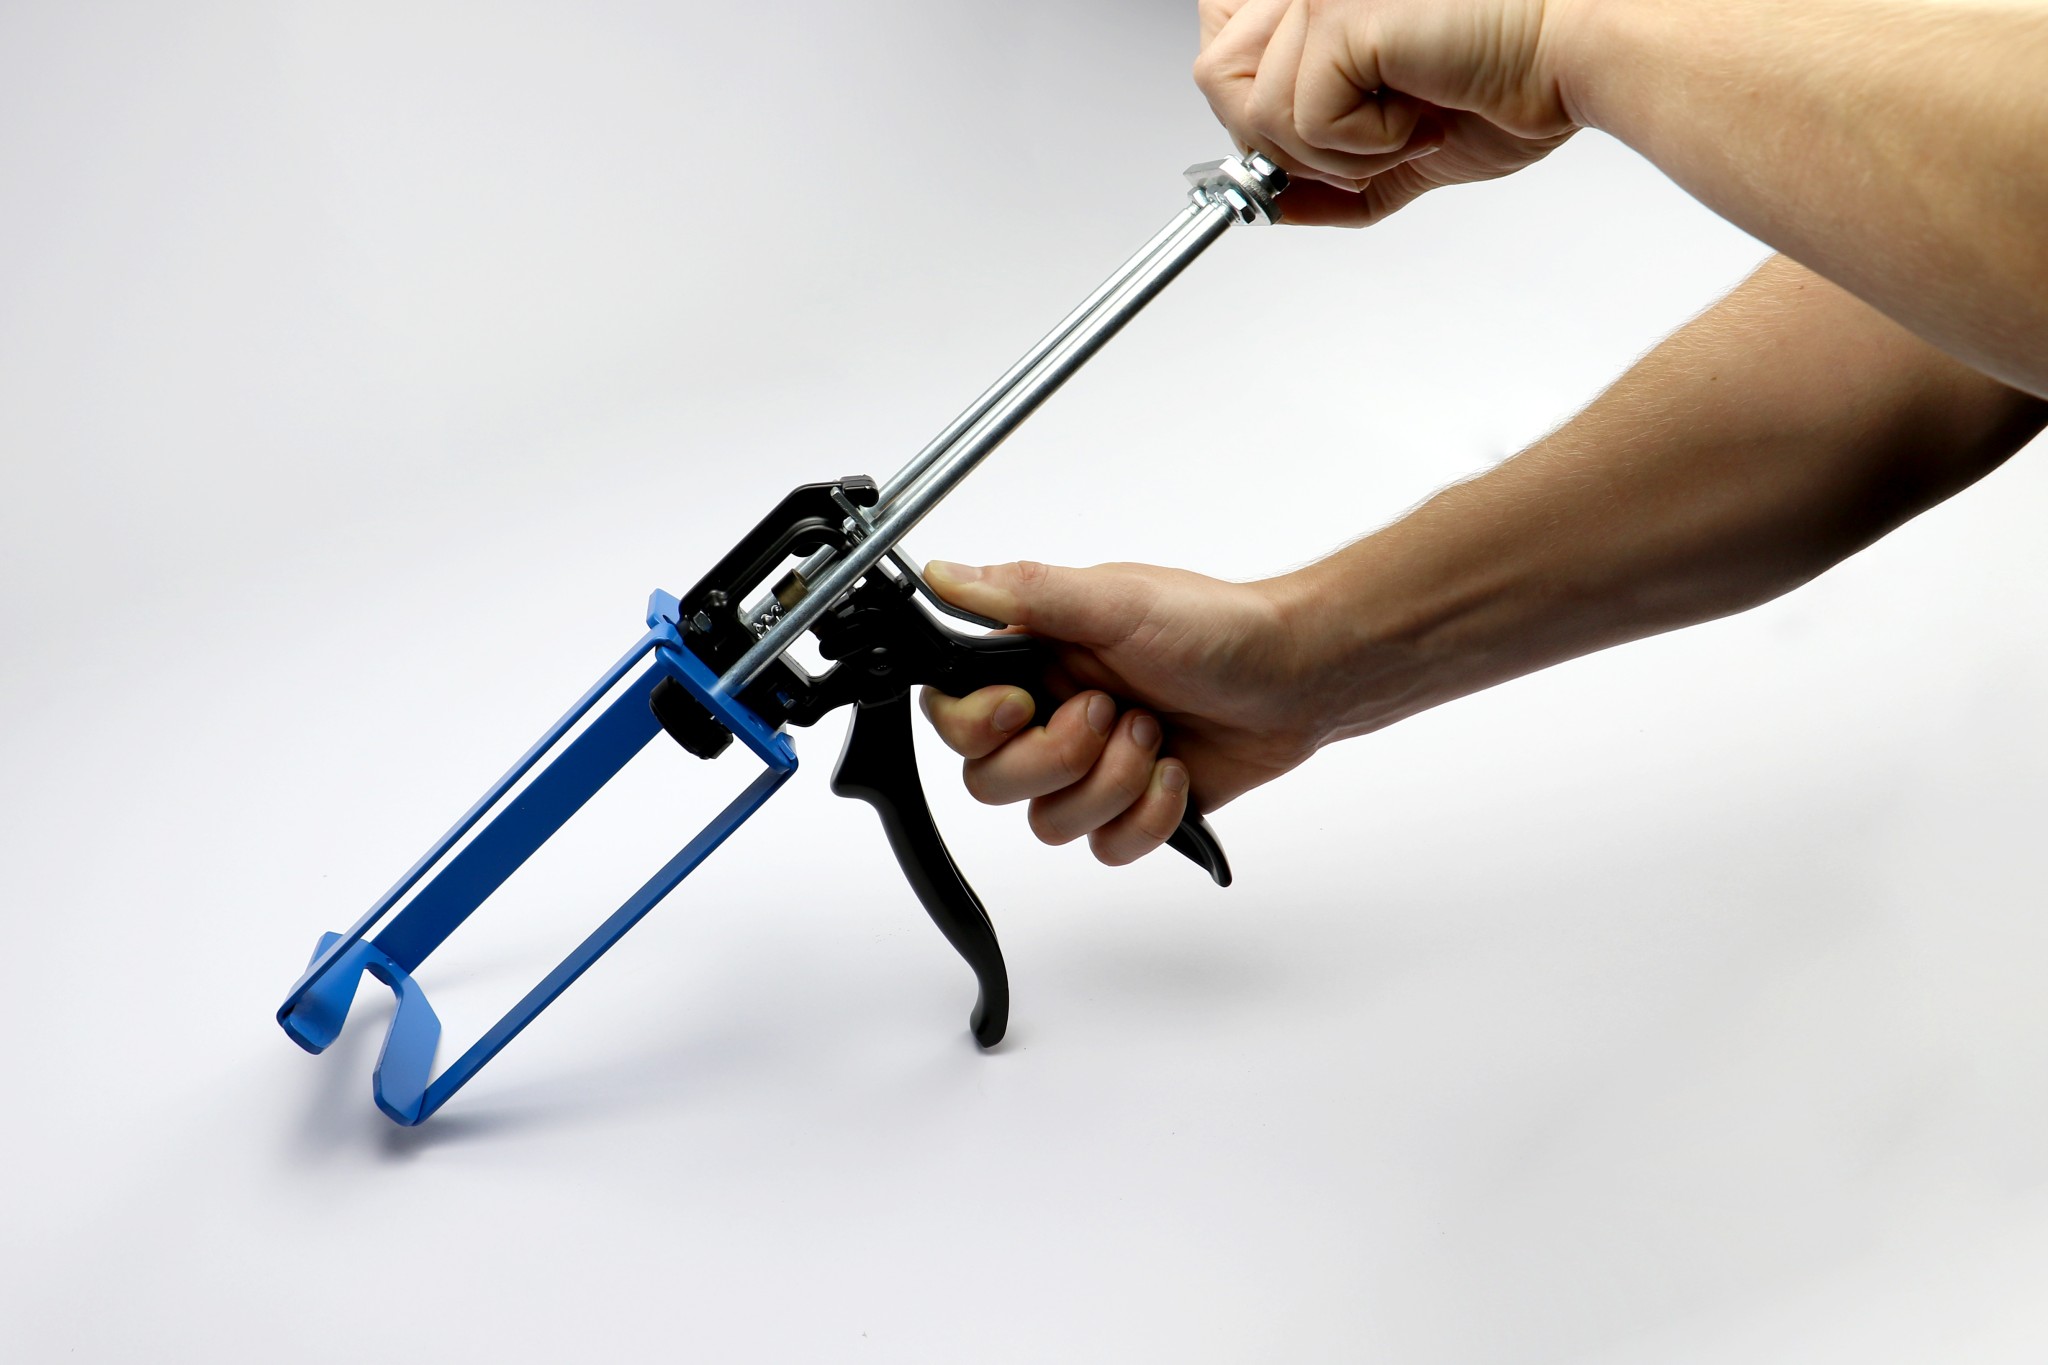
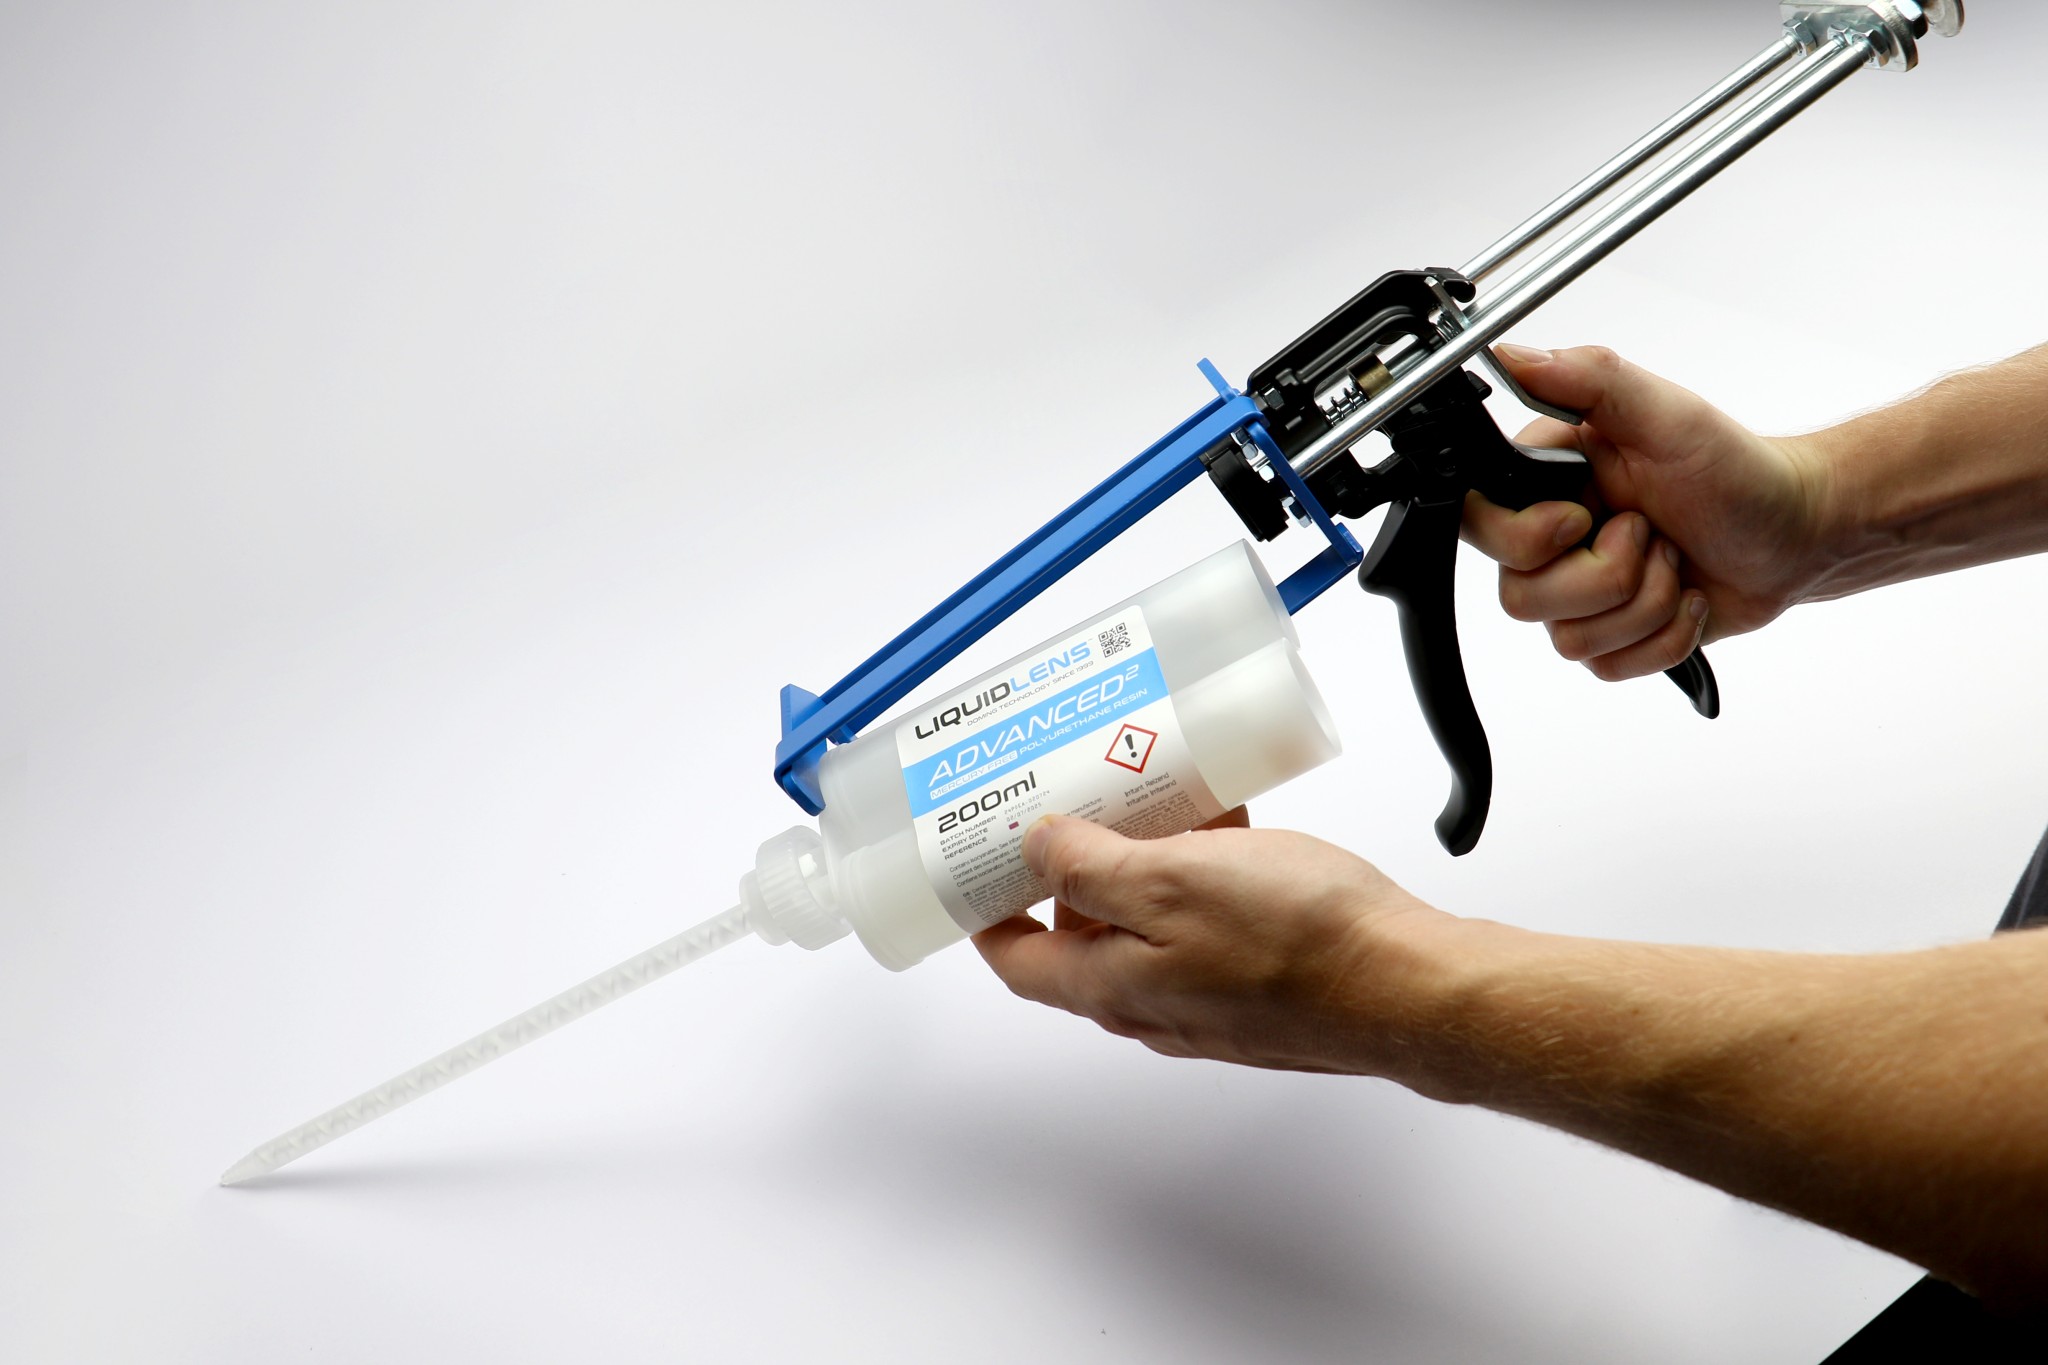
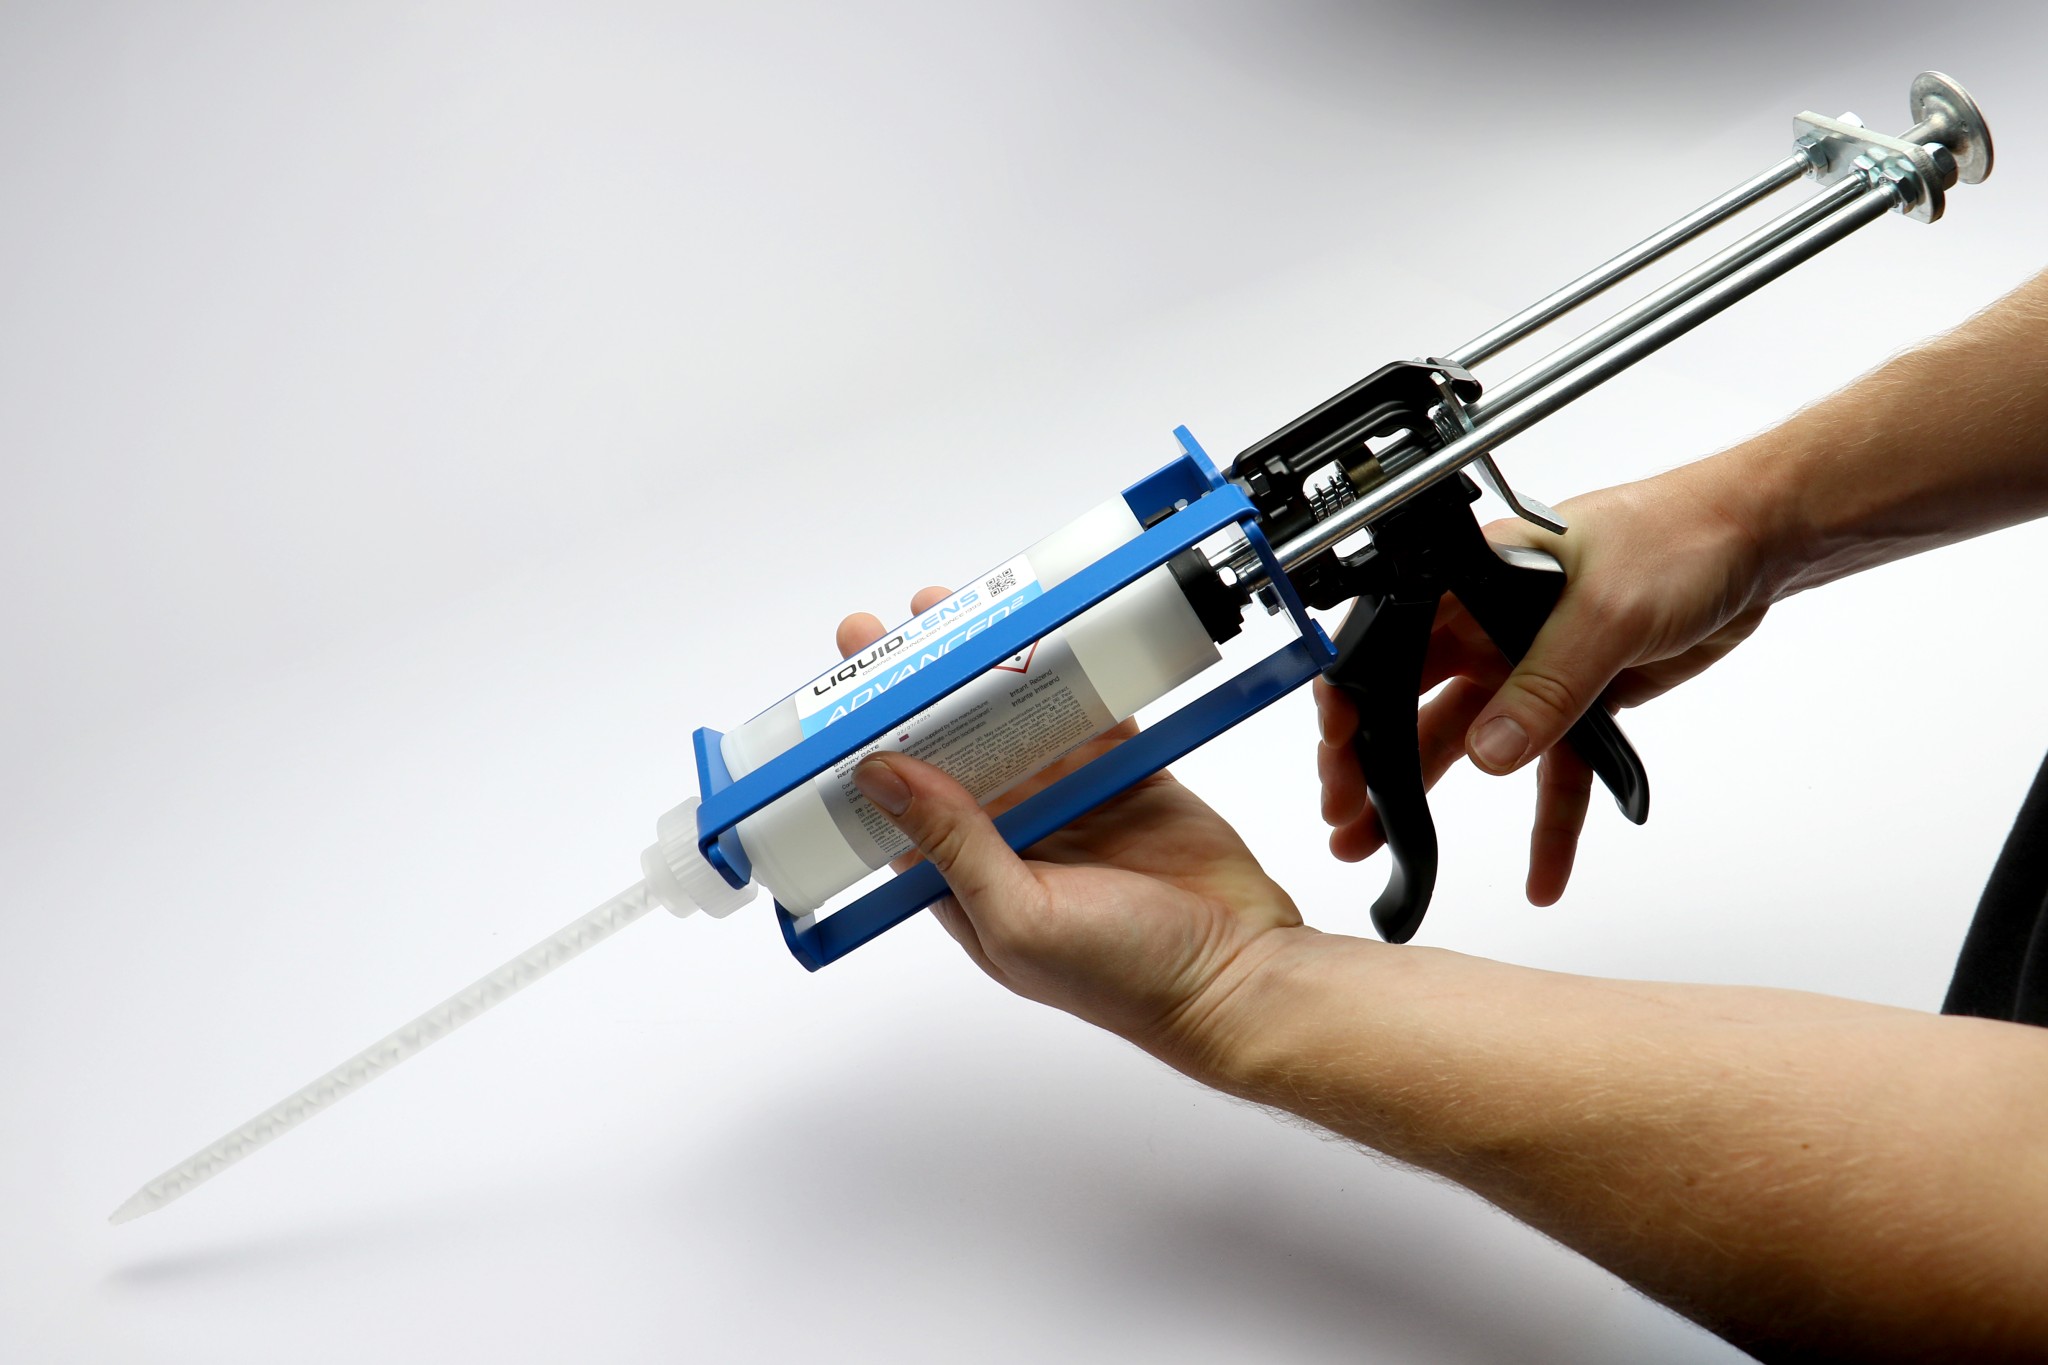
Applicator Gun
Set up the applicator gun properly to begin the resin application process:
- 50ml and 75ml applicators:
- Unlock the cartridge top retaining clip.
- Insert the provided plunger rod and slide back to start position.
- Insert the cartridge by slotting it into position and locking the top retaining clip.
- Squeeze the trigger gently of the applicator gun to engage the plunger rod into the cartridge against the inner piston caps.
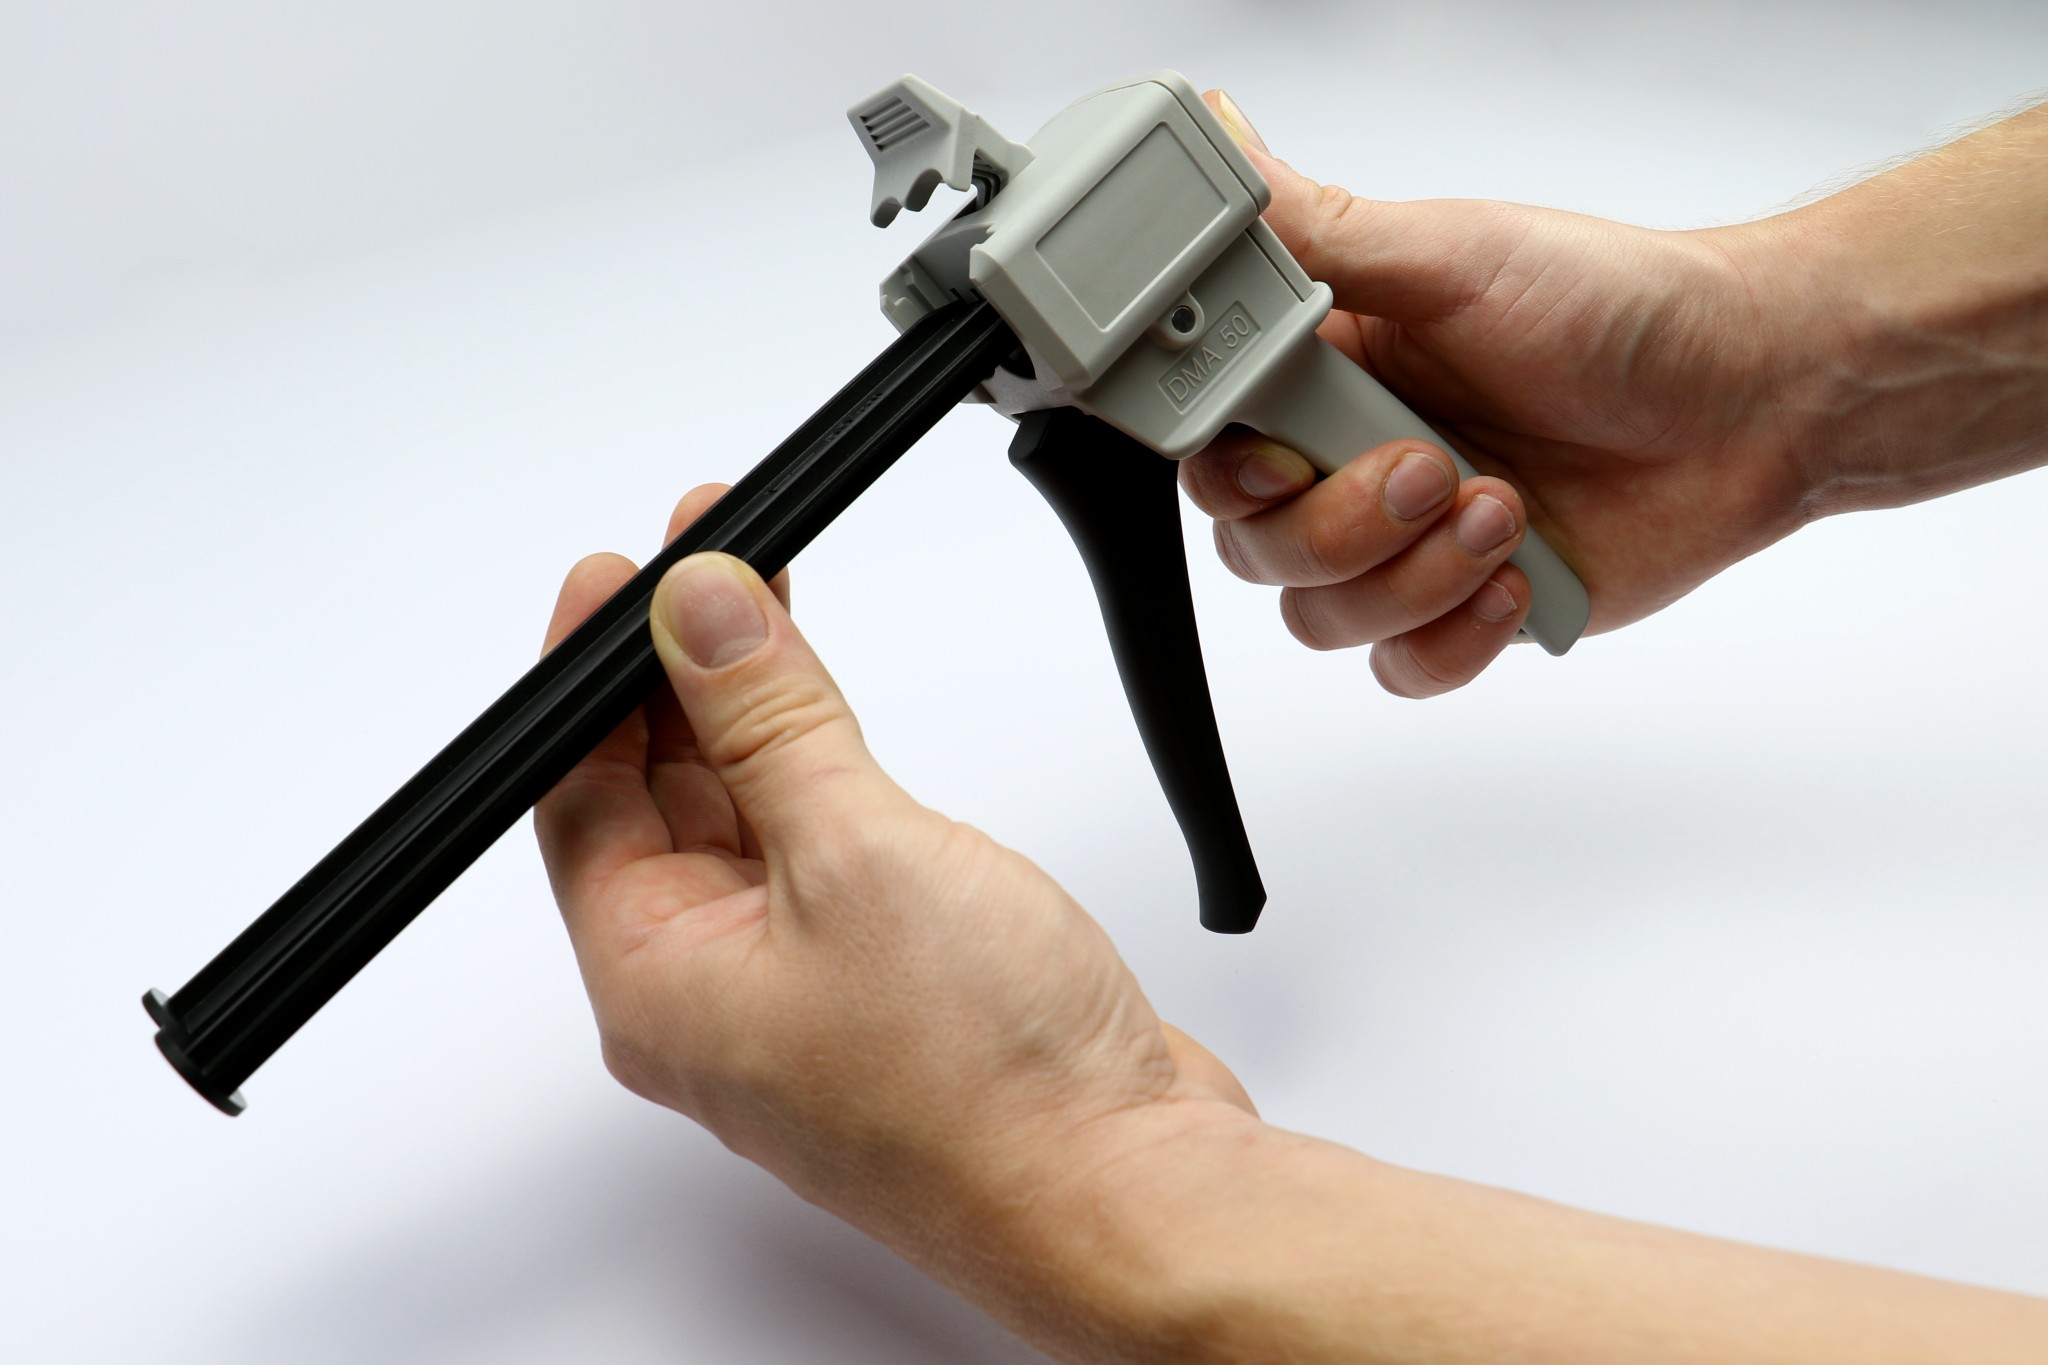
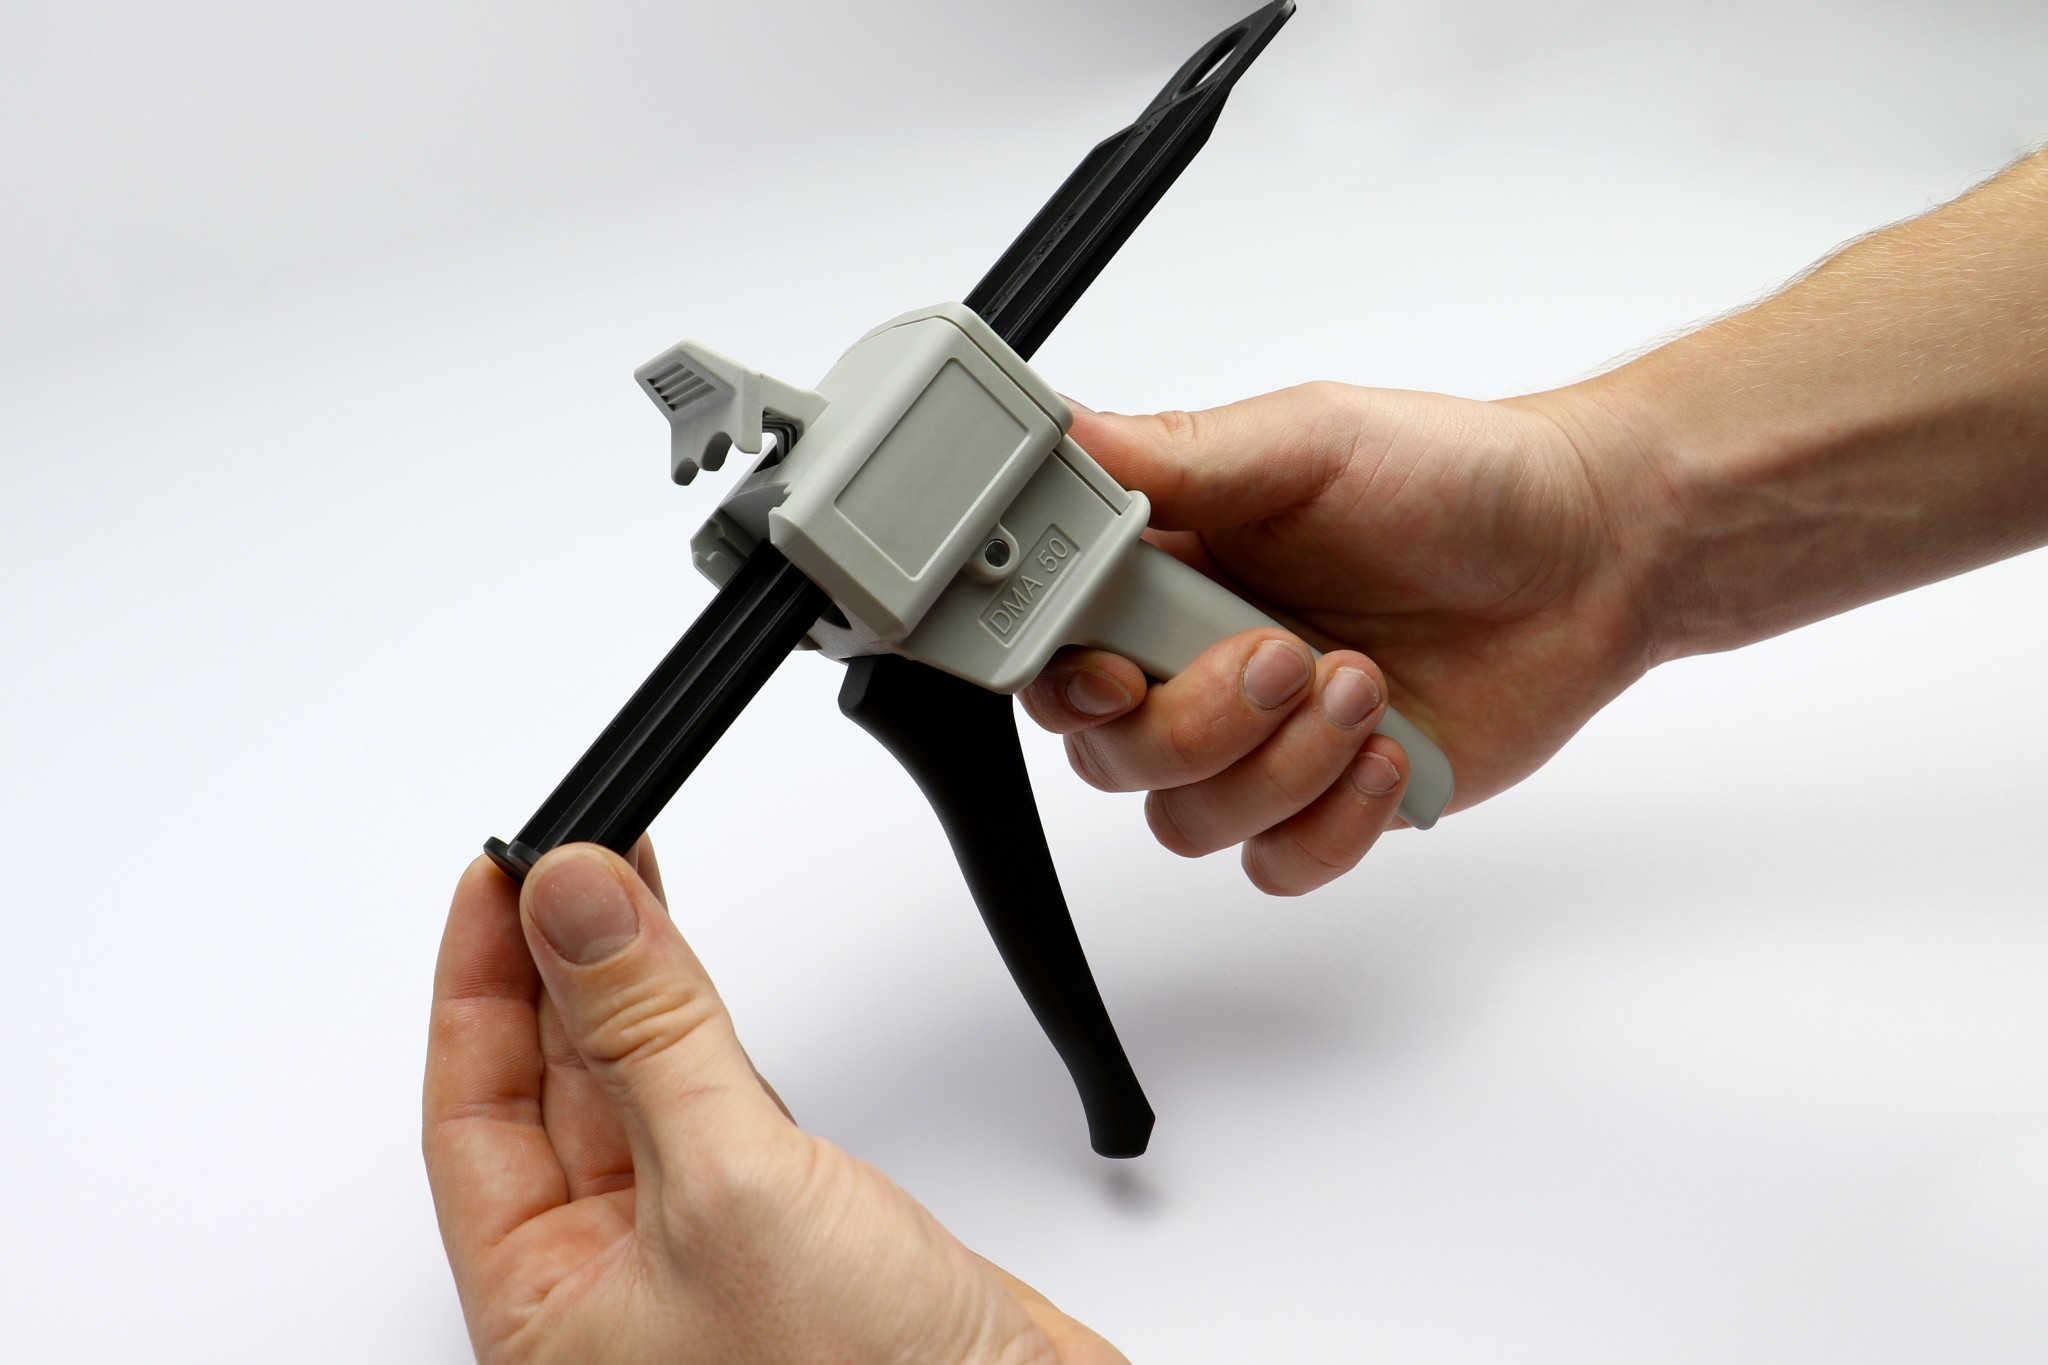
- 200ml and 400ml applicators:
- Pull back the plunger rod on the applicator gun.
- Insert the cartridge by slotting it into position.
- Squeeze the trigger gently of the applicator gun to engage the plunger rod into the cartridge against the inner piston caps.
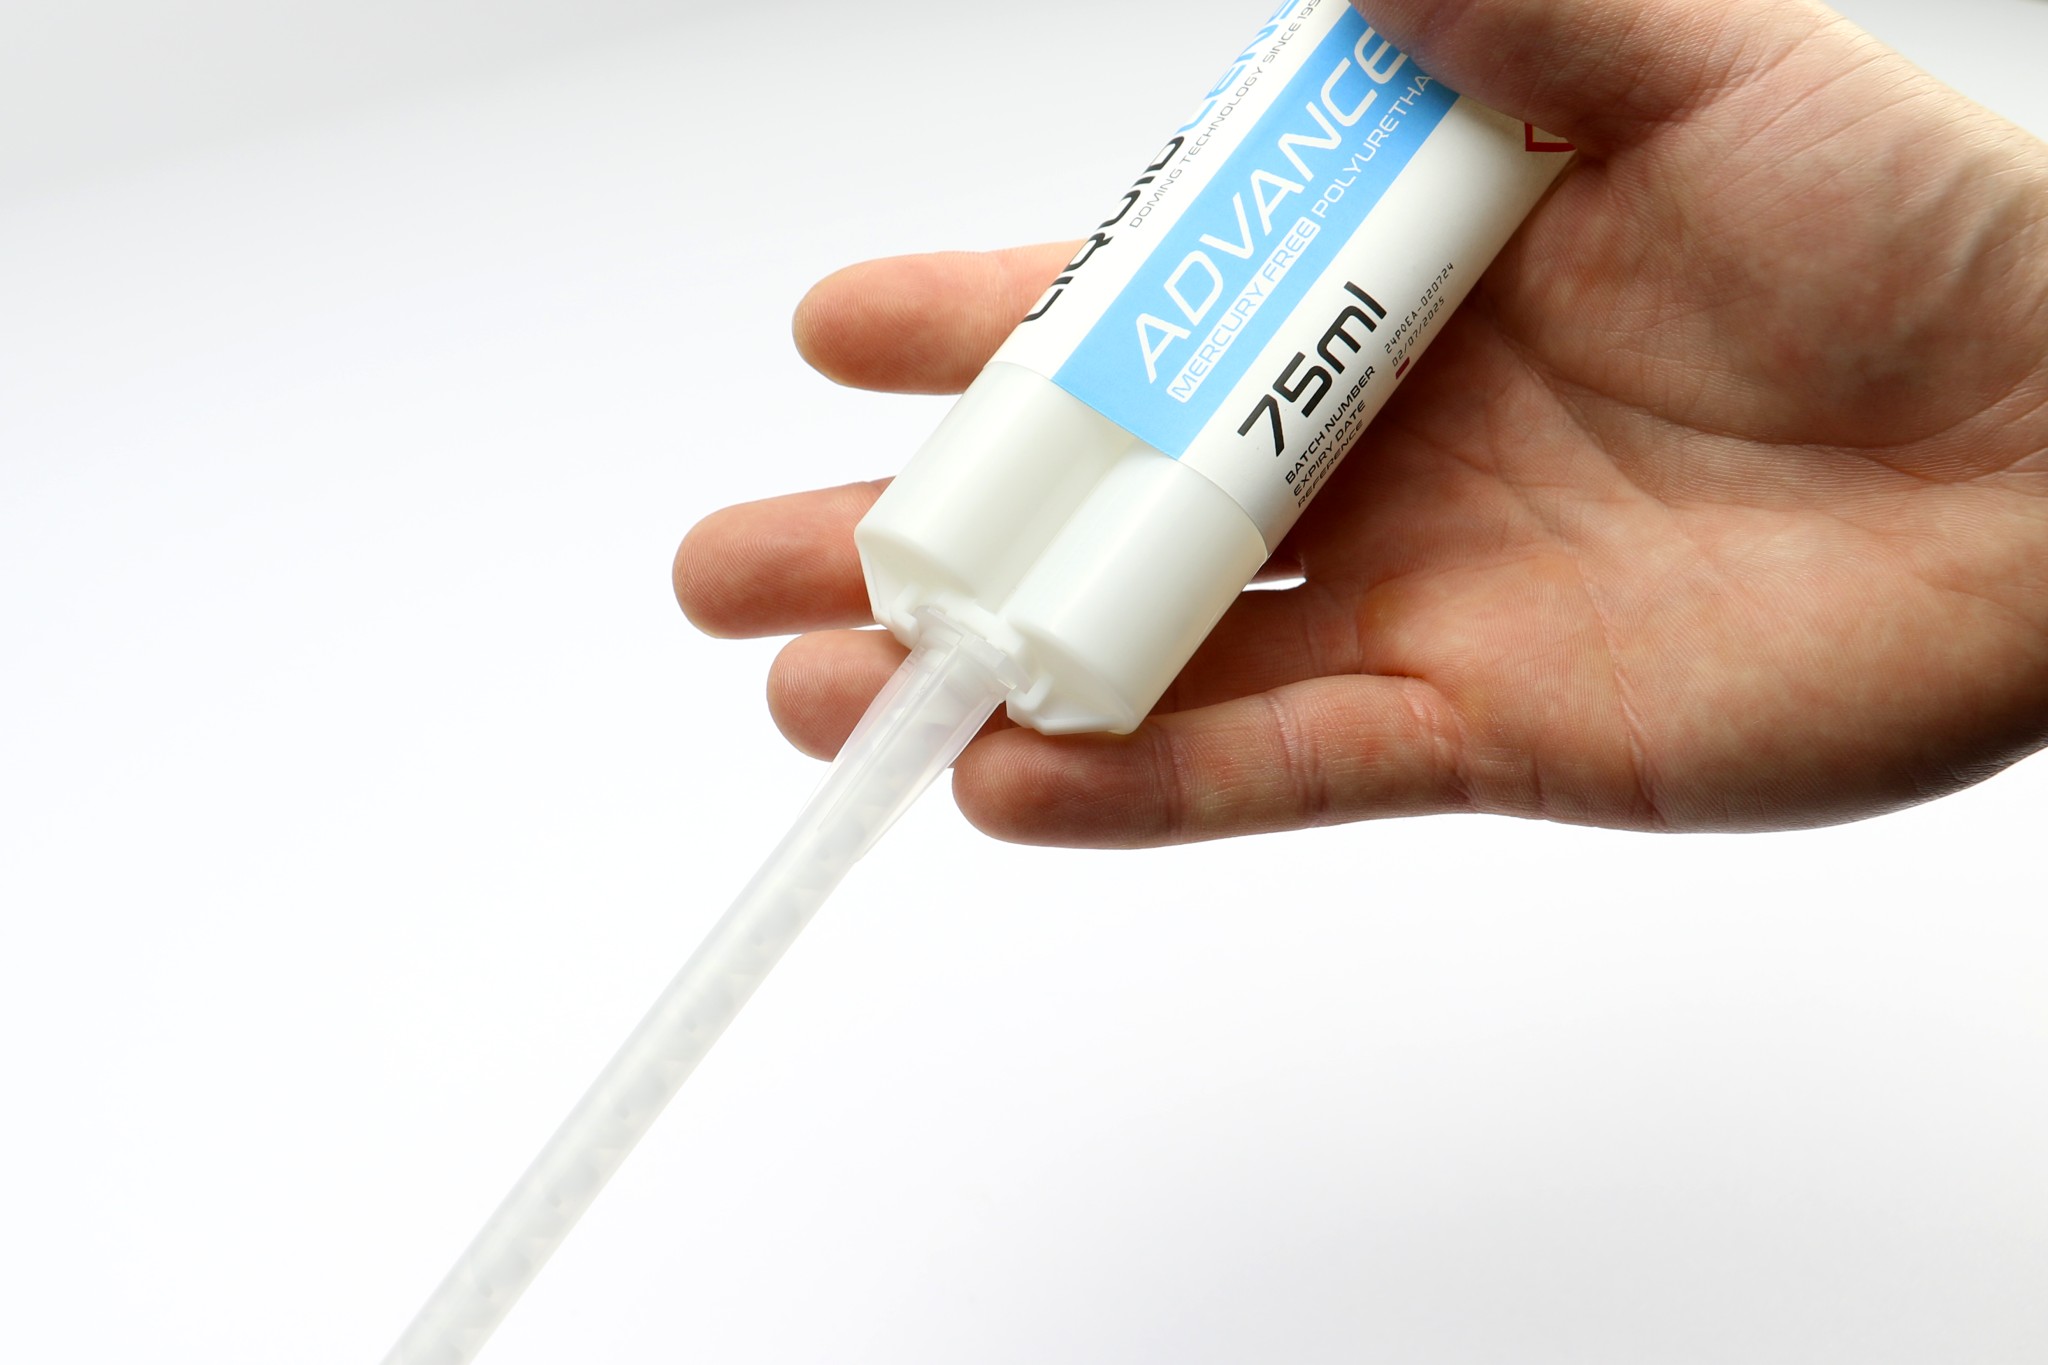
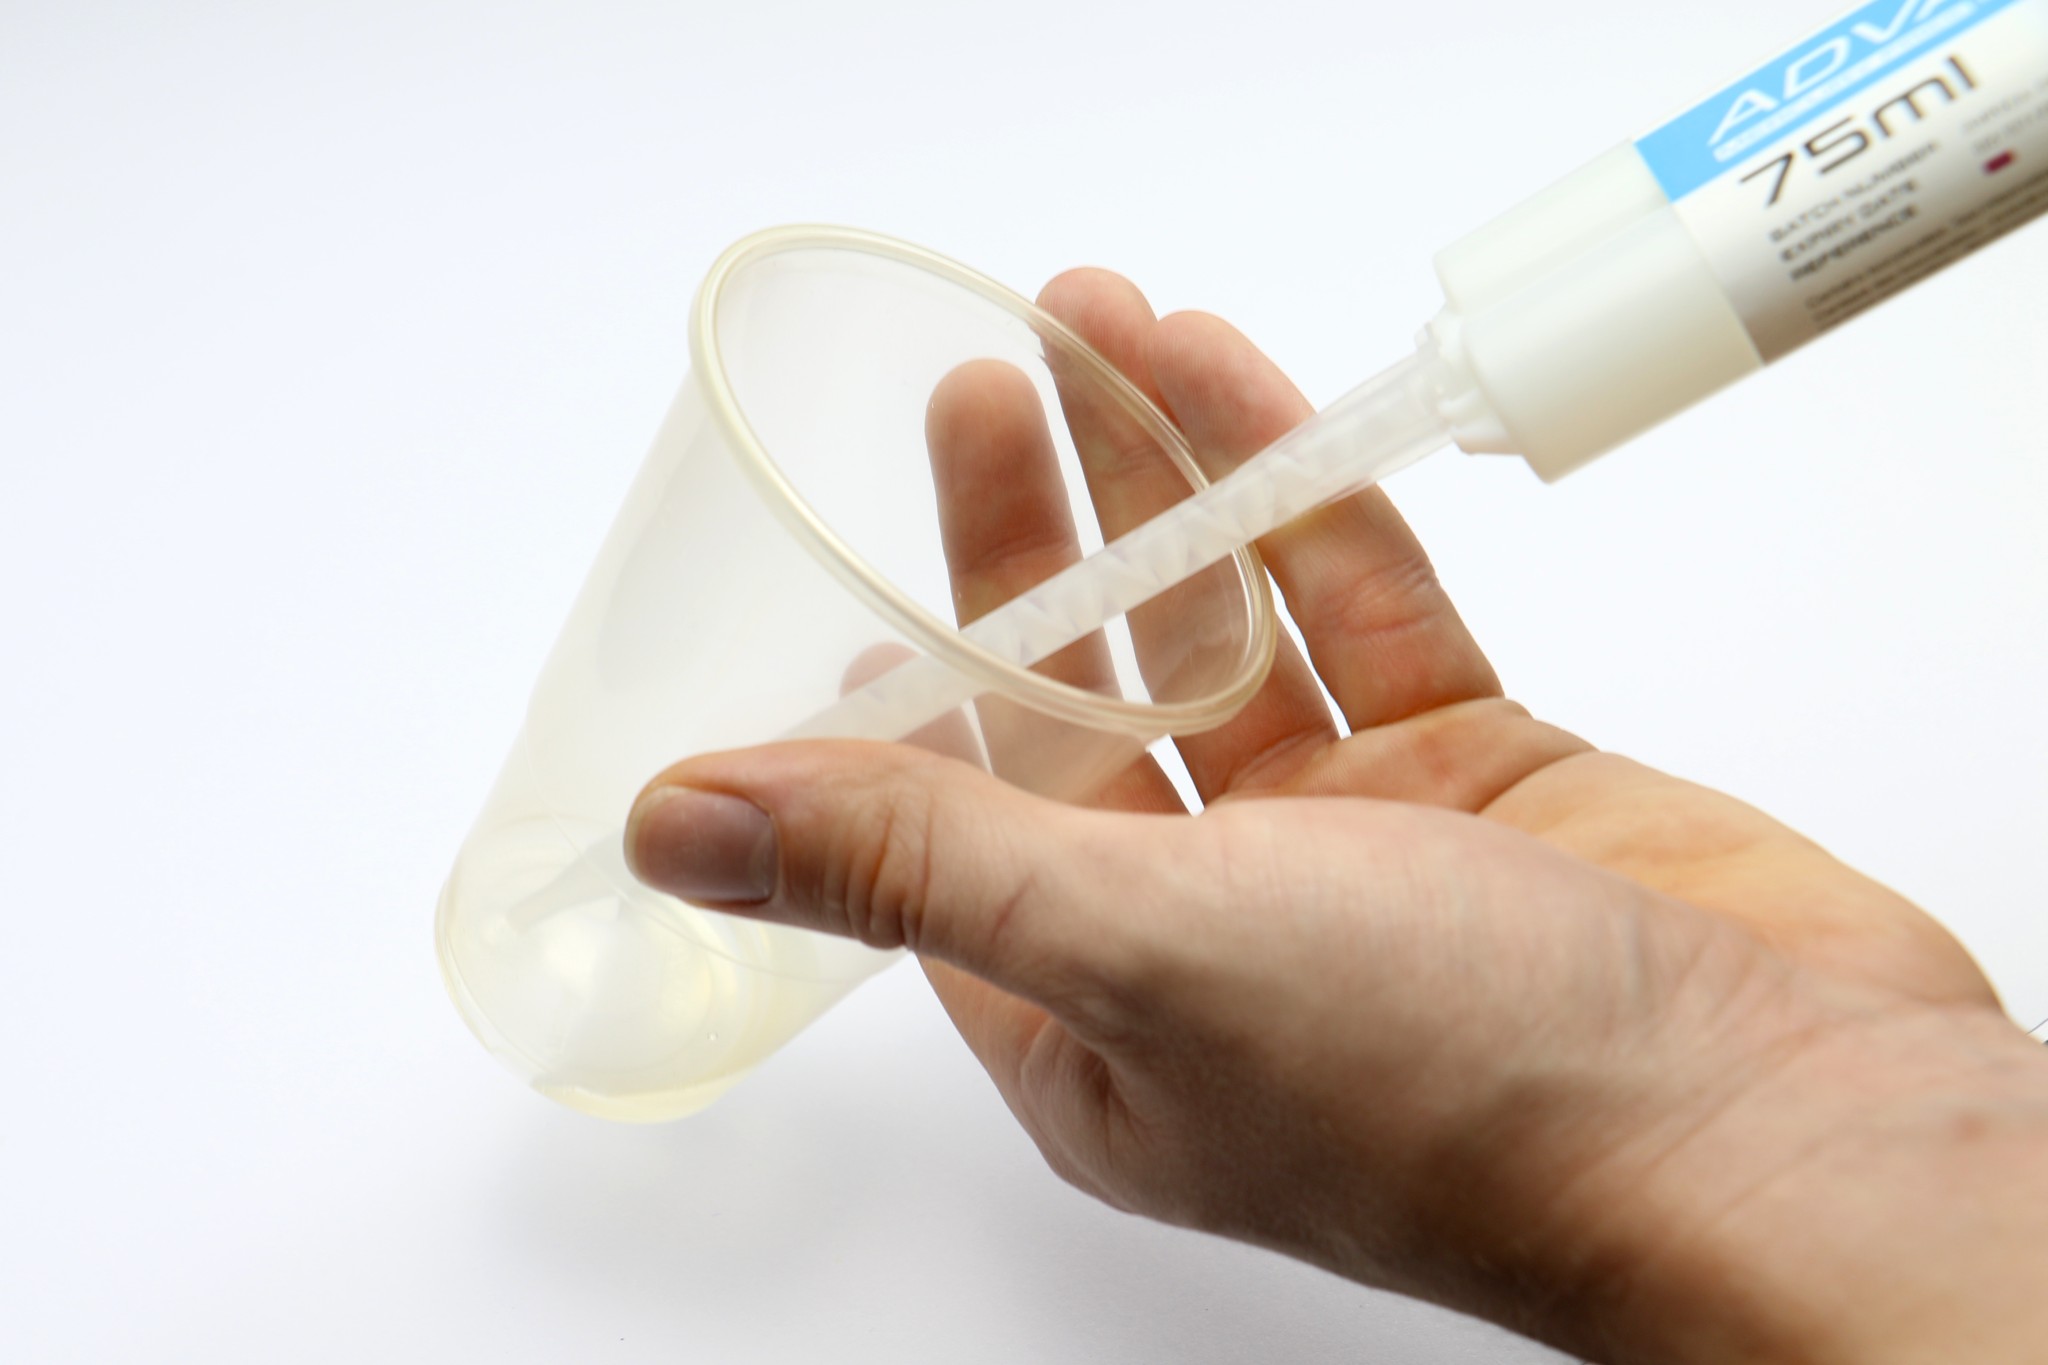
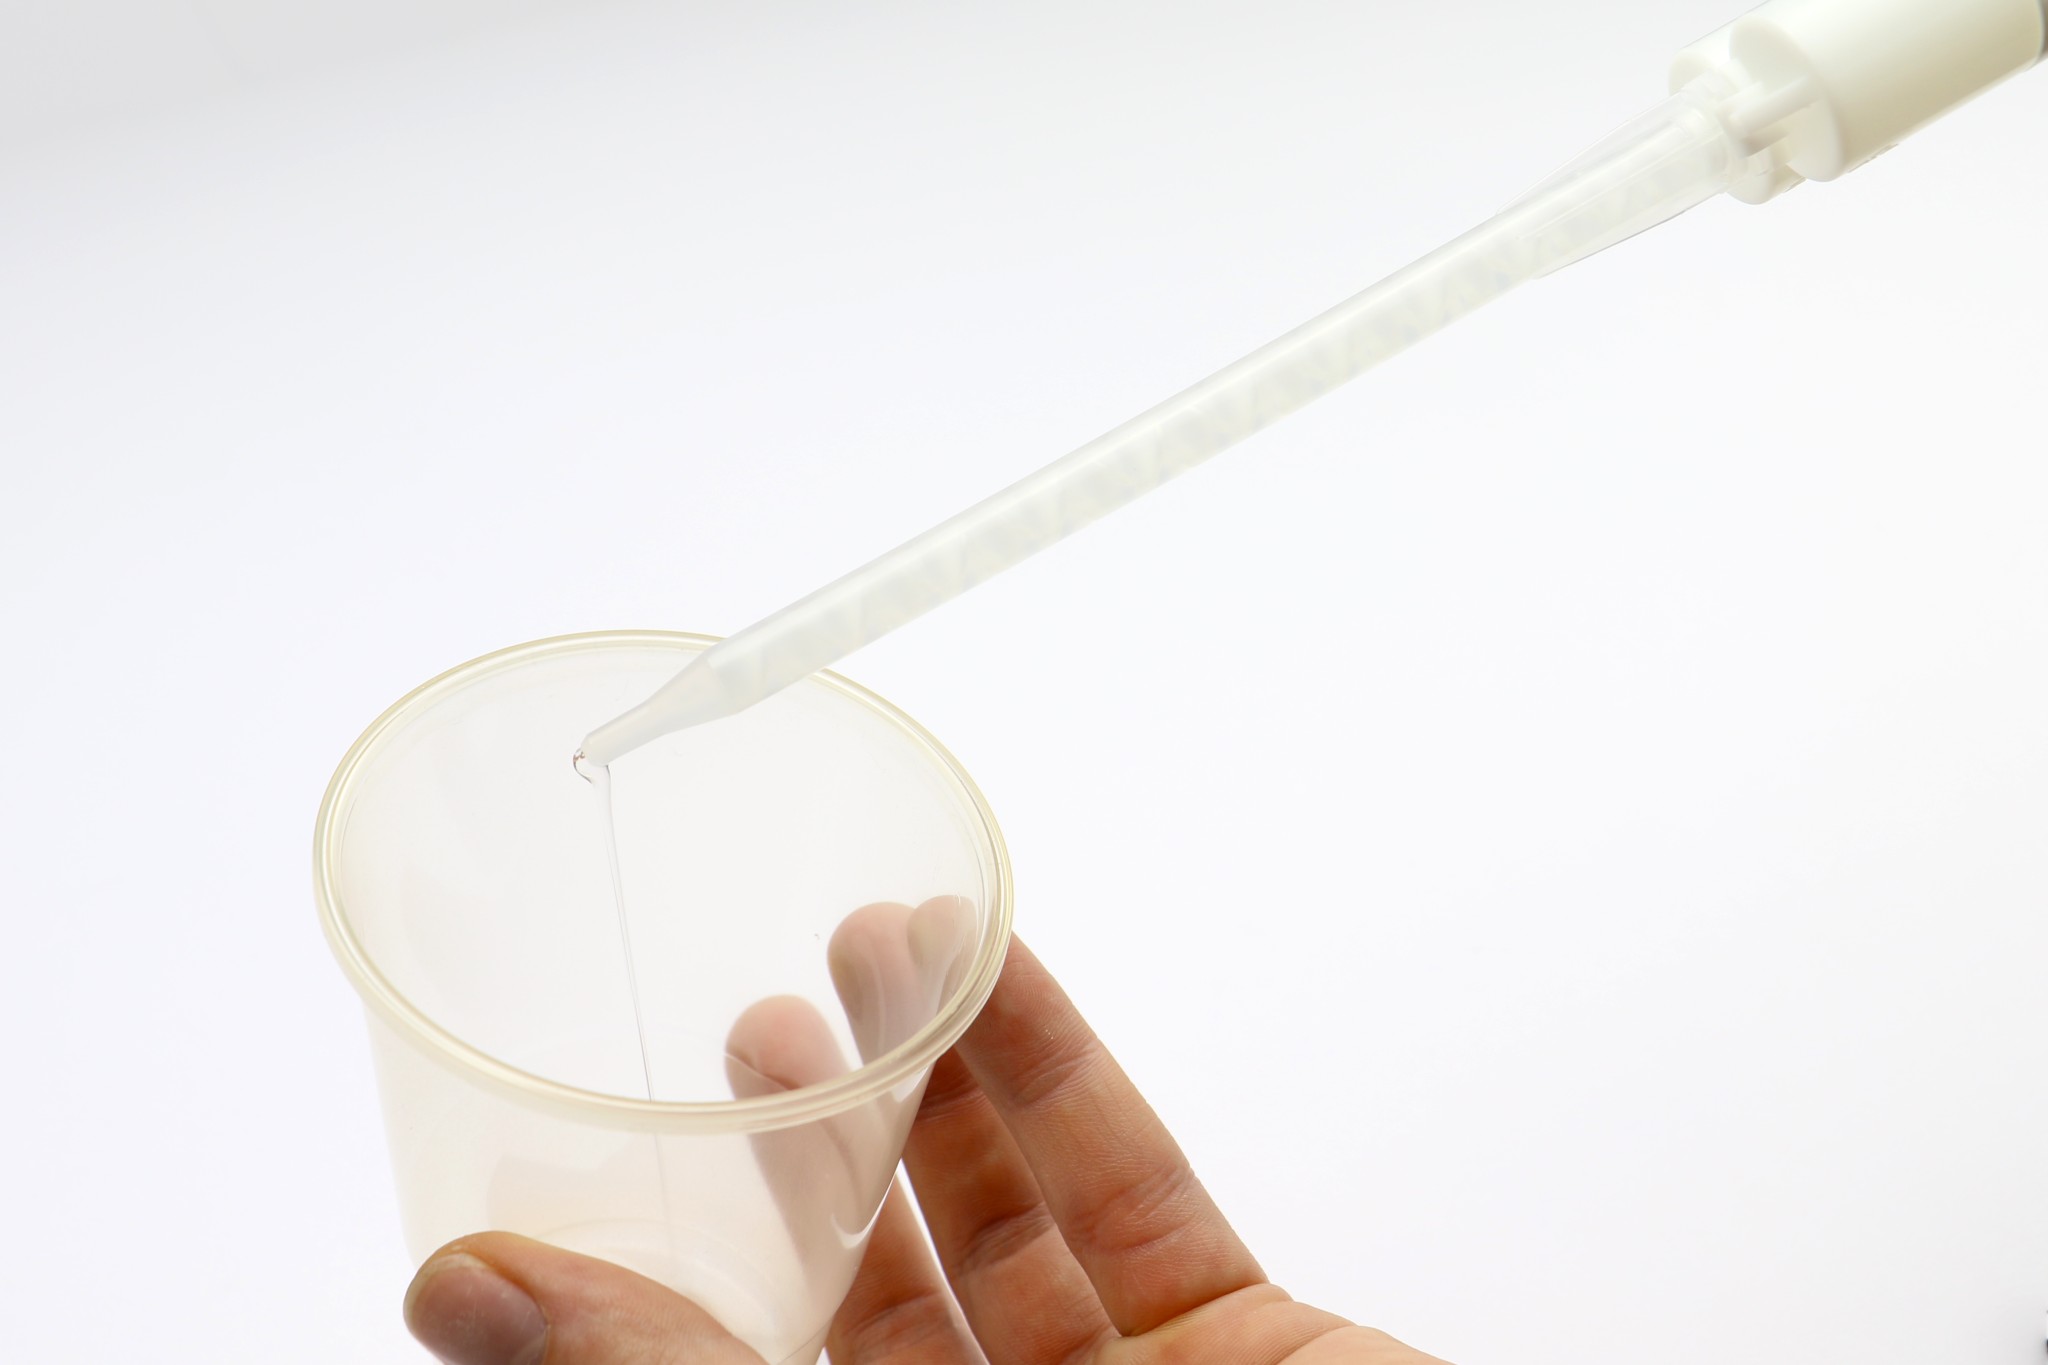
Purge Resin
Ensure the resin is properly mixed and free of air bubbles before application:
- Discharge the first 5ml of resin to ensure proper mixing and to remove any air bubbles.
- Once the resin and catalyst start mixing inside the mixer, the reaction begins, and it is recommended to purge the resin if it sits in the mixer for more than 5 minutes.
- If the resin is left longer than 5 minutes, it may start to harden and will not flow as well, affecting the quality of the application.
- If you have allowed the resin to cure inside the mixer, you may be able to recover the cartridge by replacing the mixer and re-purging it.
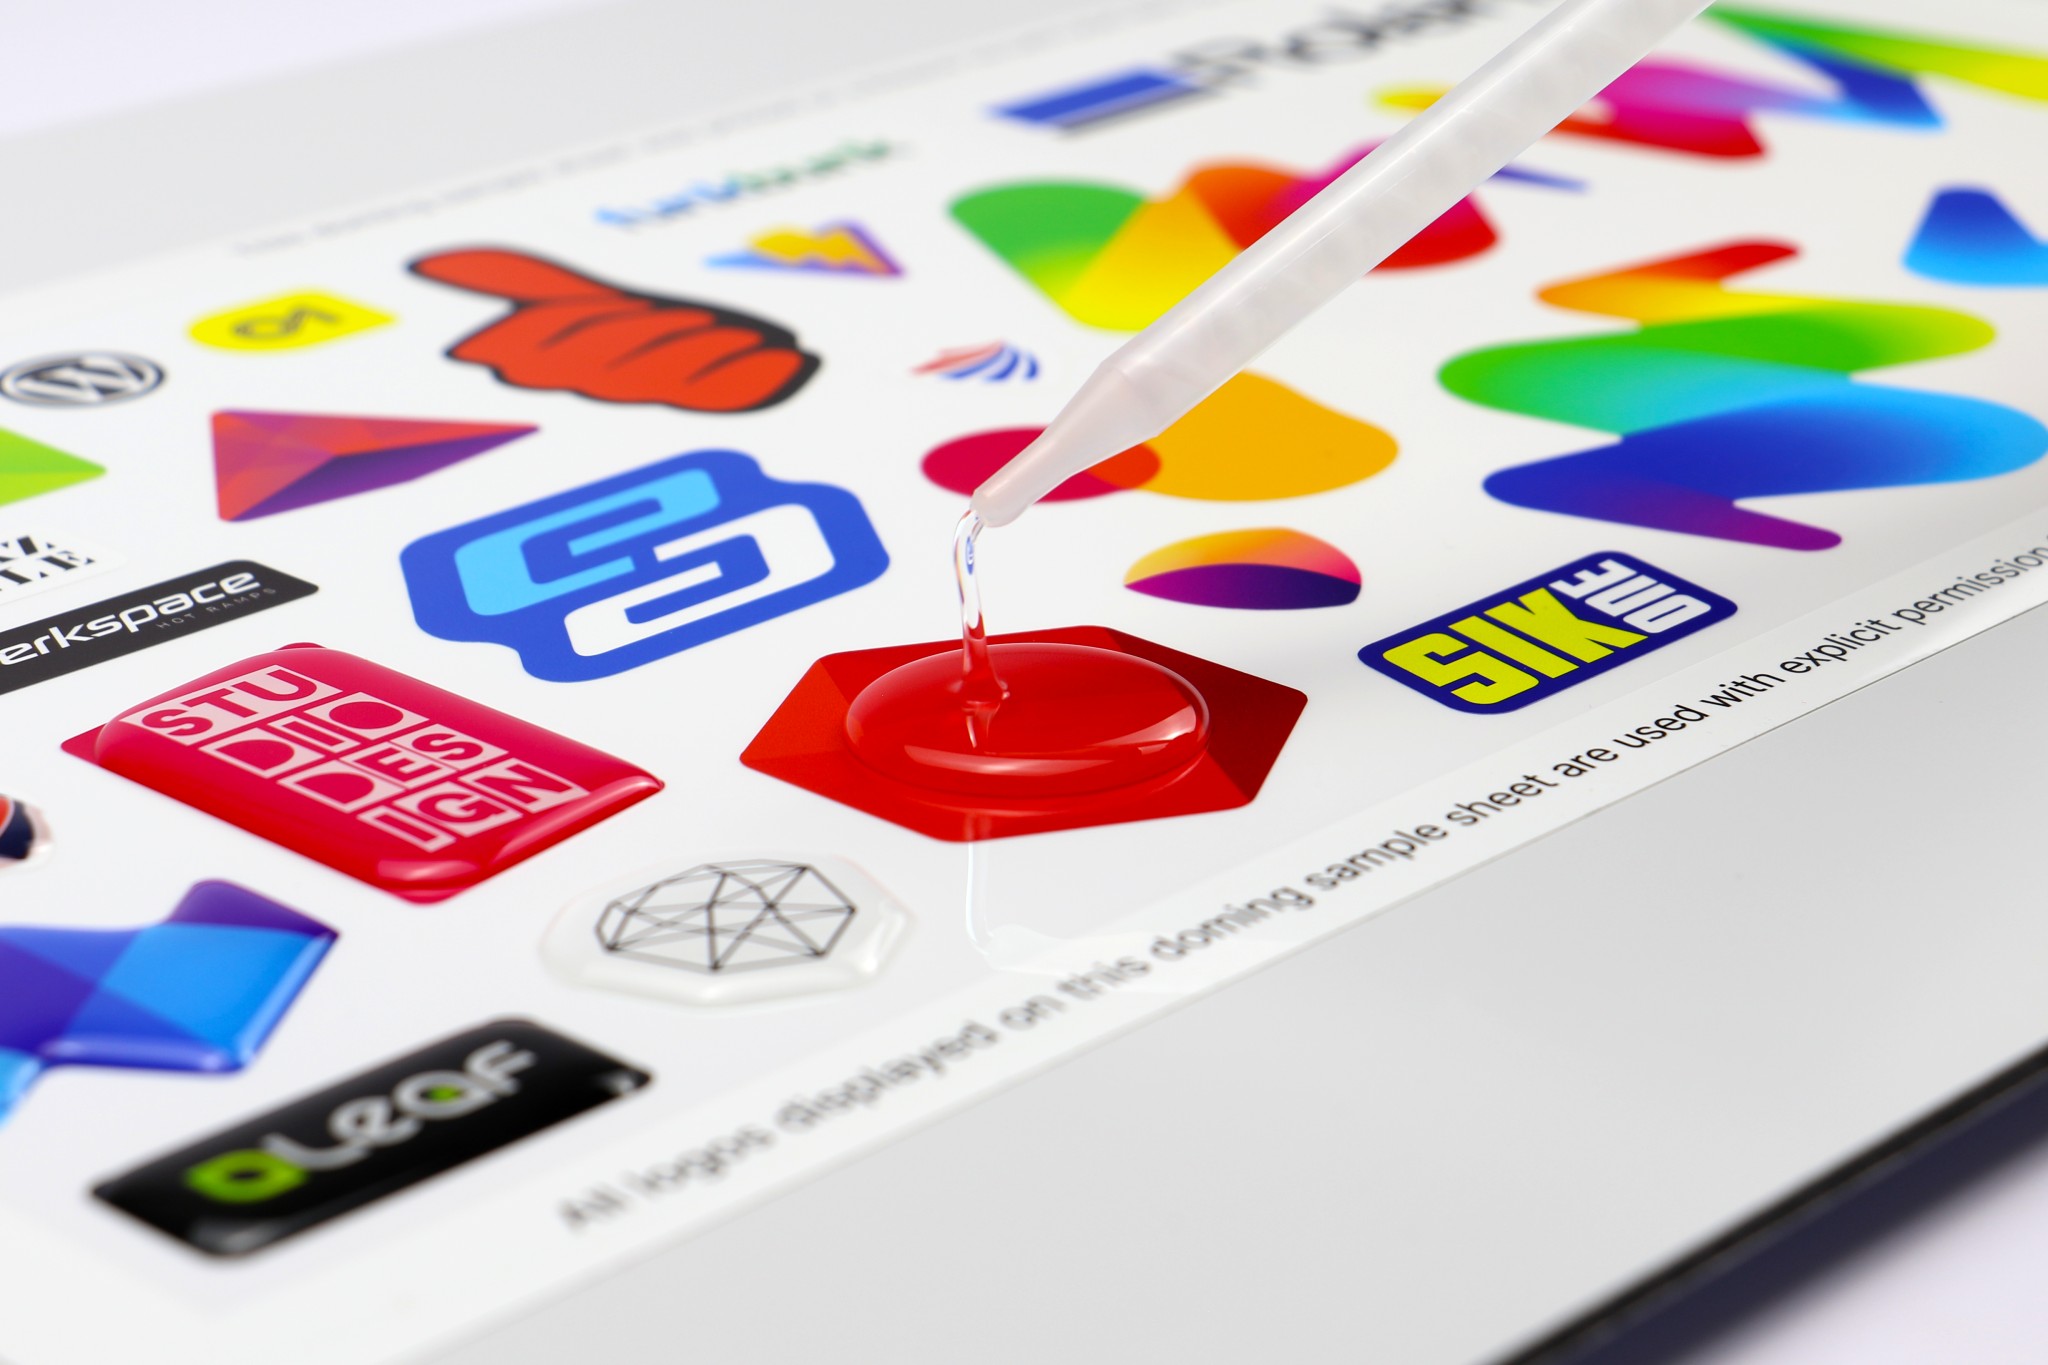
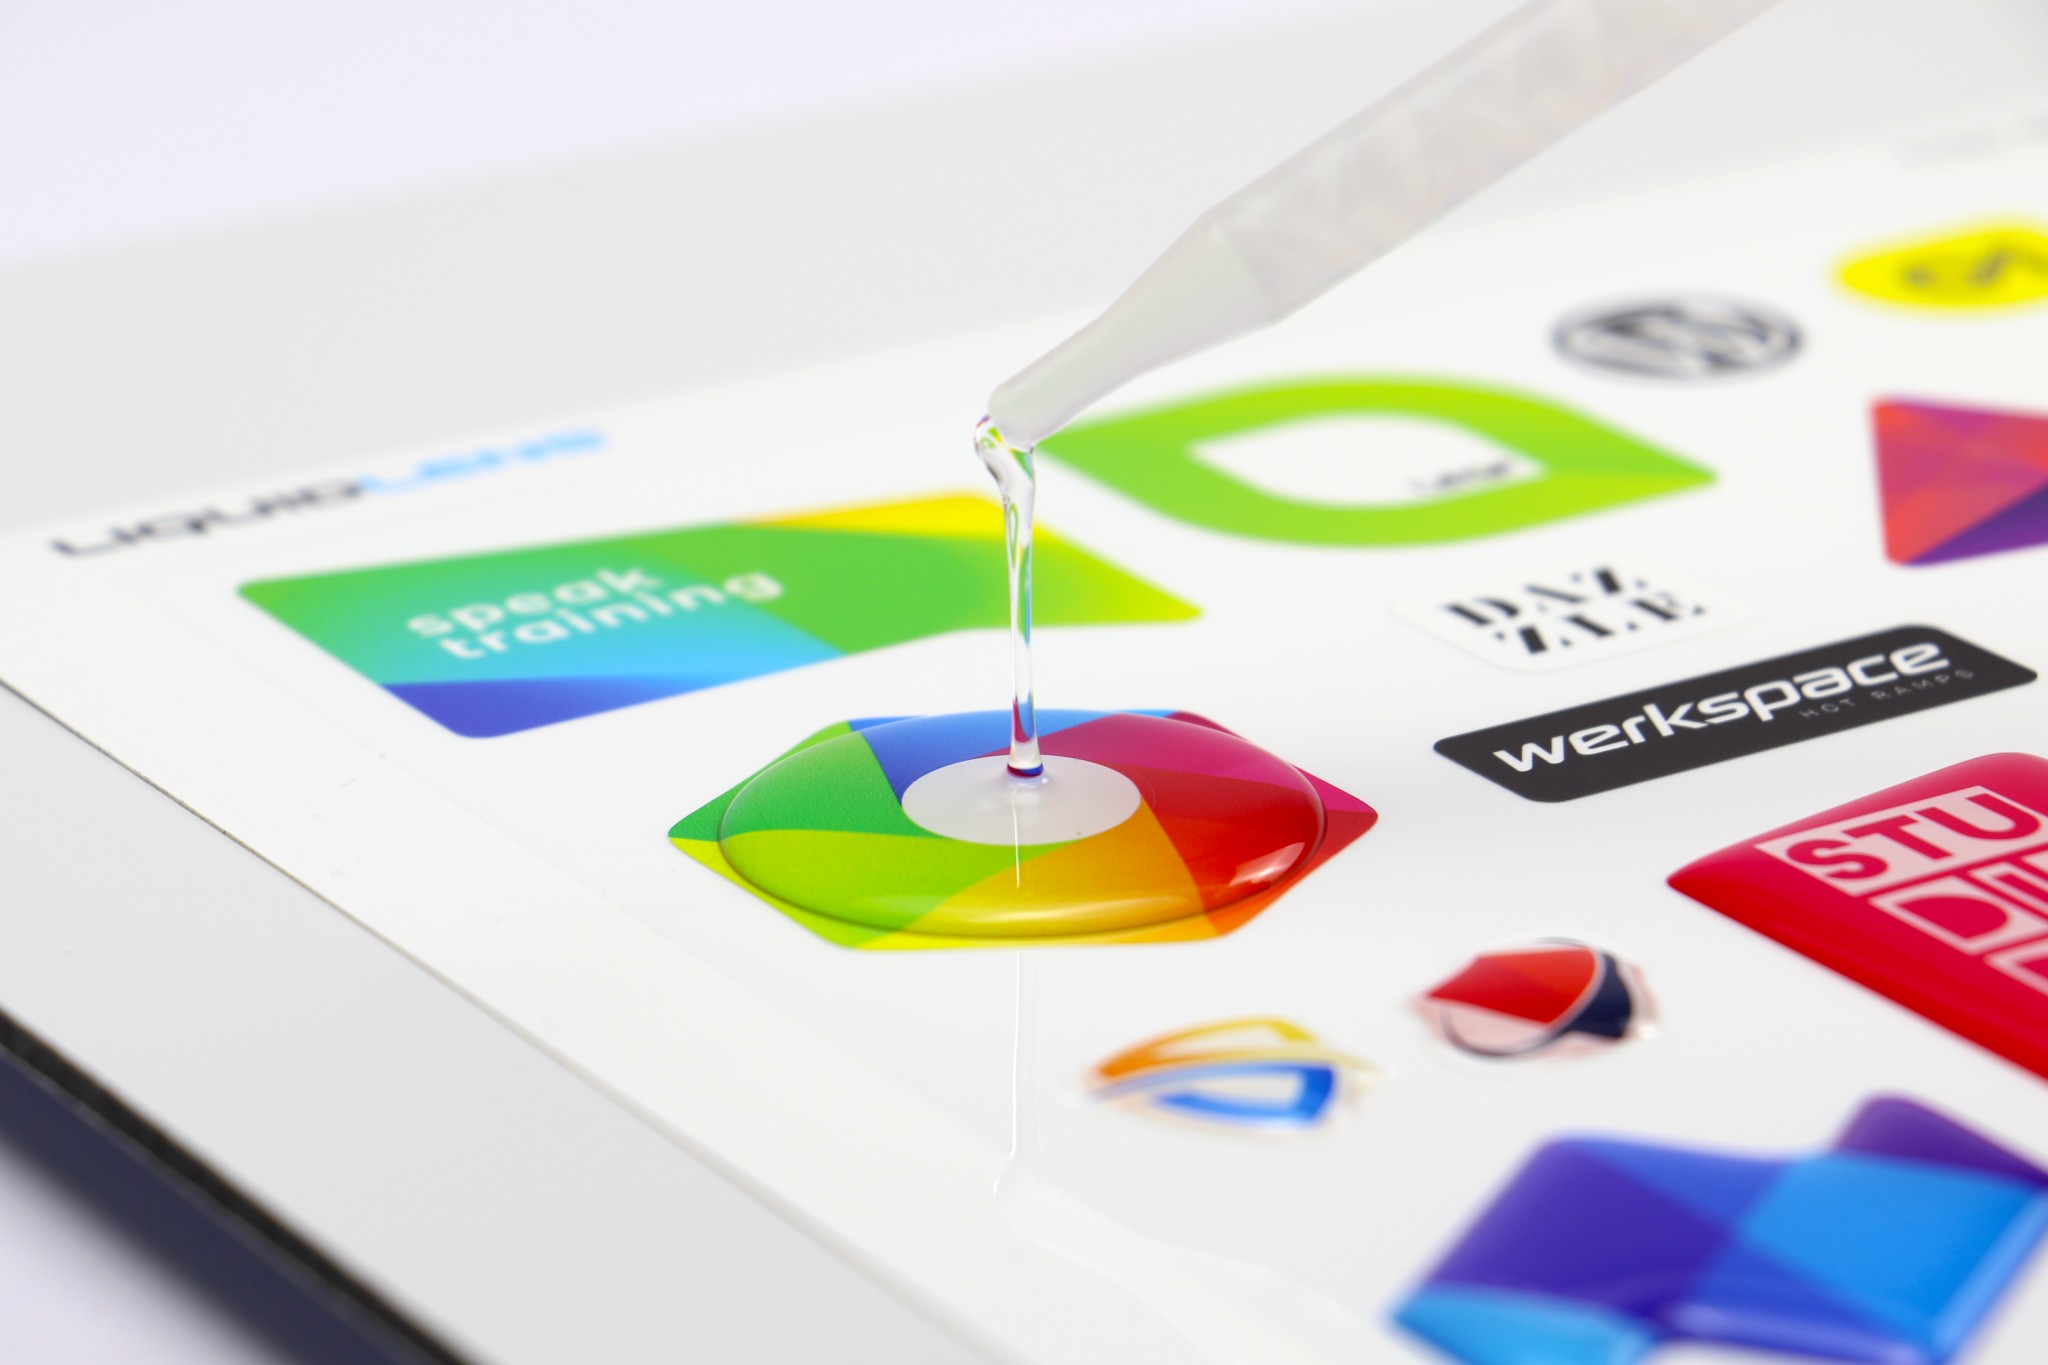
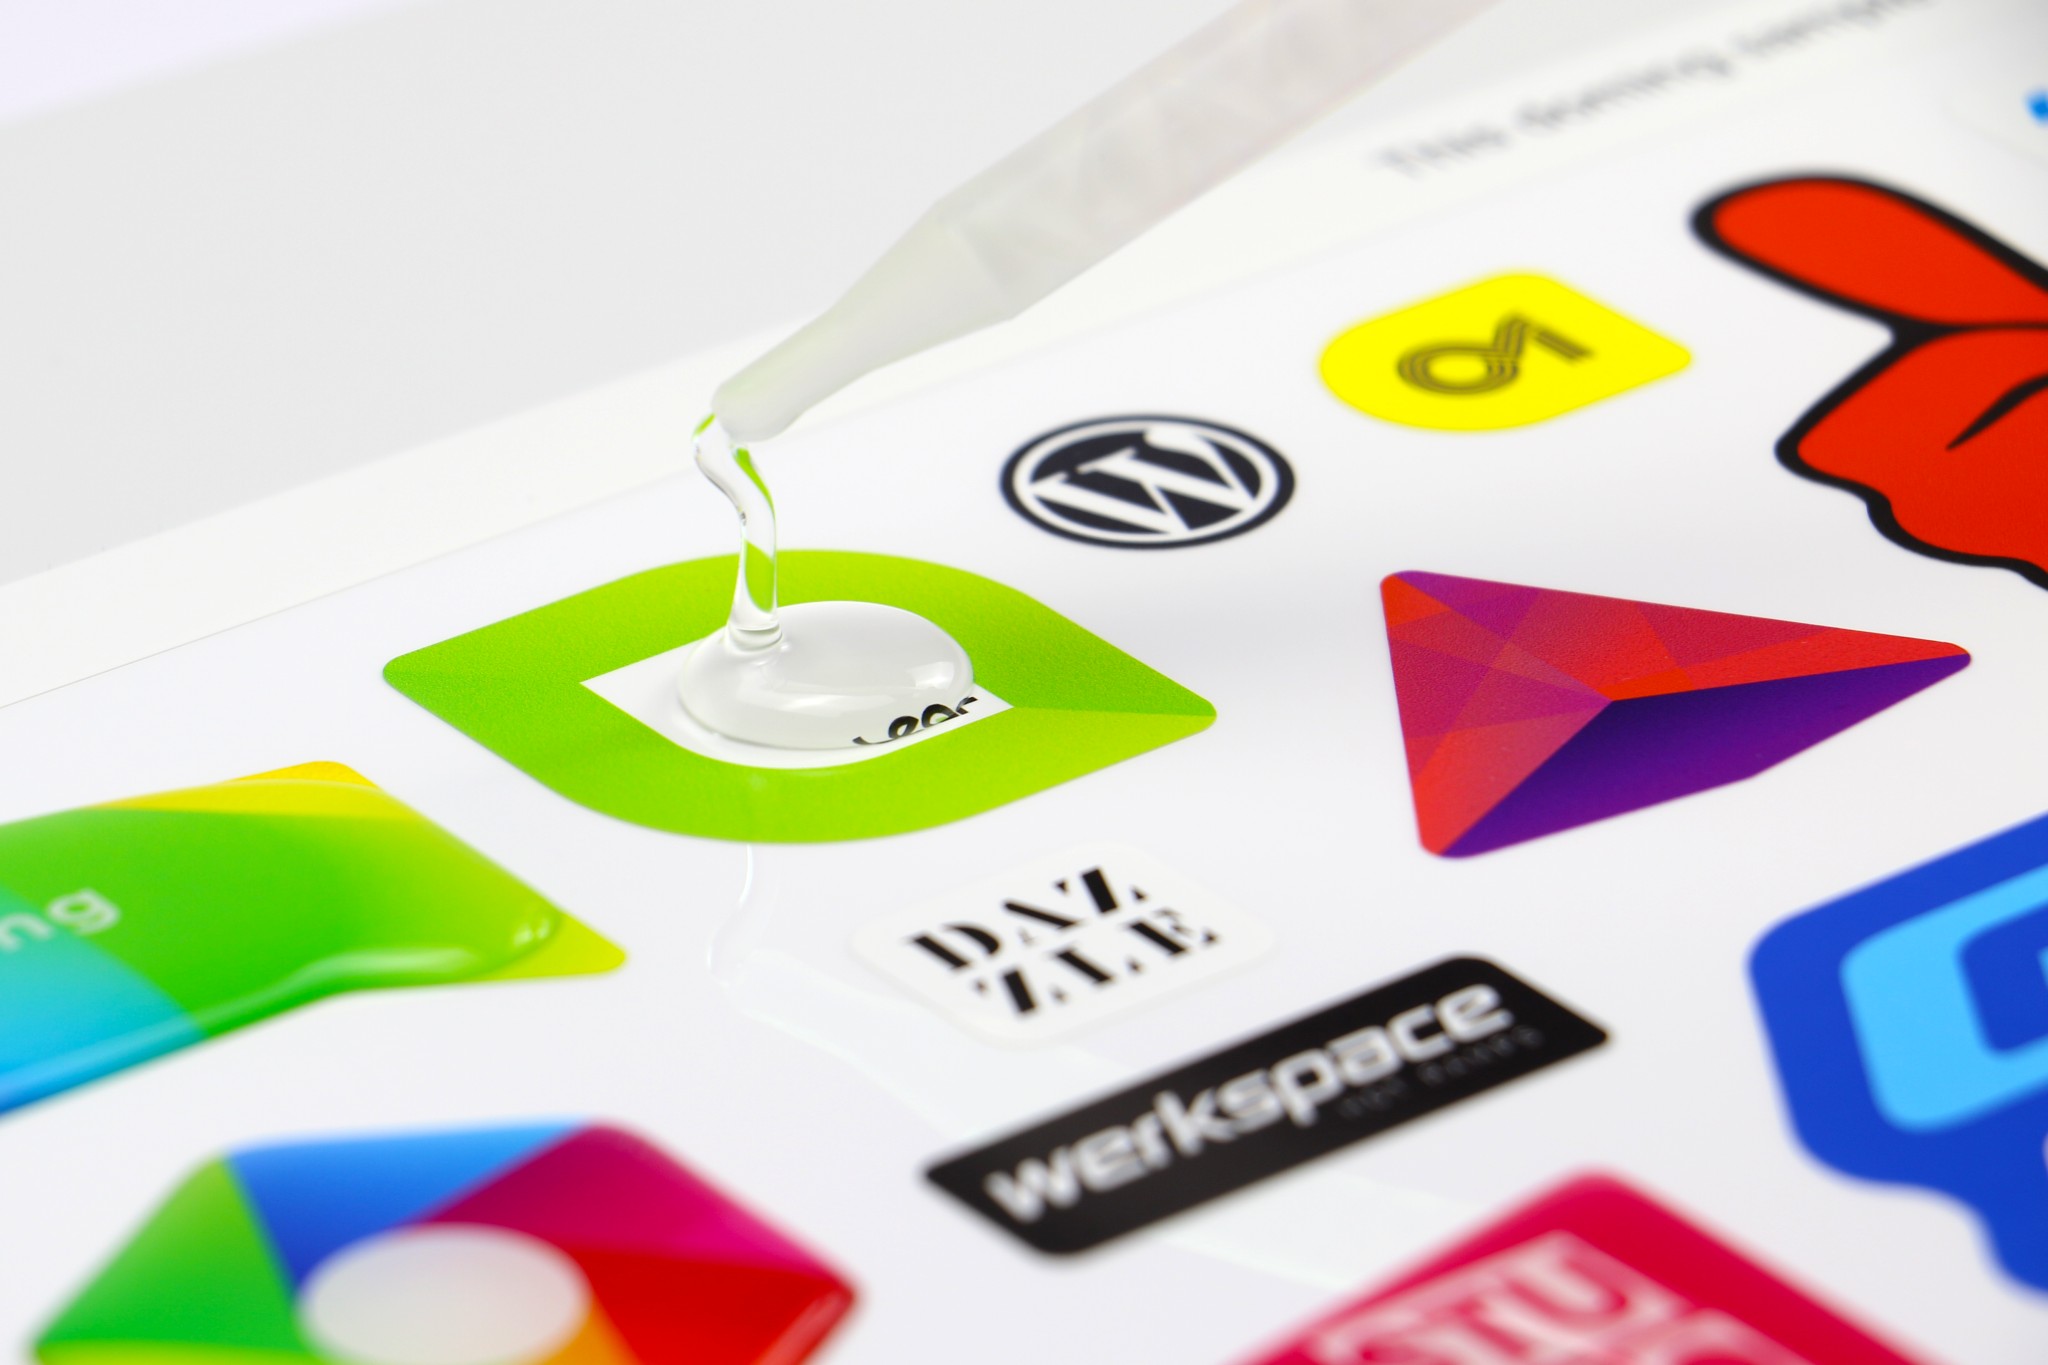
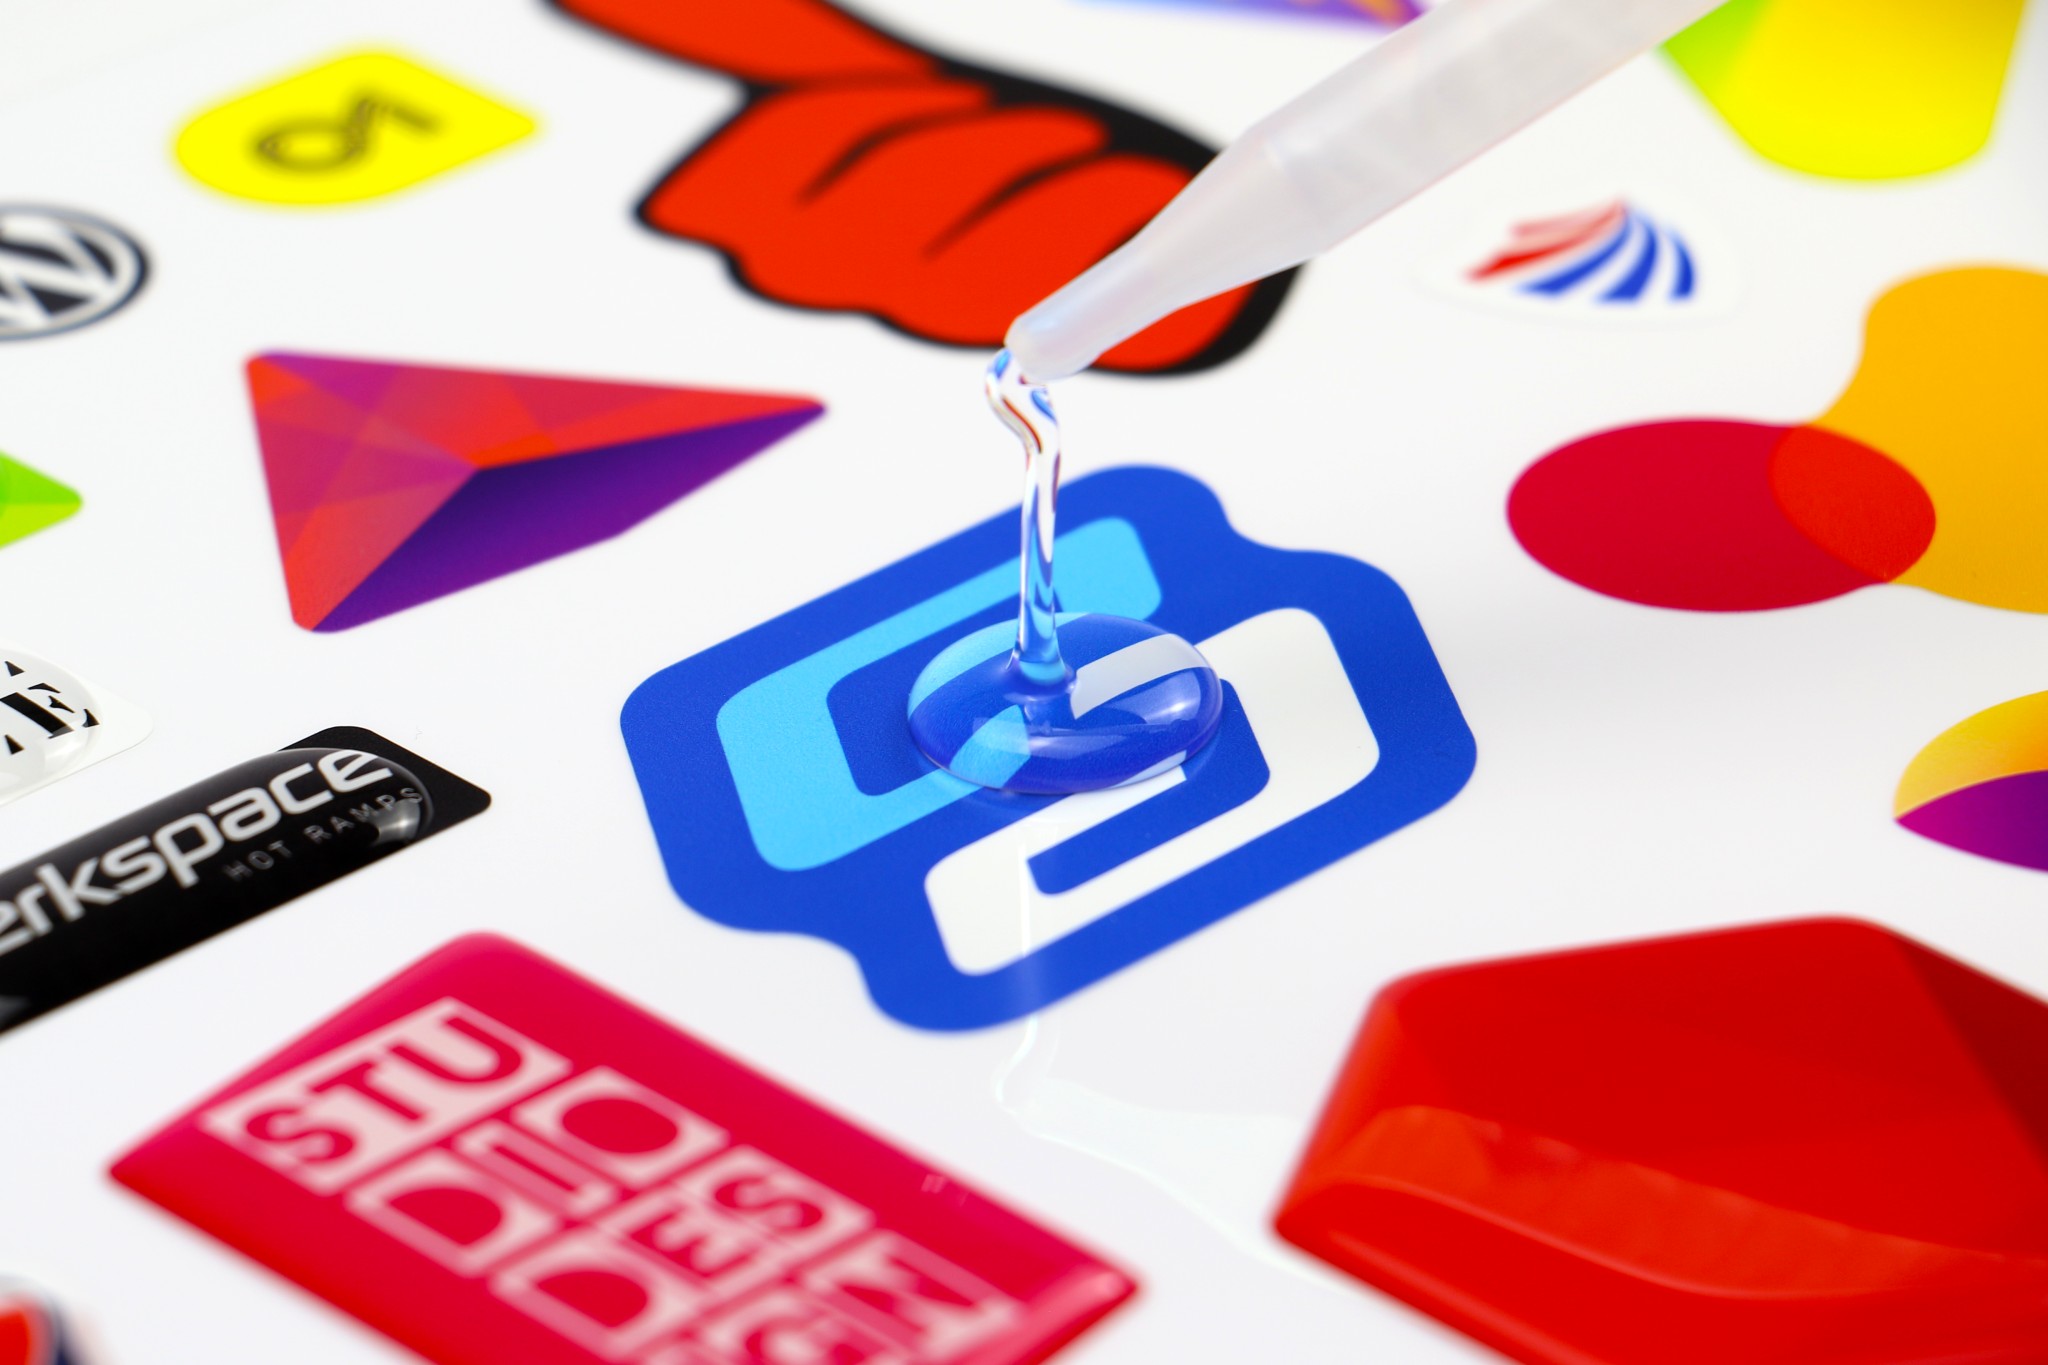
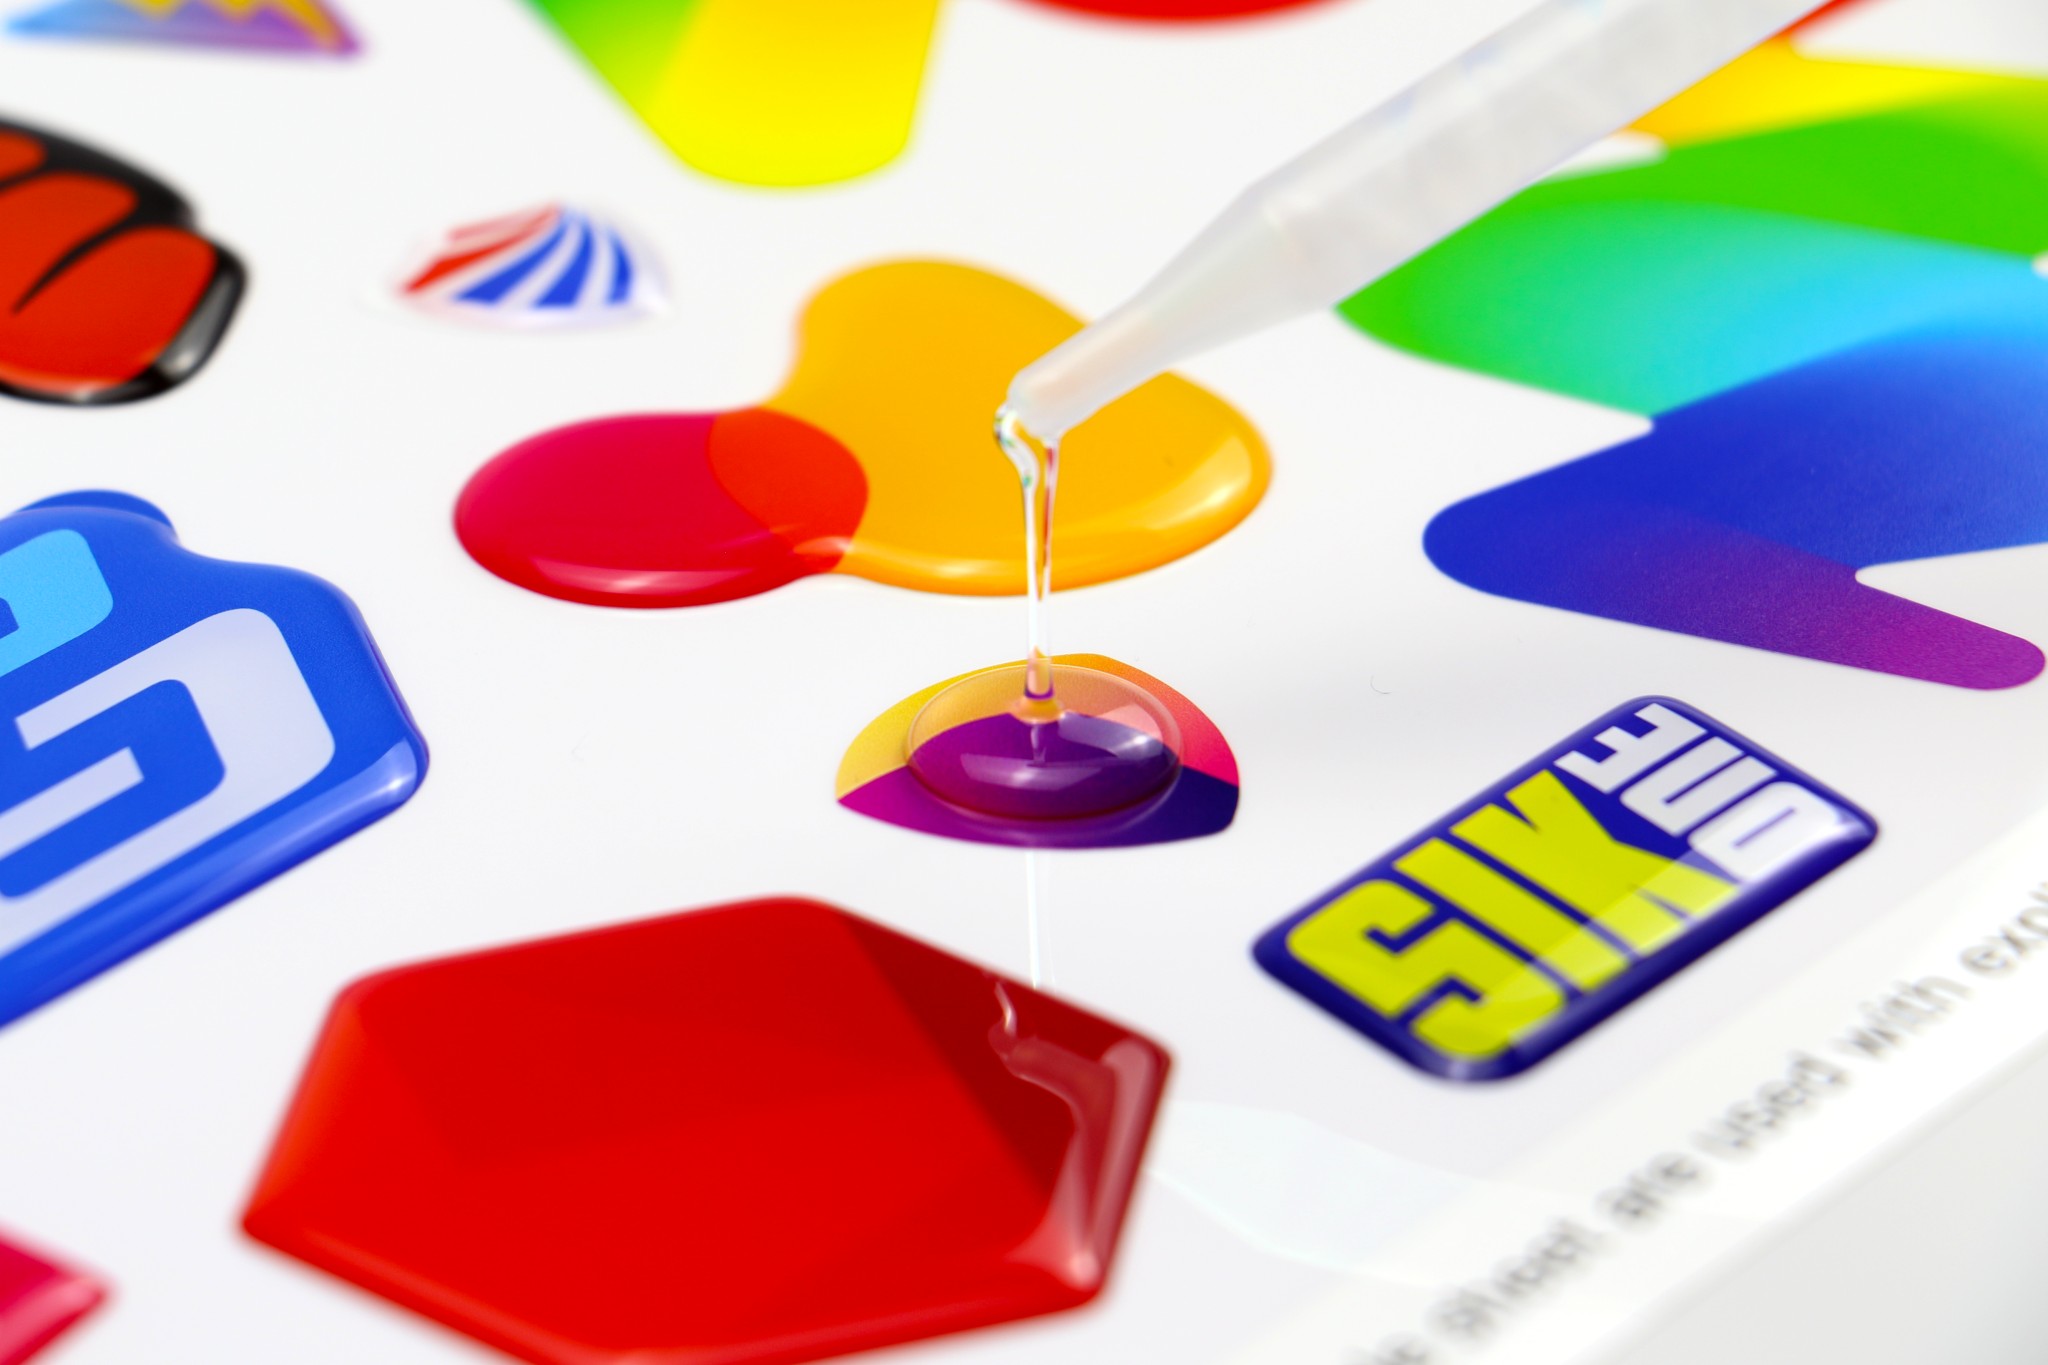
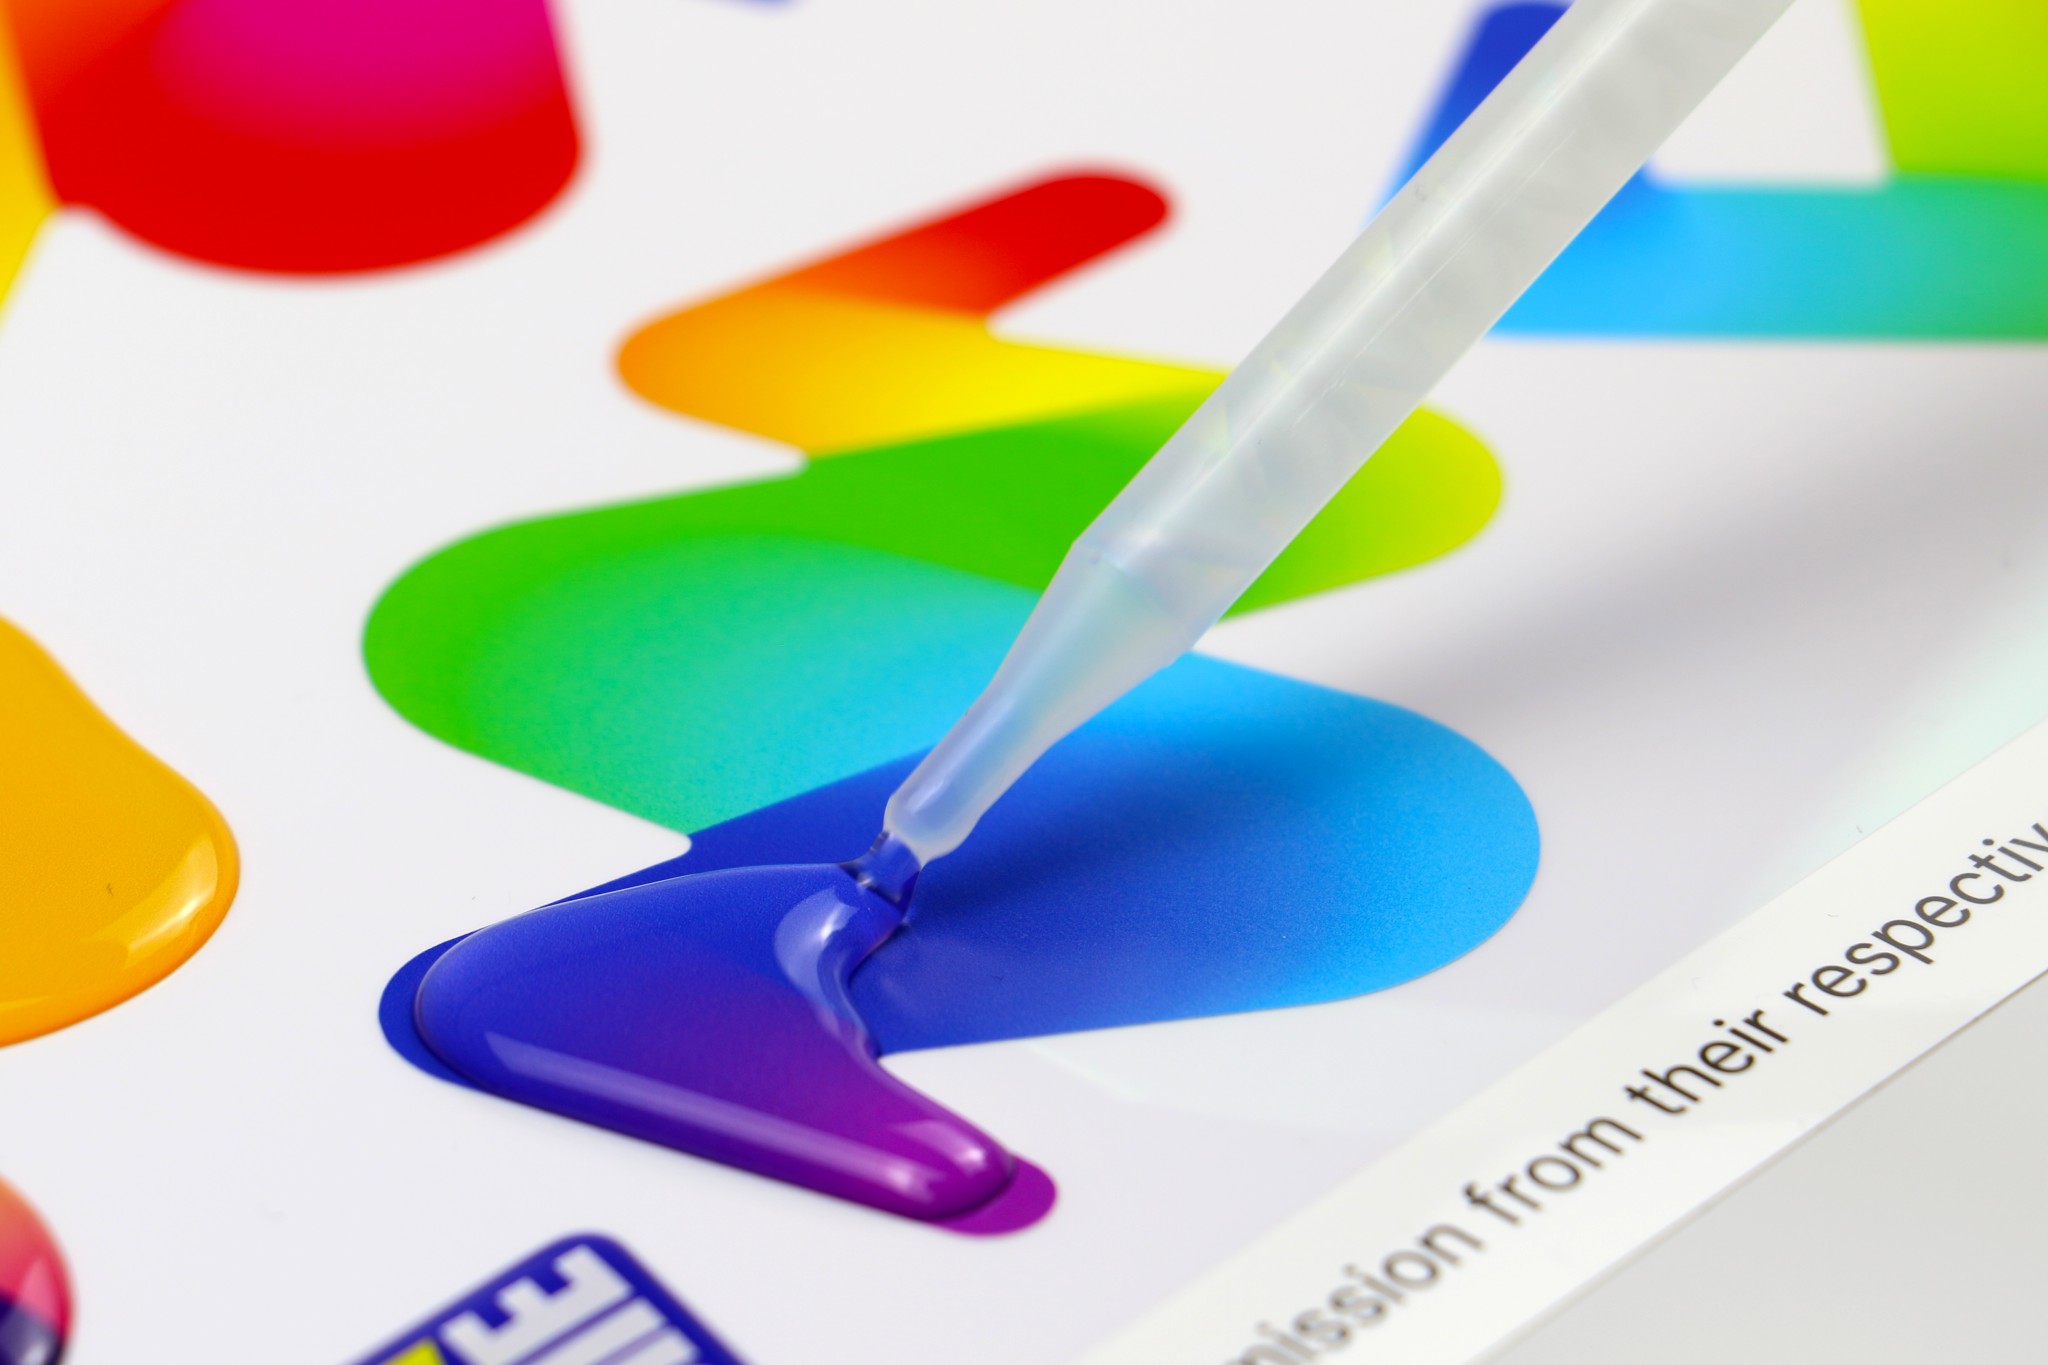
Dispensing
Apply the resin carefully to ensure even coverage and avoid overspills:
- Apply resin slowly and uniformly. Use less resin than you think is needed, allowing the resin to naturally flow to the edges.
- Typically, cover about two-thirds of the printed surface area.
- Wait a few minutes after the initial application to allow the resin to settle before adding more resin or making any repairs, such as removing air bubbles or correcting overspills.


Repair
Address any imperfections promptly to ensure a flawless finish:
- Wait approximately 3 minutes after application to inspect and correct any air bubbles.
- To release trapped air bubbles, quickly “flash” the surface with a flame torch.
- Avoid excessive heat to prevent damage to the resin.
- Use the repair tool to promptly clear any dust or debris that may have settled on the resin during doming.
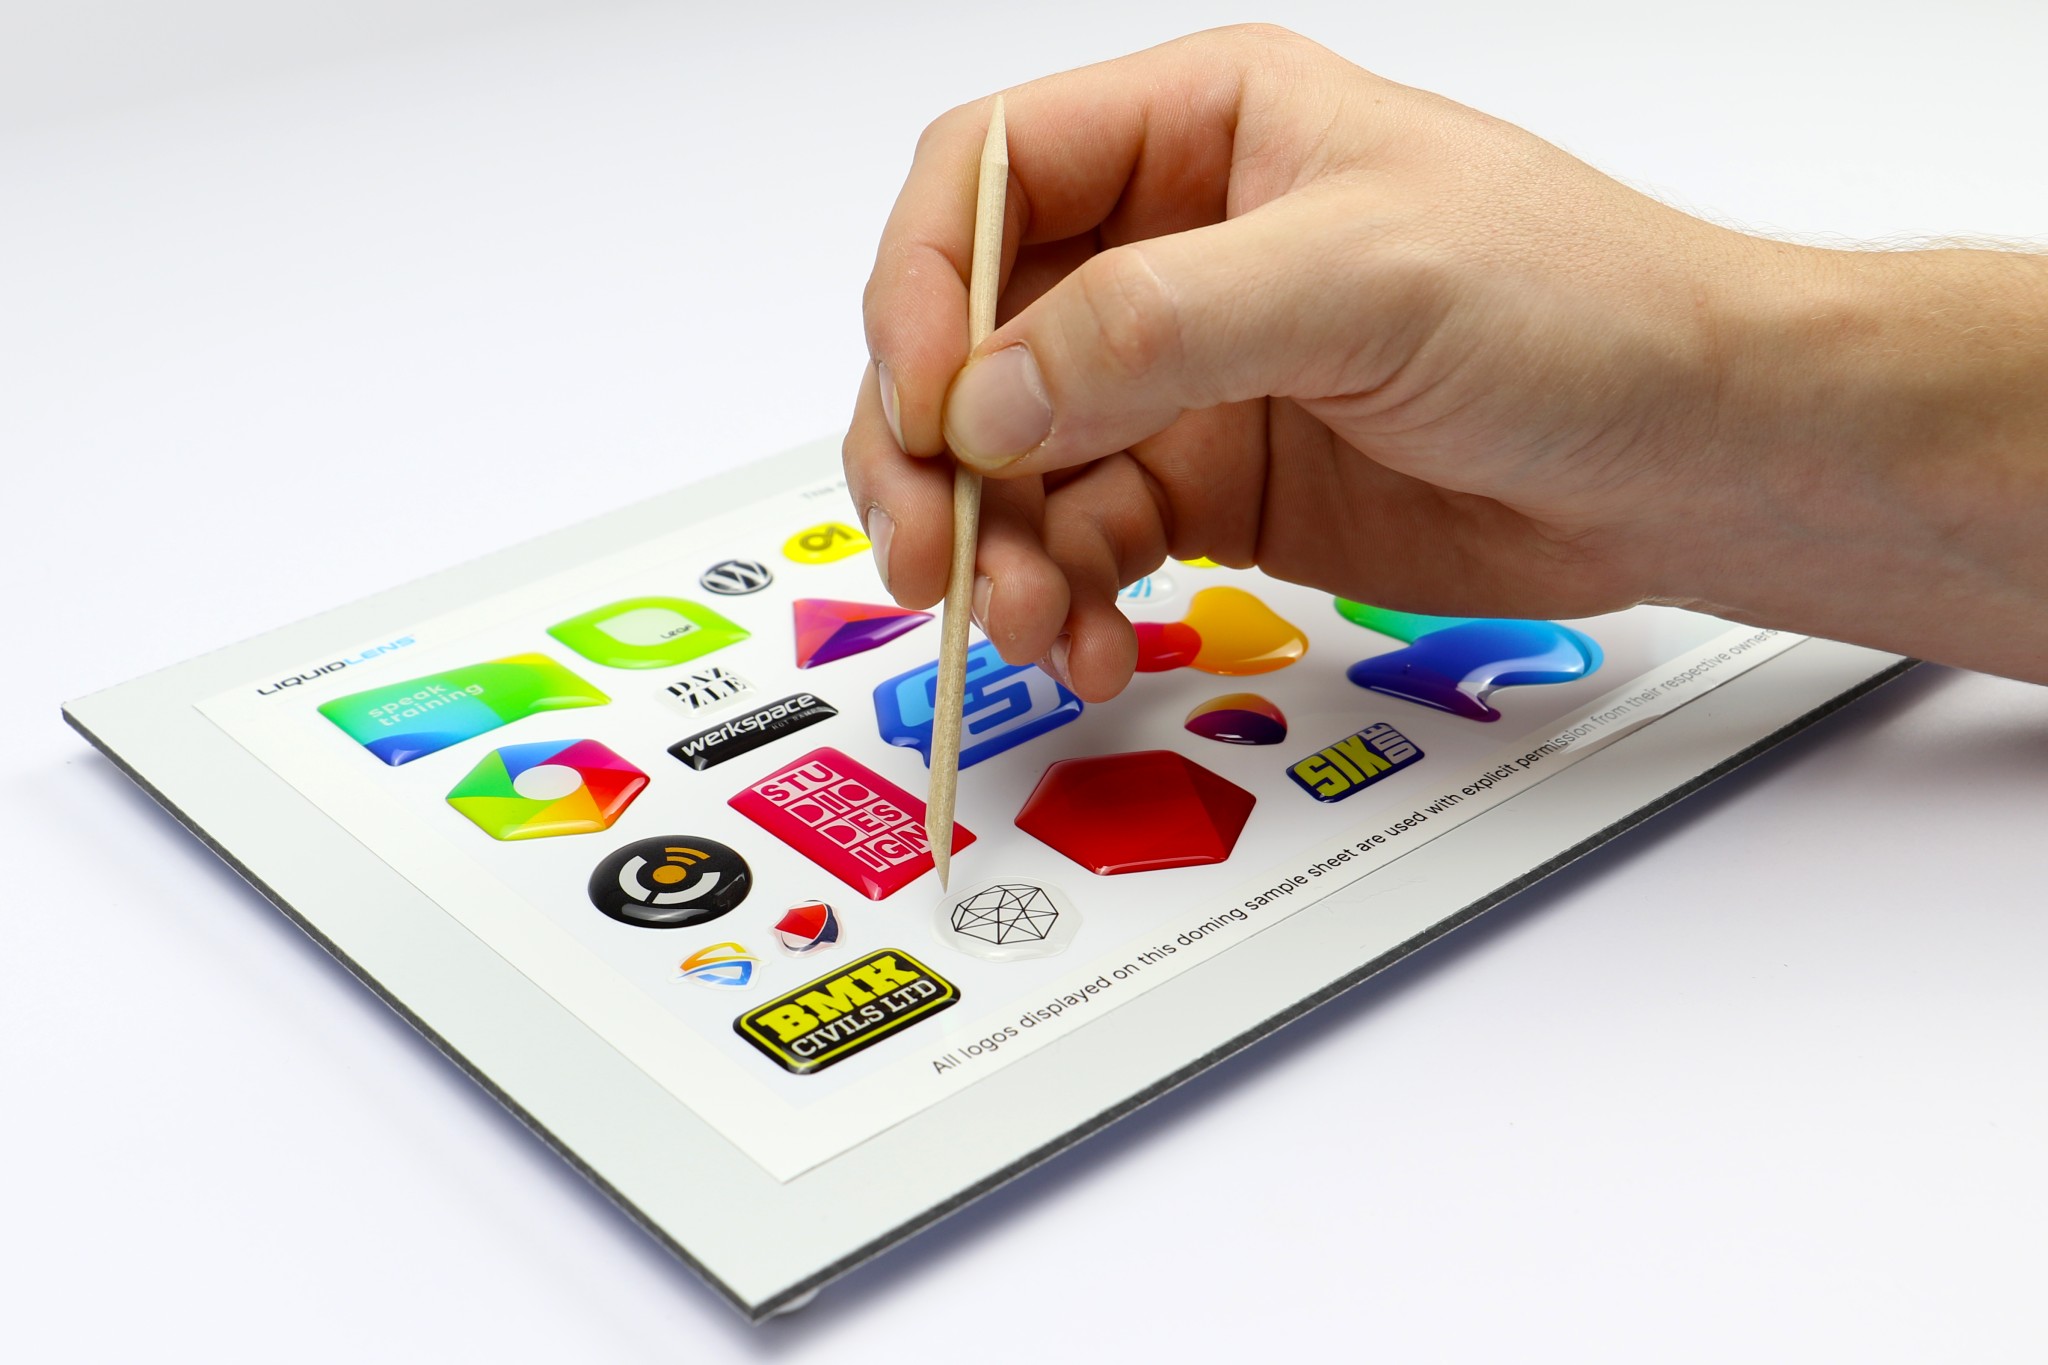
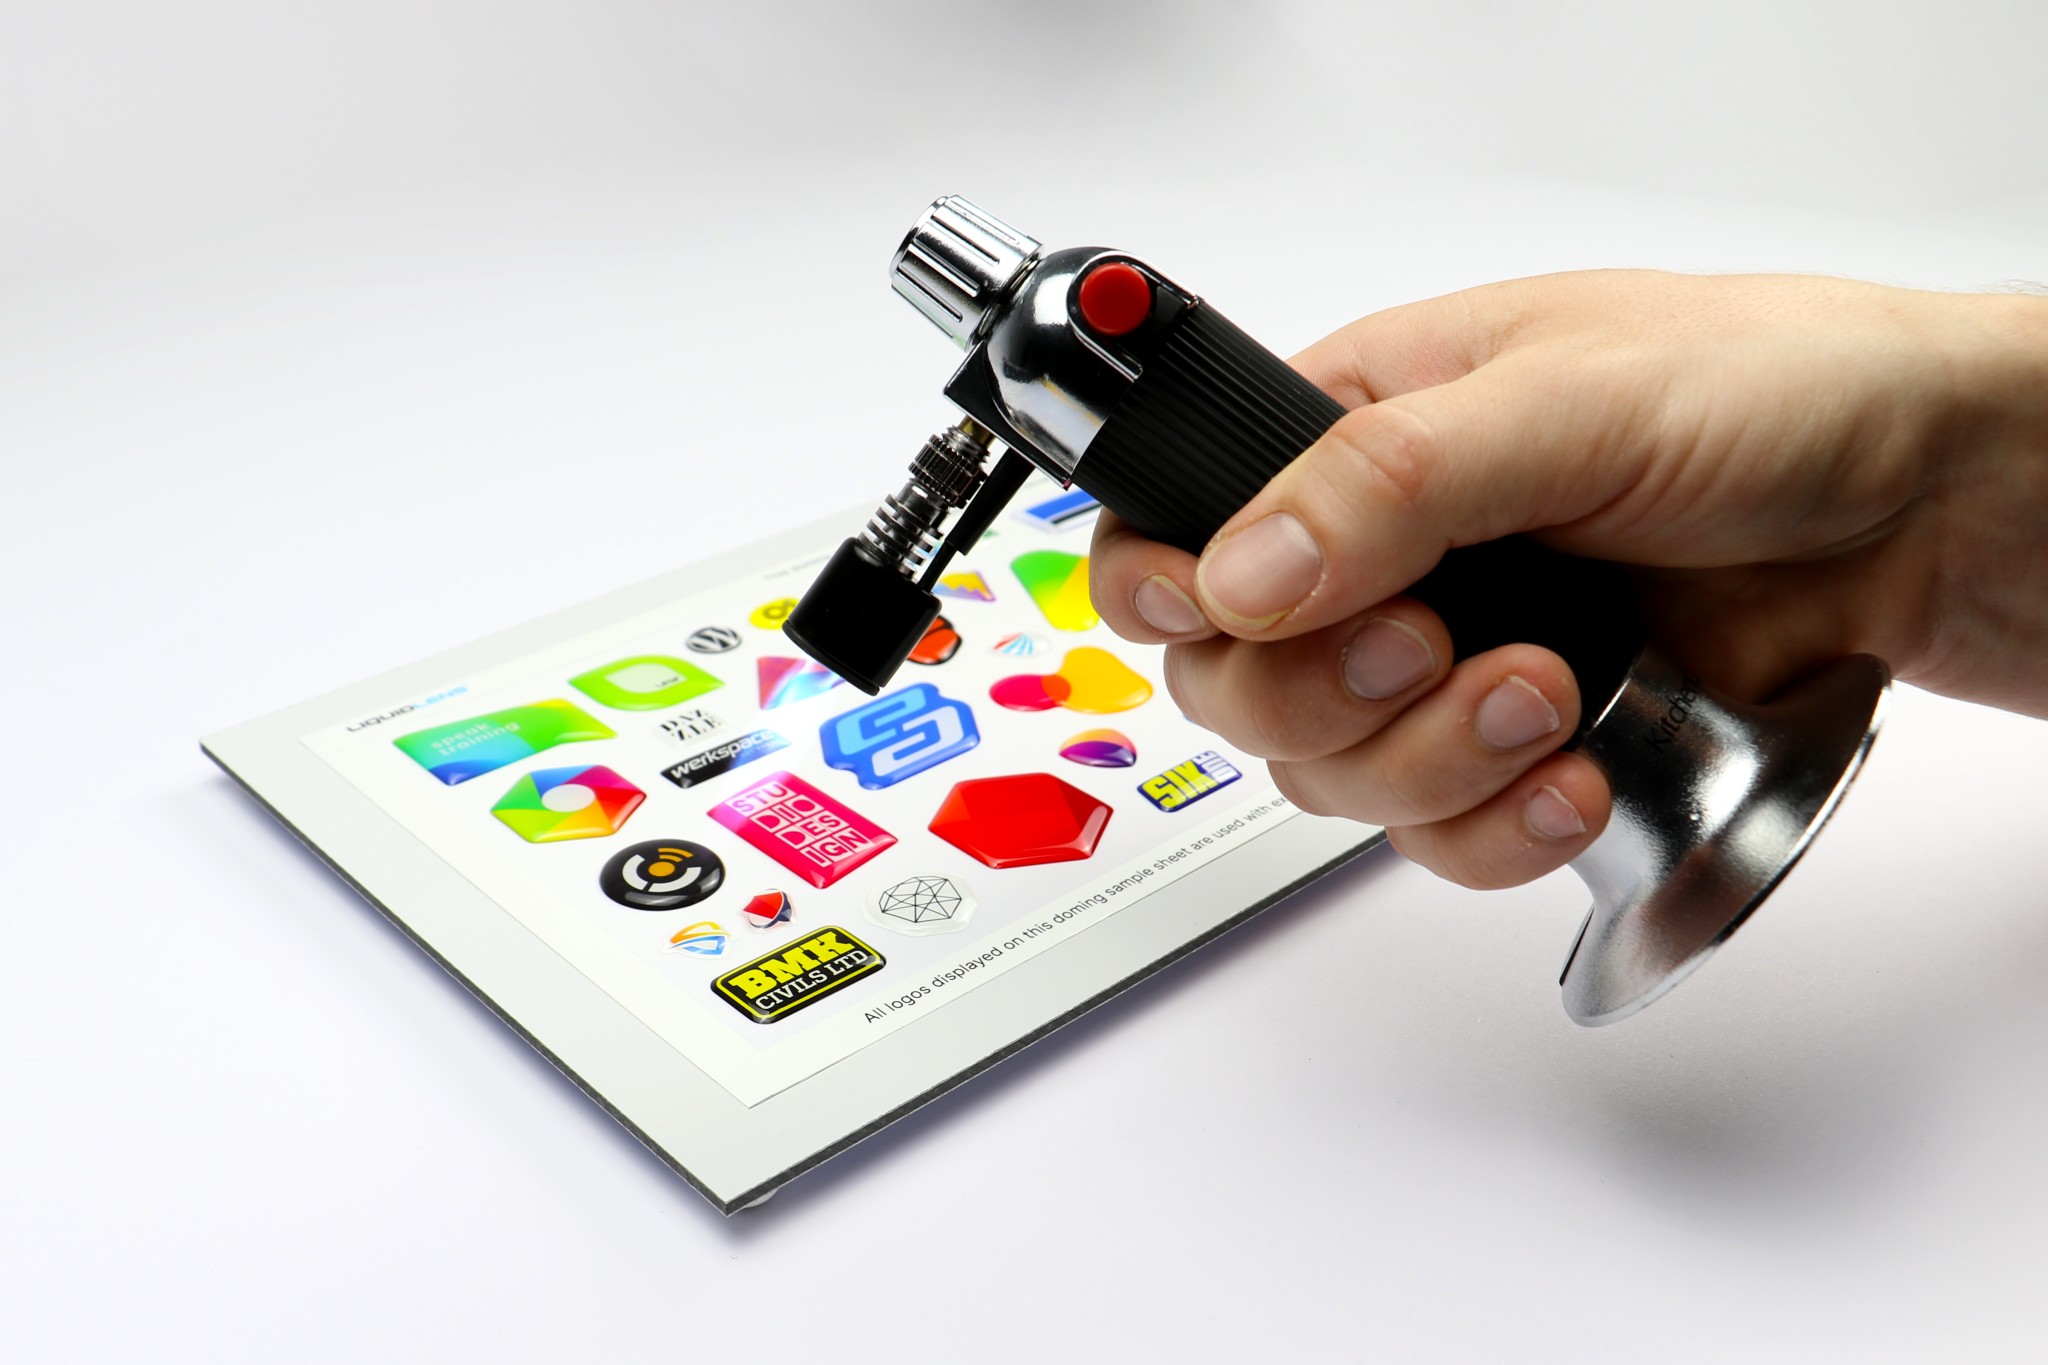
Please be aware that resin can burn very easily. When using a naked torch flame, apply it for only milliseconds, just enough to warm the air inside the bubbles and rise them to the surface.
Curing
Properly curing the resin is essential to achieve the best results:
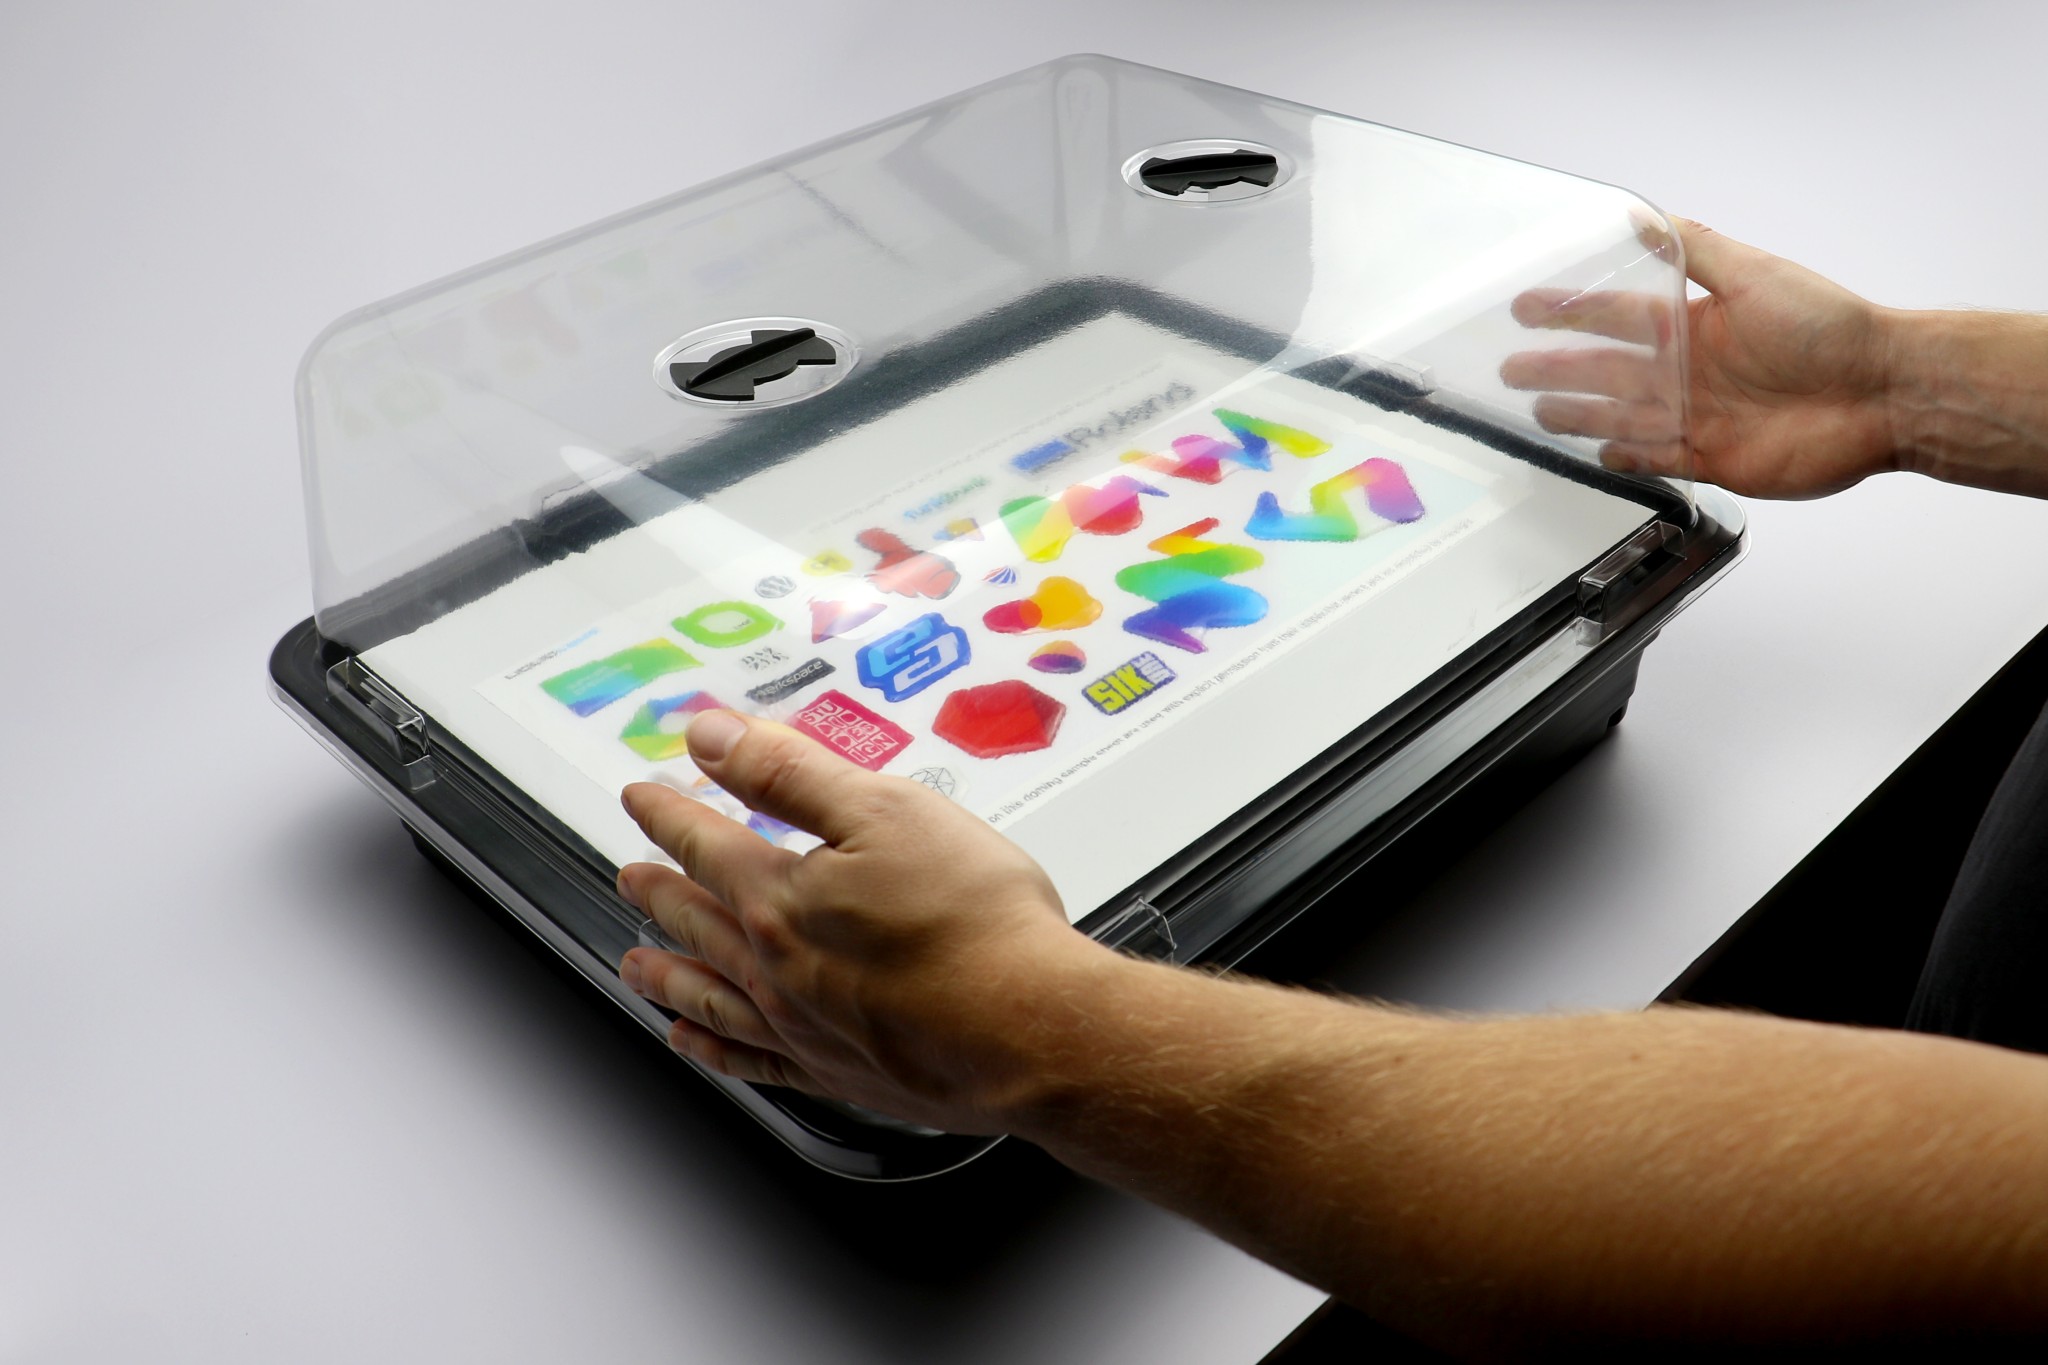
- Cover the finished sheet with a propagator to protect the domes from dust during curing. Alternatively, you can use one of our work surfaces to cover the sheet.
- Domes are usually touch-dry within 4–6 hours in ideal conditions, allowing you to safely handle the domed pieces.
- Full curing takes approximately 24 hours, ensuring the resin has completely hardened and reached its maximum durability.
- To reduce curing time, use a Liquid Lens Quality Control Unit (2-4 hours) or a curing oven (about 90 minutes).
- Larger domes cure faster due to more material available for the reaction.
Health & Safety
When working with our polyurethane resin and hardener, it is crucial to follow safety protocols to prevent health hazards and ensure a safe working environment.
- Always wear appropriate personal protective equipment (PPE) such as gloves, safety glasses, and protective clothing to avoid skin and eye contact.
- Ensure good ventilation or use suitable respiratory protection to avoid inhaling vapors, as inhalation can cause respiratory irritation and other health issues.
- In case of skin contact, immediately wash with soap and water.
- For eye contact, rinse thoroughly with water and seek medical attention.
- Avoid ingesting the products; if ingestion occurs, do not induce vomiting and seek medical advice immediately.
- Always handle and store these chemicals in well-ventilated areas away from sources of ignition and incompatible materials.
For additional support, please email support@liquid-lens.com.